
No products in the cart.
The mini sewing machine is a sewing machine in all respects, but it is characterized by smaller dimensions. This makes it lighter and more maneuverable than standard models, and although this type of sewing machine usually does not have all the features of more complex models, it can be used for many sewing tasks. Let’s now see step by step how to use it with this simple guide.
The first thing to do is to connect the machine to the power outlet using the cable included in the package. Some models will then be equipped with an on/off button. It should be set to “on”. Next, insert the pedal through the appropriate cable that connects it to the sewing machine and place it on the ground in a convenient position.
Then insert the thread spool into the dedicated position (in many mini sewing machines it is on the front part).
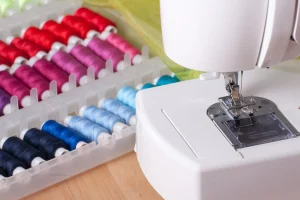
Then insert the thread into the thread guide located near the sewing machine’s housing (it is a small metal ring). After inserting it into the wheel located to its left, insert it into the second thread guide of the sewing machine.
Now turn the wheel located on the right side of the sewing machine until it lifts the small metal part on the opposite side. Then pass the thread through the eyelet at the end of this small metal bar. Once this is done, pass the thread through another metal eyelet, positioned above the footrest, and finally through the last eyelet, located on the metal footrest of the sewing machine.
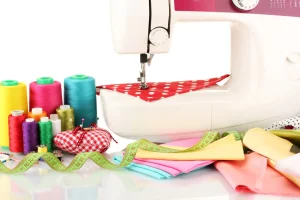
At this point, pass the thread through the eyelet. Now open the small hatch located near the eyelet and place the second thread spool, making sure the thread passes through the dedicated channel. Rotate the handle again to lower the sewing mechanism.
Unclamp the cover and after pulling the threads parallel to you, the mini sewing machine will be ready for use.
Now try the actual sewing process by inserting a piece of fabric under the footrest, which you have lifted with the lever located on the back of the machine. Lower the lever and press the pedal on the ground, gently sliding the fabric towards the back of the machine. Cut off the excess thread and repeat the operation until you feel completely confident.
Mini sewing machines are usually equipped with two operating speeds. Get used to the slower one and then switch to the second speed. Usually, the speed is adjusted with a button or a lever located on the sewing machine itself.
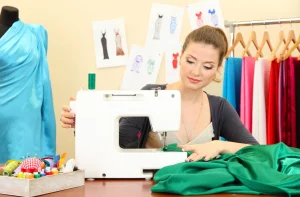
To create the wire beads from use with the mini sewing machine, Lift the appropriate support in the upper part and insert the original wire spool. Then wrap the end of the wire by hand around the small coil provided and after placing it on the appropriate support placed above the right wheel, start the machine. The wire spool will be created in a few seconds.
Take care to lift the heel during this operation, to avoid breaking the suture needle. Have fun!


