
No products in the cart.
Understanding how an embroidery machine works means following the journey from a digital file to the stitches on the fabric. Materials, stabilizer, hooping, and settings determine the success of the first embroidery project.
An embroidery machine operates automatically. You prepare the fabric and select the design. The needle and motorized hoop handle the rest, following precise instructions.
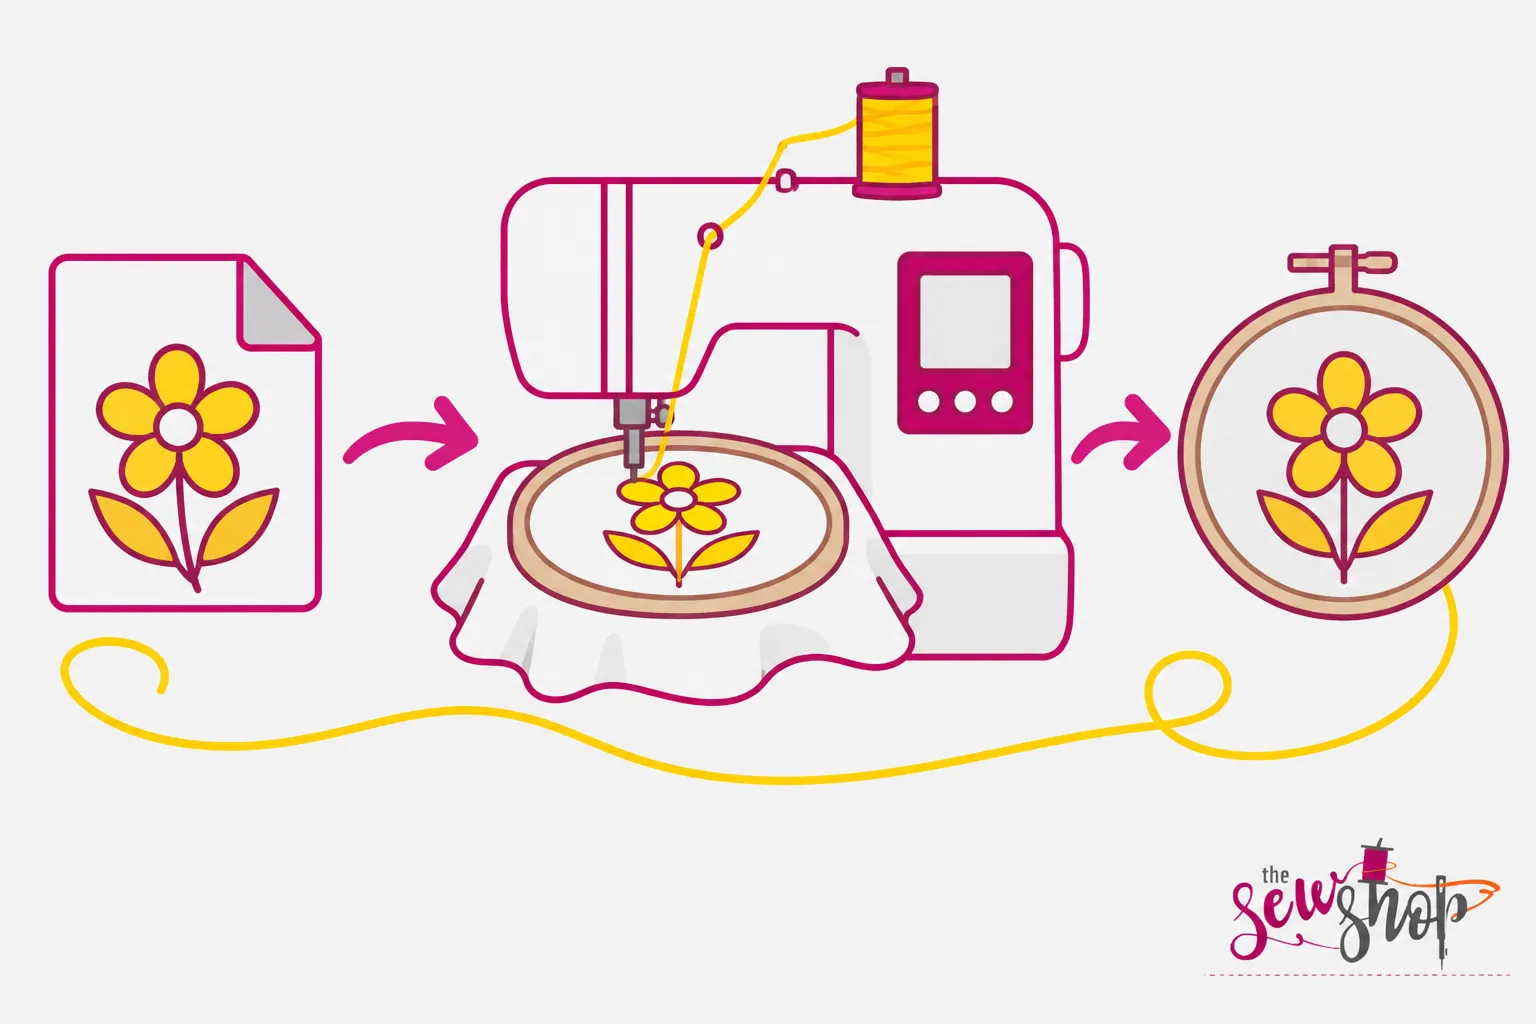
The embroidery machine reads a digital design. It translates it into a sequence of stitches and hoop movements. The motorized hoop moves the fabric to the required positions while the needle forms the stitches.
Each stitch is formed by two threads. The needle carries the upper thread through the fabric, where it interlocks with the bobbin thread. Depending on the pattern and/or settings, the machine stops for a color change or automatically cuts the connecting threads.
A machine alone is not enough for embroidery. You need: an embroidery unit that moves the hoop, a usable design, the fabric, and a stabilizer—the backing that prevents the fabric from shifting or distorting.
Always check your machine's manual for the needle and bobbin thread. Sizes vary from one model to another.
A dedicated machine focuses on embroidery. A combination machine both sews and embroiders. Please note: a sewing machine can only embroider if it has an embroidery function and compatible accessories. SewShop recommends a combination machine for those who embroider occasionally, and a dedicated machine for those who focus primarily on embroidery.
Choosing the right machine comes down to factors such as the usable embroidery area, hoops, design sizes, and pattern transfer methods. For beginners, built-in designs and a clear display are also important considerations. These criteria guide your selection within the SewShop embroidery machine catalog.
A good machine embroidery project depends on preparation. Fabric, stabilizer, and hoop must be chosen together. A mistake at this stage only becomes apparent once the work is finished.
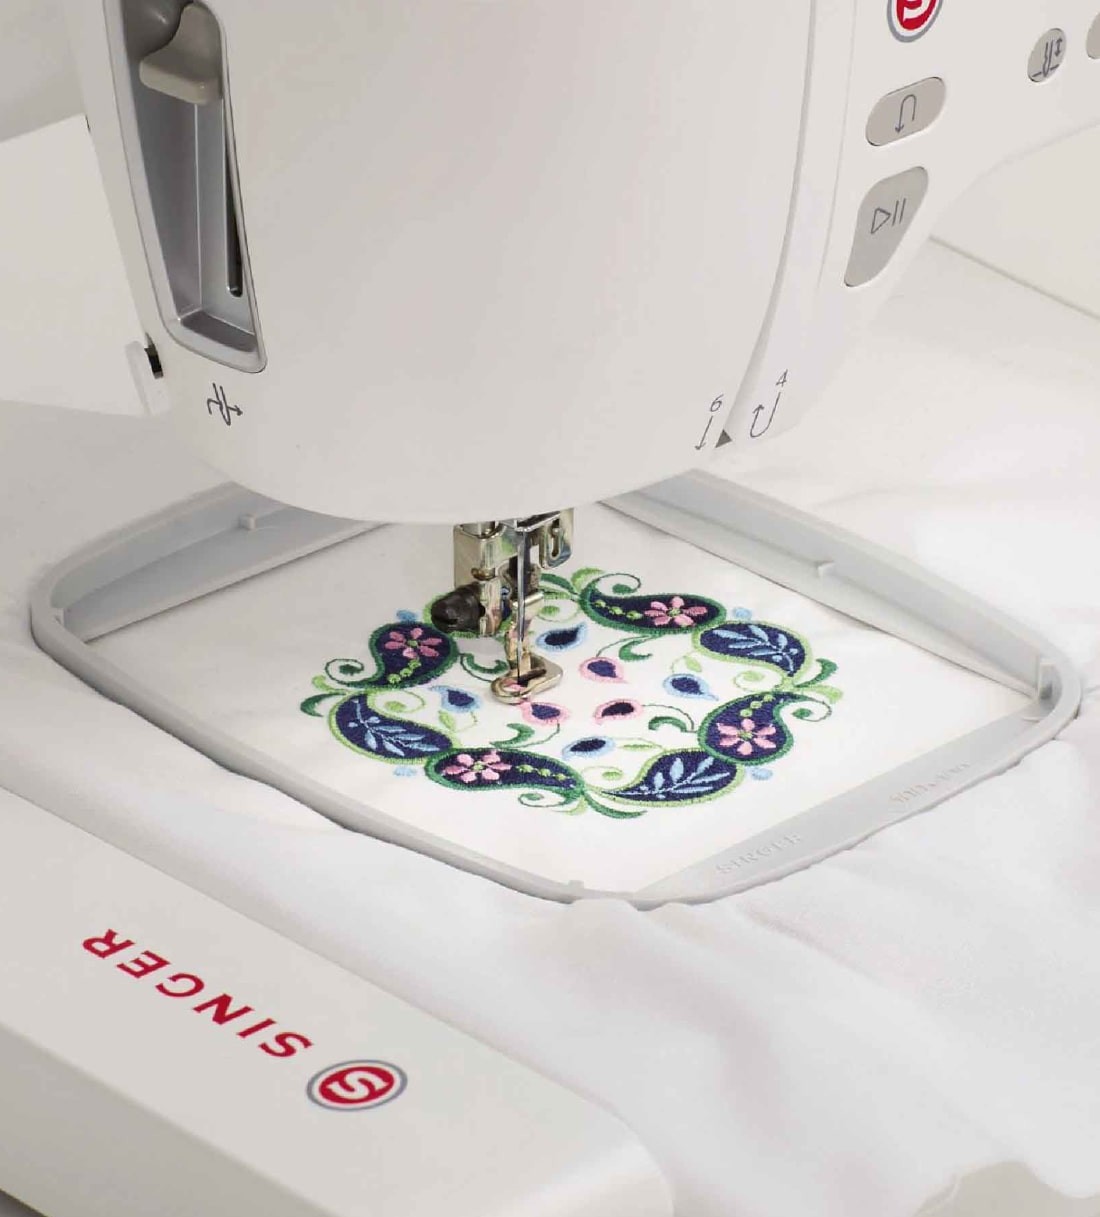
First of all, check the elasticity, thickness, texture, and nap. Also, read the washing instructions. If the garment is prone to shrinking, consider pre-washing it.
Cotton and canvas lend themselves to many motifs, provided the weight and weave are compatible with the design. Jersey and knit fabrics require greater attention to stabilization. Silk and organza call for delicate settings and a test run. Denim may require a sturdier needle, if the manual specifies it.
Cut-away stabilizer remains on the back of the fabric and is suitable for stretch fabrics. Tear-away stabilizer is removed after embroidery and is preferable when the fabric is stable and the design has low density.
On terry cloth and fuzzy fabrics, a water-soluble film on top helps prevent the stitches from sinking in.
For a lace design without a base fabric, you can try a structural water-soluble stabilizer or a heat-dissolvable gauze—which melts away with the heat of an iron or press—to achieve a clean, finished look. The heat-activated stabilizer is ironed onto the wrong side, following the product instructions.
Mark the center of the design on the fabric. Place the stabilizer on the back or underneath. Loosen the hoop, arrange the layers between the two rings, and align the centers. Then tighten evenly: the surface should remain stable and wrinkle-free, but must not be stretched out of shape.
The hoop must accommodate the entire design. When working on a finished garment, the layers not being embroidered remain outside the needle area. Once this is verified, attach the hoop to the machine as instructed in the manual.
With the hoop ready, you move on to the machine. Three checks determine the result: the loaded design, the threading, and the operating parameters.
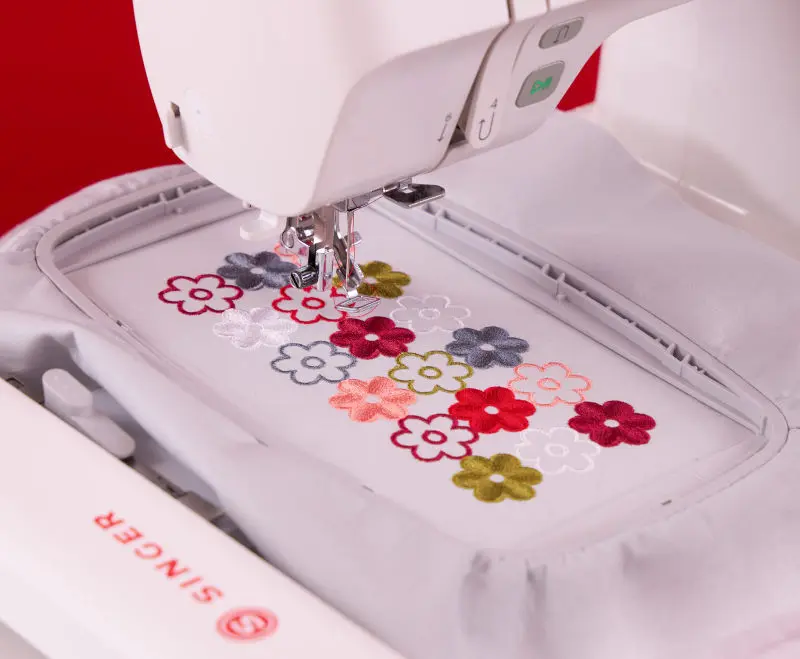
To get started with machine embroidery, use a built-in design. Alternatively, load a compatible file. Depending on the model, the transfer is done via USB drive, computer, app, or wireless connection.
In practice, the software acts as a bridge between the idea and the machine. On the Singer Heavy Duty 9125 sewing and embroidery machine, for example, selecting and editing designs is done via the Creativate app on your smartphone.
Before starting, check the orientation, position, colors, and size in the preview. The design must be within the actual embroidery area. This does not always correspond to the physical size of the hoop.
Wind the bobbin evenly. Insert it in the direction indicated in the manual. Then, thread the yarn through the designated guides.
The upper thread passes through the thread guides, the tension mechanism, and the eye of the needle. Raise the presser foot first if the manual instructs you to do so. Always ensure that both threads run freely without tangling.
Avoid touching the bobbin tension screw; it will be very difficult to revert to the previous setting.
Check the color sequence of the design. Prepare the threads in the same order.
Start with the tension setting recommended in the manual. A top thread that is too loose can cause knots to form on the underside, though this is often due to incorrect threading.
Conversely, if the tension is too high, the fabric puckers or the thread snaps. Before adjusting the tension, check the threading and the position of the spool, then make adjustments in small increments.
Para tejidos delicados o diseños densos, elija una velocidad moderada. Por último, verifique que el bastidor esté colocado y pueda moverse libremente.
The first embroidery design should be stitched twice: once as a test and then on the actual garment. The test run prevents you from ruining the final fabric.
Use a scrap of the same fabric. Replicate the final design as closely as possible.
Stay close to the machine during the test. If the result isn't right, change one setting at a time and repeat.
On the finished garment, double-check the placement of the motif. On a T-shirt, the back should not end up below the front.
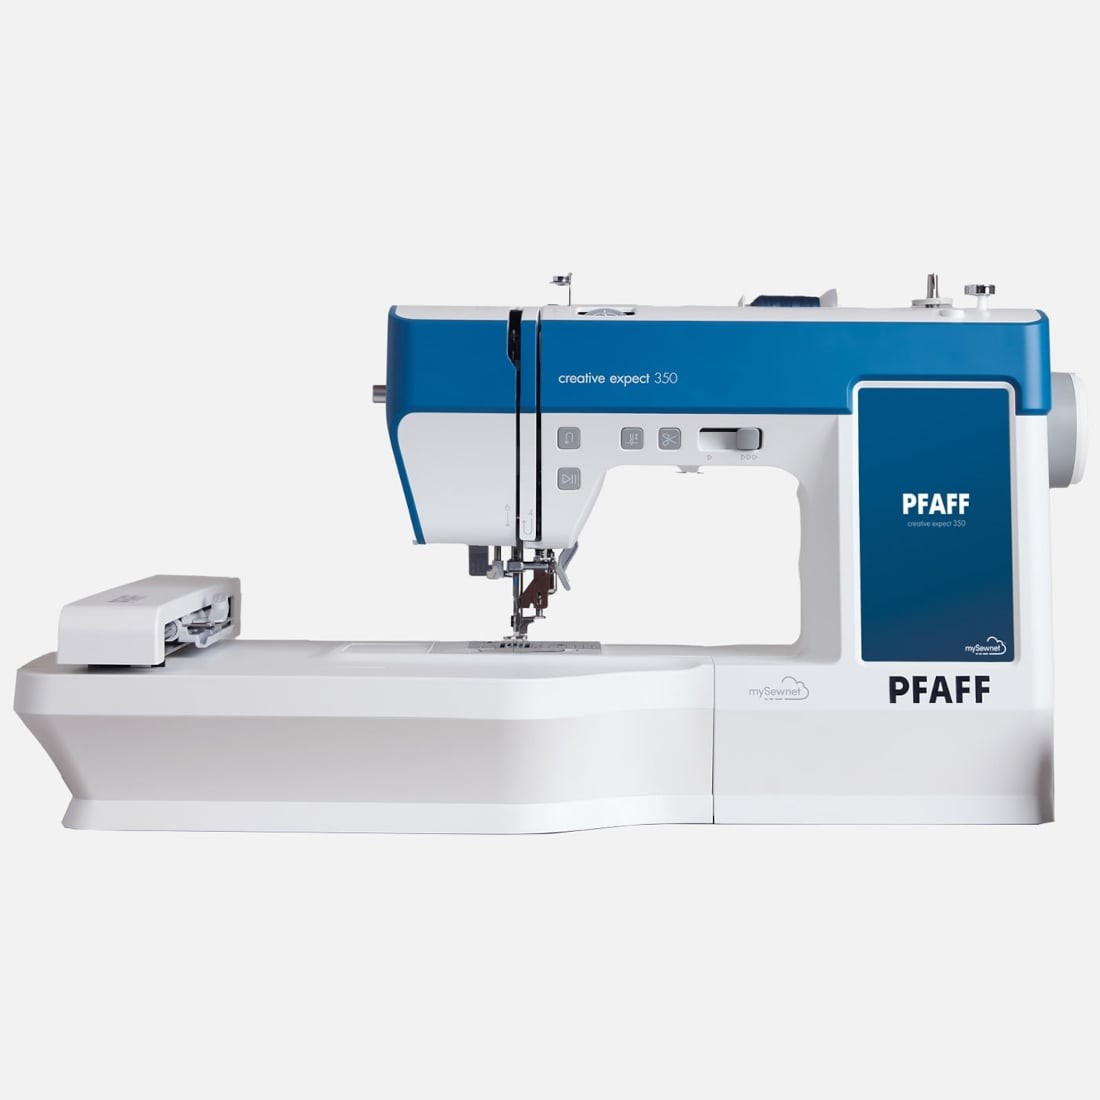
Once started, the machine follows the programmed path. You monitor the thread, color changes, and any stops. Some models make this task easier: the Pfaff Creative Expect 350 alerts you when the bobbin thread is running low and cuts the threads at the touch of a button.
The duration depends on the number and density of stitches, color changes, trims, and frame movements. The stated maximum speed is not sufficient to estimate it.
When the work is finished, stop the machine and remove the hoop as indicated in the manual. Cut the connecting threads without snipping the design stitches. Carefully remove the tear-away stabilizer. Trim the permanent stabilizer, leaving the necessary backing. Remove the water-soluble stabilizer according to the product instructions.
Thread breakage, puckering, or skipped stitches often have simple causes. First, check the threading, needle, bobbin, and stabilization. Always turn off the machine before changing the needle or cleaning the bobbin area.
You can hoop just the stabilizer. The fabric is attached on top using a compatible temporary adhesive or a basting stitch. A hooping guide recommends using the smallest hoop that fits the design, with at least 5 cm of material extending beyond the hoop on all sides.
This can happen if the fabric was pulled after being hooped. The embroidery looks correct while in the hoop, but becomes distorted as soon as you remove it. If the fabric is crooked, creased, or shifting, re-hoop it before you start embroidering.
Stop the machine and check the fabric or the machine itself for any fragments. Possible causes include a needle that is unsuitable for the fabric, improperly installed, or damaged, or a bobbin inserted the wrong way around. If the breakage recurs, accompanied by unusual noises or frame impacts, consult the manual and contact technical support.


