
No products in the cart.
Have you purchased a serger and want to learn all the tricks for using it? Below is a guide featuring ten tips that every beginner should know to get off to the best possible start with their serger. If you’re already experienced, a quick refresher might still prove useful. Let’s get started.
First of all: what is an overlocker? Let’s start with the basics: an overlocker is a sewing machine that cuts and finishes the fabric as it sews. It’s not difficult to use; all you need—along with some tips from SewShop—is a little patience and practice.
Also known as an overlock machine, the serger performs its tasks in a single pass. A blade trims away excess fabric, while threads from the needles and loopers wrap around the edge to prevent it from fraying.
The overlock stitch is also suitable for finishing elastic fabrics and knitwear. When used on jersey or similar knit fabrics—with the appropriate stitch settings and adjustments—the seam moves along with the fabric's elasticity. An overlock machine can also be used to finish the edges of many types of woven fabrics.
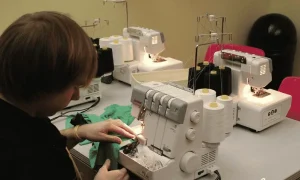
A serger is a complement to a traditional sewing machine. It is not essential for getting started. It cannot replace a standard sewing machine when it comes to inserting zippers, making buttonholes, or creating visible straight topstitching.
Furthermore, finishing an edge with an overedge stitch is not the same as creating a hem. A hem folds over and secures the fabric. The double-stitched hems found on a T-shirt require a machine known as a coverstitch machine.
For cleaning, the machine must be switched off and unplugged from the power outlet. Lint accumulates around the knives, feed dogs, and looper; a small brush can be used to remove any accessible residue. For lubrication, follow only the specific points and intervals indicated in the manual—do not use generic oils or improvised sprays.
The threading order is usually as follows:
Upper or right-hand looper
Lower or left looper
Needles
Naturally, the diagram in the manual takes precedence over a generic tutorial. Before threading, the machine must be turned off and the presser foot raised. Each thread must pass through all the thread guides and into its respective tension disc.
If a thread slips out of a guide, it can cause uneven stitches, loops, or breaks. These defects may look like adjustment errors. Use threads of contrasting colors to determine which thread is forming the faulty part of the stitch.
To adjust the tension, begin with the values specified for the stitch. Once you have identified the thread responsible, adjust only its tension, in small increments. If the tension does not respond, recheck the threading: if a thread has slipped out from between the tension discs, the adjustment control will be ineffective.
Differential feed alters the relative feed rate between the front and rear feed dogs. On models that use this scale, a setting of 1 indicates uniform feeding. A value greater than 1 can limit the stretching of the stitch or create gathers; a value less than 1 can reduce puckering, depending on the machine and the fabric. When working with jersey, you can start at 1—if the model’s settings allow—and then make gradual adjustments using a scrap piece of fabric if the seam ends up stretching or puckering.
Stitch length determines how much the fabric advances between two stitches. The width of an overlock stitch depends on the needle position and the cutting-width setting, which vary by model. Numerical settings for stitch length, width, tension, and differential feed should not be automatically transferred from one machine to another.
Before choosing needles, check which system is compatible with your overlocker. Many overlockers use specific needles that differ from those used for a standard sewing machine.
For jersey and knit fabrics, you need compatible needles with a rounded tip. If skipped stitches occur, the first things to check are the needle's compatibility, its condition, and whether it has been inserted correctly.
Choosing the right serger depends on the projects you plan to undertake, how often you will use the machine, and the available settings. The number of threads and the maximum speed alone are not enough to determine the best choice; a higher number of threads does not necessarily make a machine better for every type of task.
A 3-thread serger overcasts and finishes edges. A 4-thread serger joins pieces together while finishing the edges—this is especially useful for knit garments. Some 5-thread machines add a safety stitch to the overcasting.
For home sewing, 3- or 4-thread models featuring adjustable speed, simplified threading, and a free arm are a great starting point. These criteria define the selection of sergers recommended for beginners. For intensive sewing in a tailor shop or professional studio, SewShop suggests a professional-grade serger—supporting up to 5 threads—equipped with a quiet motor and accessories for precision work.
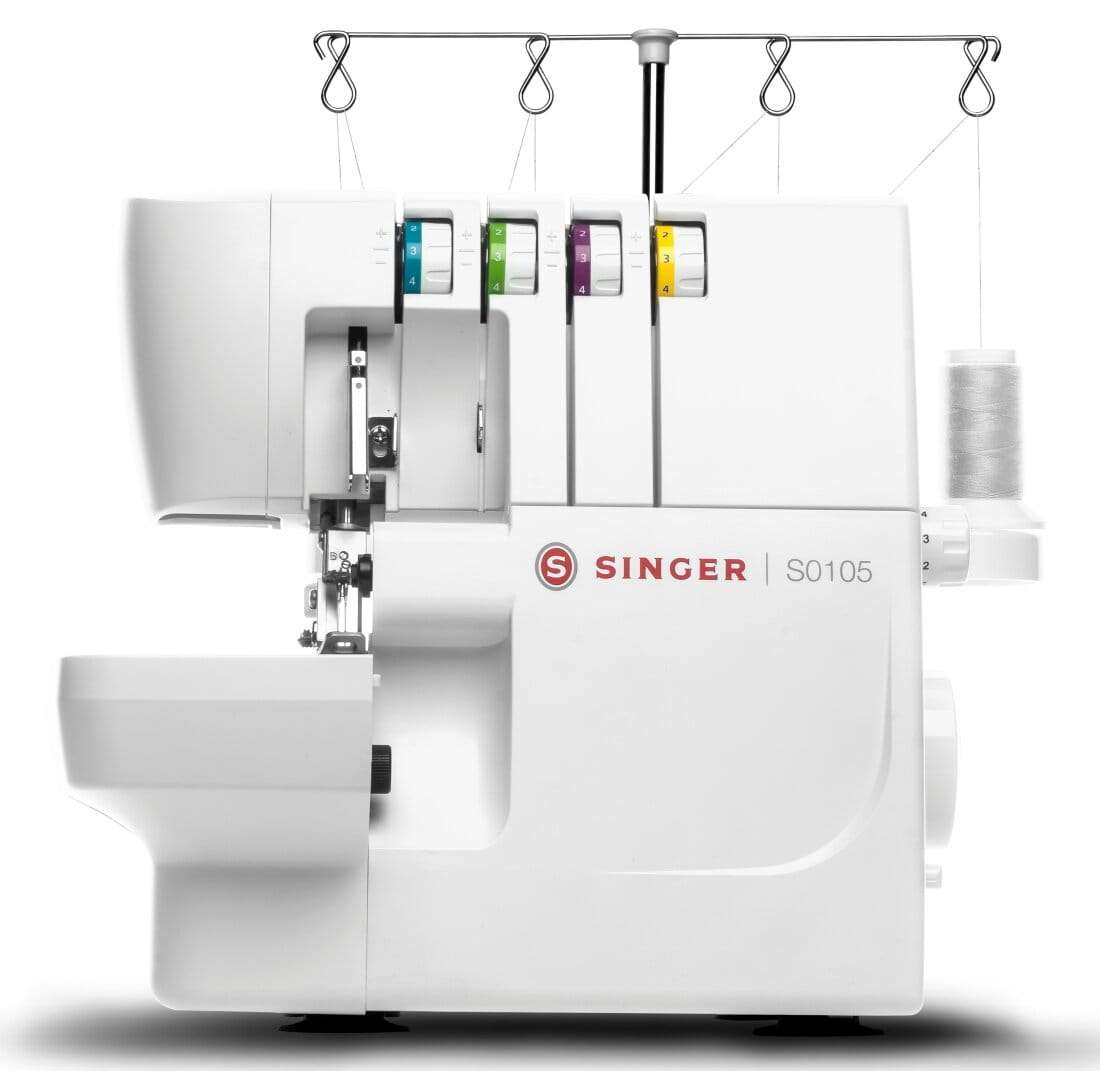
The Singer S0105 sews with 2, 3, or 4 threads at speeds of up to 1,300 stitches per minute. It features differential feed, adjustable presser foot pressure, and a free arm for cuffs and sleeves. For a rolled hem, simply move the lever to "R"—there’s no need to remove the presser foot or the needle plate. You can find the Singer S0105 serger at SewShop. The Singer S0105 is equipped with two LED lights, one of which illuminates the lower looper.
How to
The Brother 1034DX performs 3- or 4-thread overlocking at a speed of 1,200 stitches per minute. It features an adjustable differential feed, and the upper knife can be disengaged manually. The Brother 1034DX serger can create narrow hems and picot edges; its free arm allows for the finishing of tubular pieces.
Before purchasing a serger, check for compatible needles, spare parts, and technical support. Do not confuse the features of models with similar names—always verify the full model code. SewShop carries sergers from brands including Singer, Necchi, Brother, Juki, and Pfaff.
And now, have fun!
With an overlocker (serger), you can join, trim, and finish fabric edges in a single pass. It is suitable for jersey, knit fabrics, and many types of woven fabrics. On models that support these features, it can also create rolled hems, narrow hems, and picot edges. For installing zippers, making standard buttonholes, or creating visible straight topstitching, you will need a traditional sewing machine instead.
For home use, a 3/4-thread machine with differential feed and manageable threading is a good starting point. The 3-thread setting overcasts and finishes edges. The 4-thread setting joins and finishes seams simultaneously—ideal for knit garments like T-shirts and sweatshirts.
The first checks concern the needle: its compatibility with the machine, its condition, and whether it is inserted correctly. Next, you should verify the threading, as a thread that misses a guide or a tension disc can result in uneven stitches. Only after this should you consider adjusting the tension—one thread at a time.


