
No products in the cart.
Trick or treat!
To the wizards and witches here I ask: Are you ready for this Halloween? Light your candles, prepare your grimoires, polish your wands, and bring out your best robes. It's time to do some magic! What do you say? Did the mice gnaw on your hats? No harm done! Let's remedy that right now with this tutorial to create a witch's hat with your sewing machine.
The pattern consists of only 2 elements:
Let's see how to do it now!
POINT 1: CUTTING
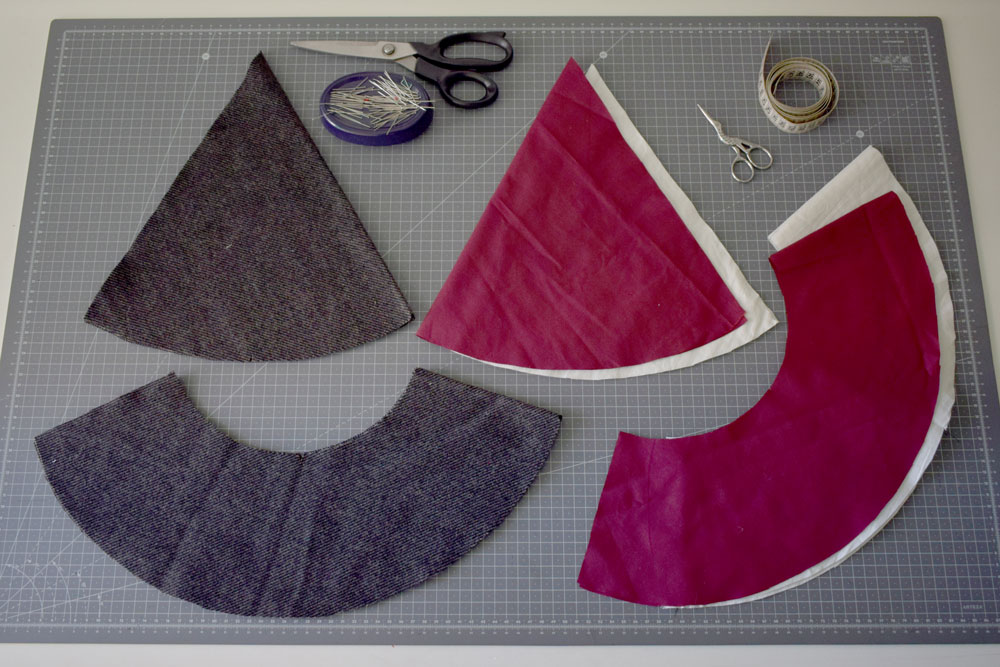
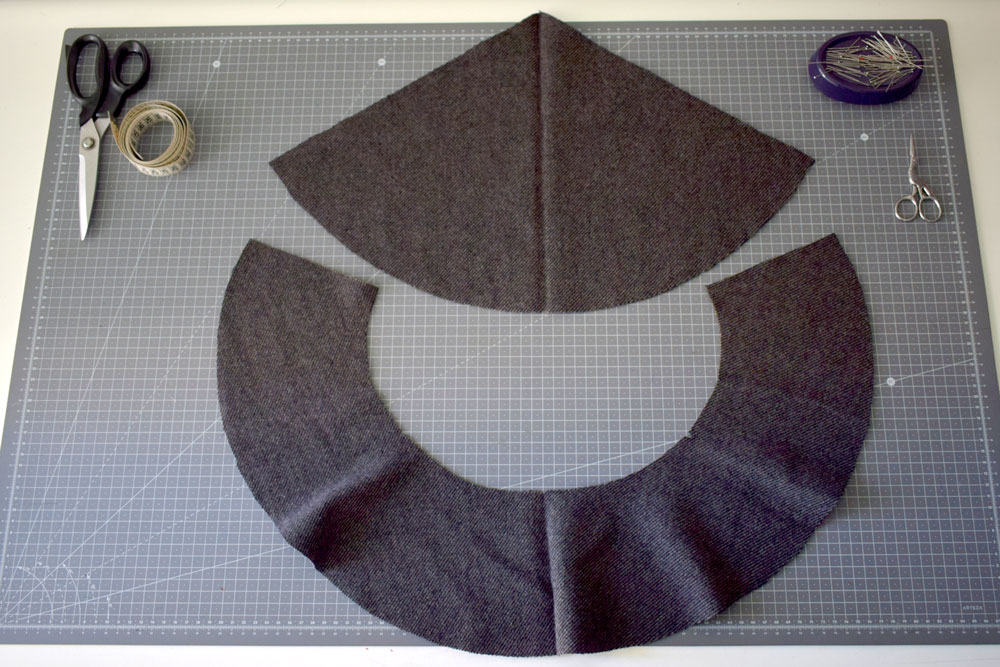
The first thing to do, is to make the various elements of the pattern from each cut of fabric. We have 3 “cones” in wool, cotton and interlining and 3 flaps, in wool, cotton and interlining. Both the body of the hat and the brim were cut in one piece, resting the paper pattern on the fabric fold. If this is not possible for you, you can cut two pieces of each paper pattern, adding the seam allowance, and join them together at the beginning of the work.
All cuts, for each fabric, should be worked in the same way.
STEP 2: WELD THE BODY OF THE HAT TO THE BRIM
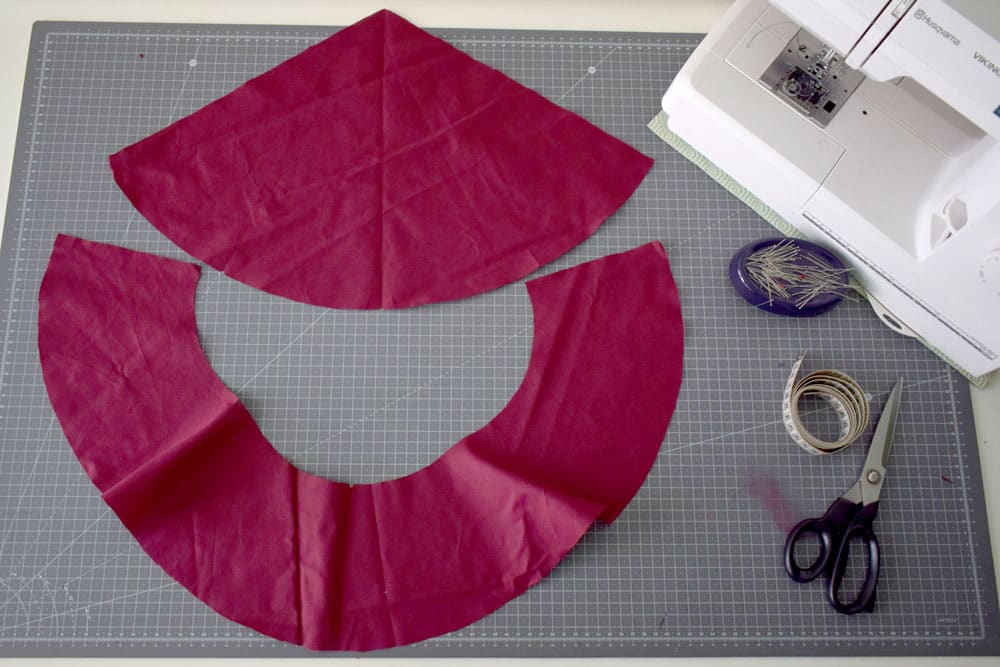
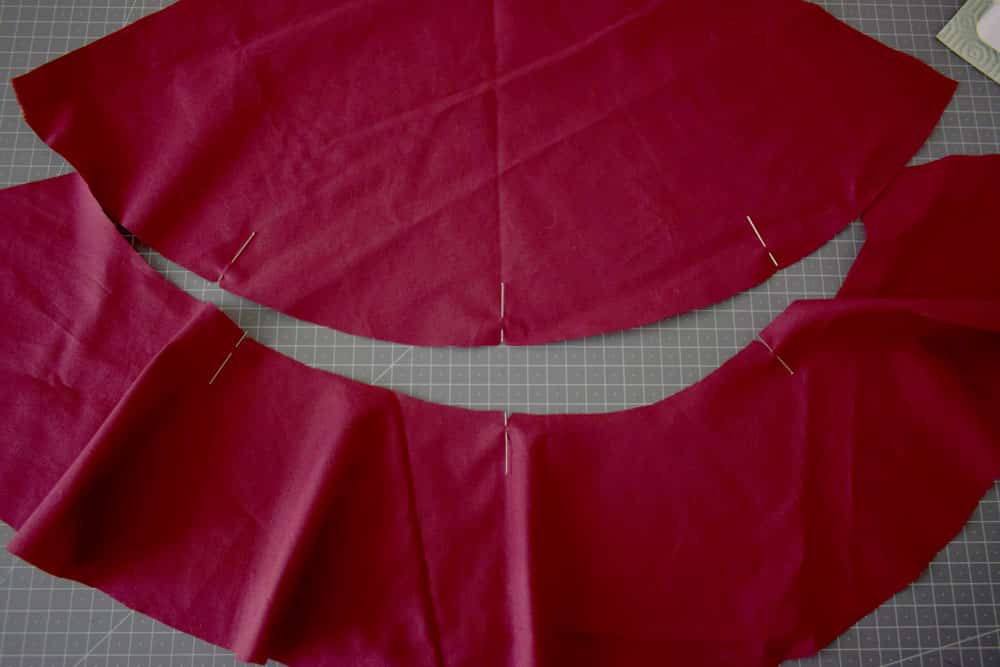
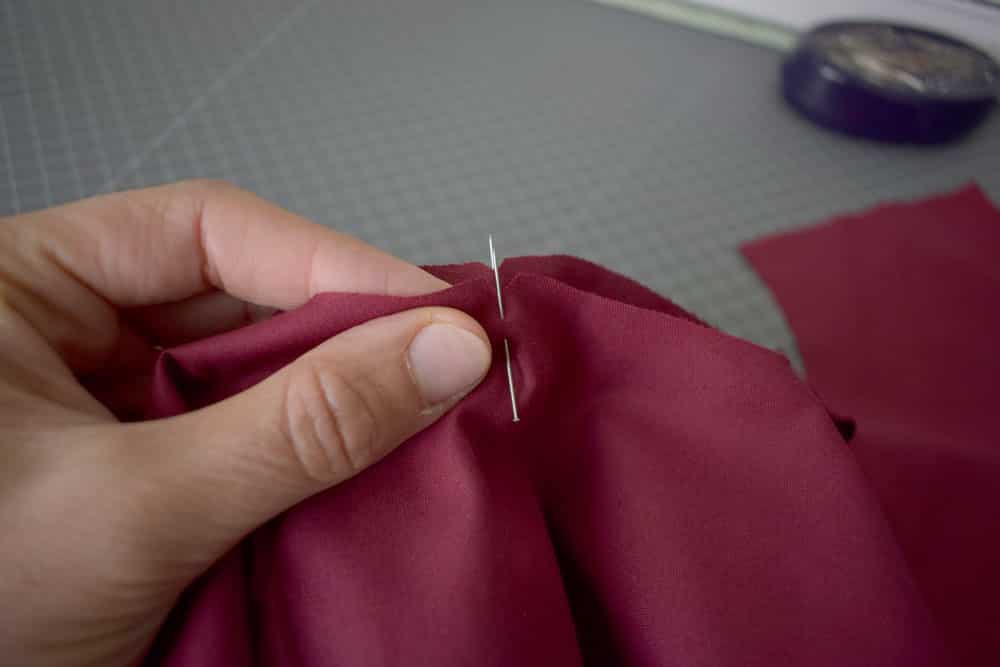
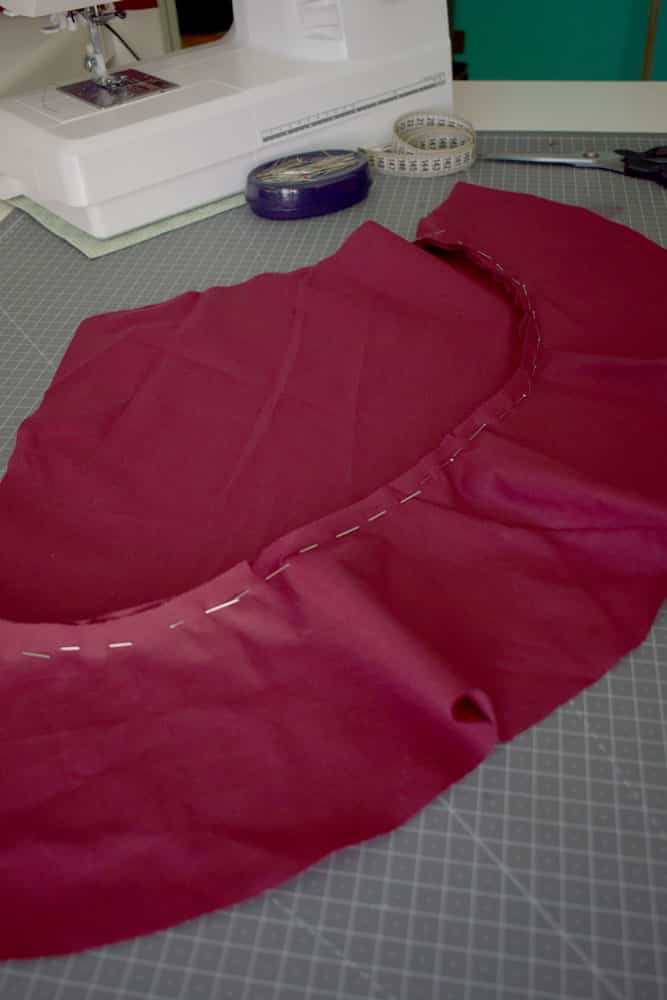
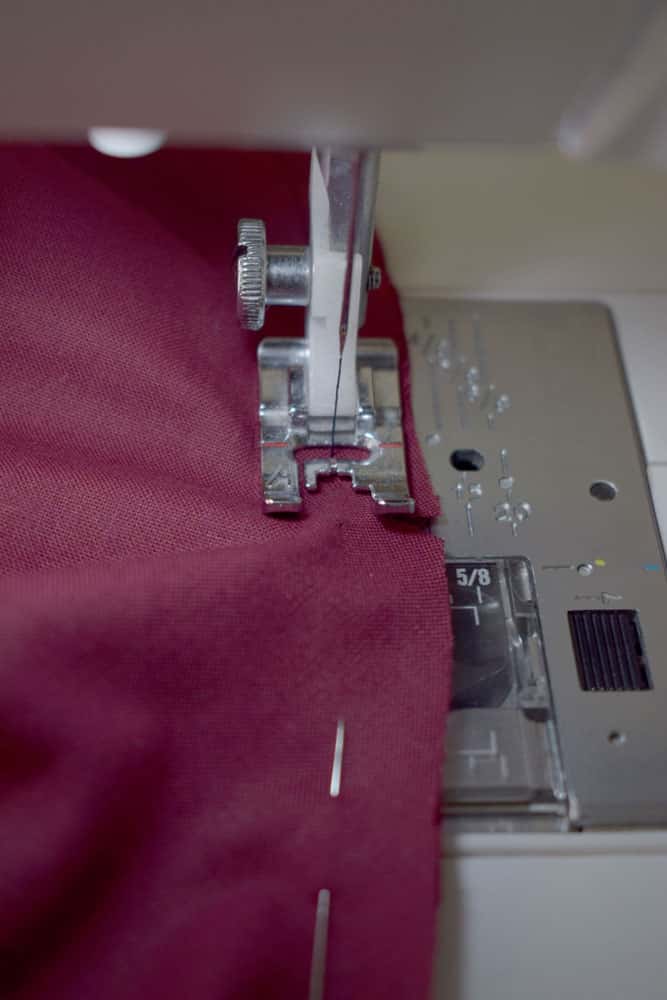
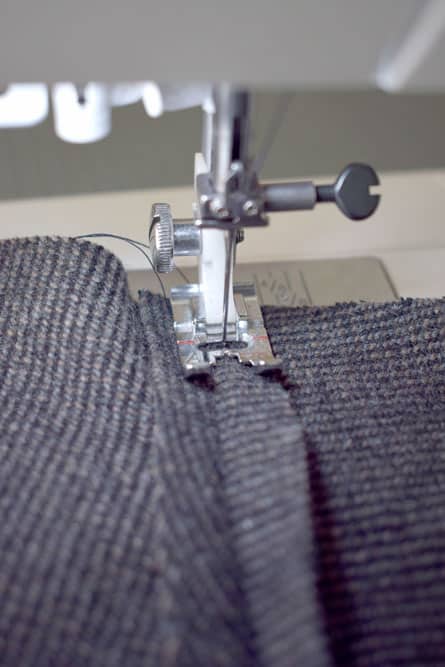
Using the positioning notches, we join the base of the cone to the minor edge of the flap. Helping ourselves with pins to mark the middle and several quarters of the two curves, we match the two pieces starboard to starboard, and pin everything together with pins. We then go to sewing.
STEP 3: EDGE STITCHING
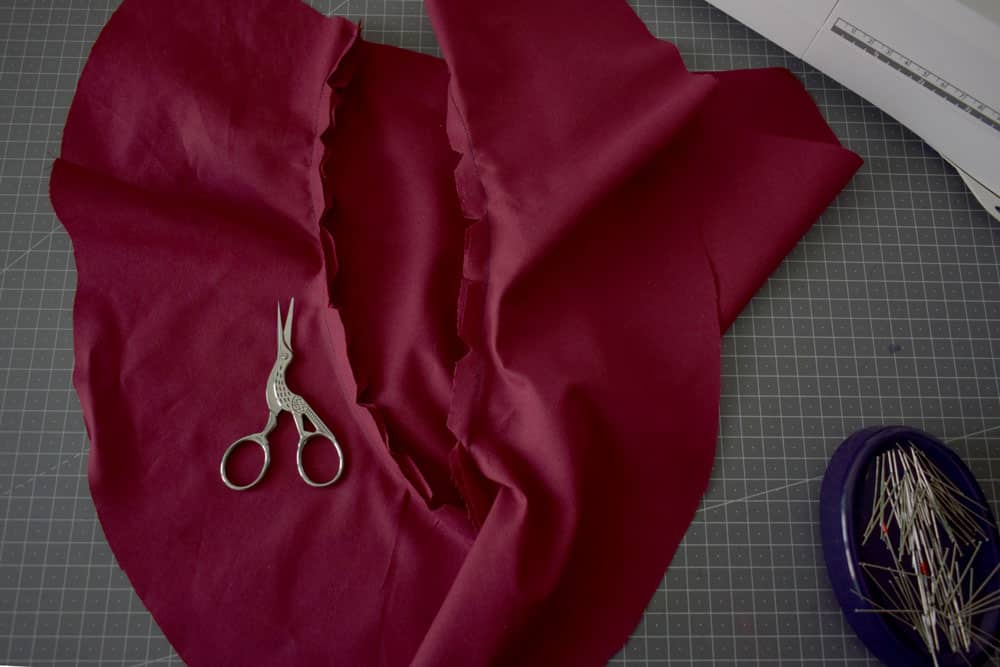
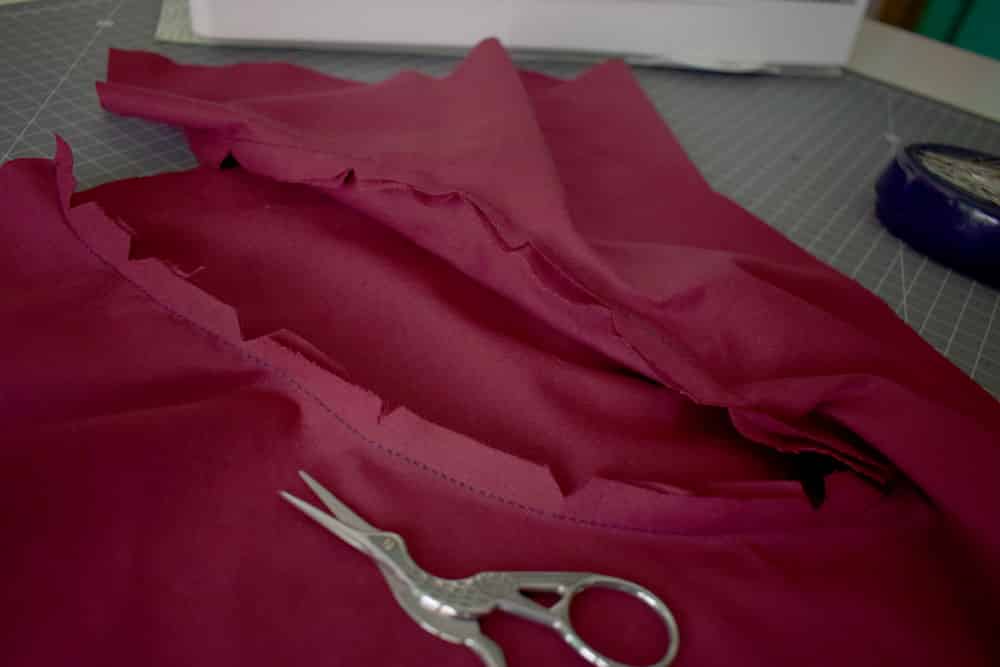
With scissors, we cut the seam allowances.
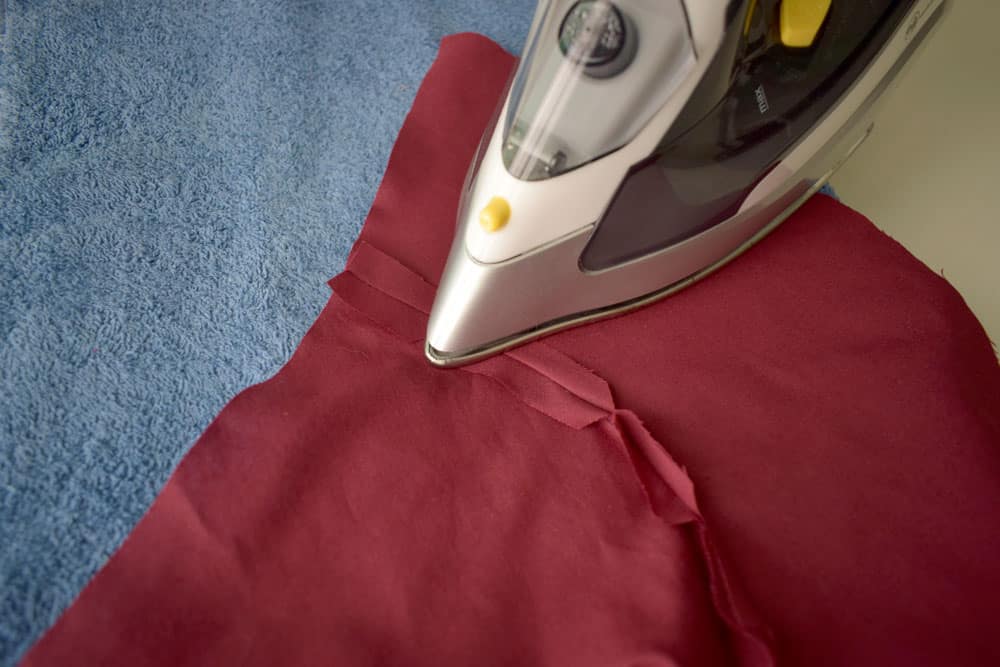
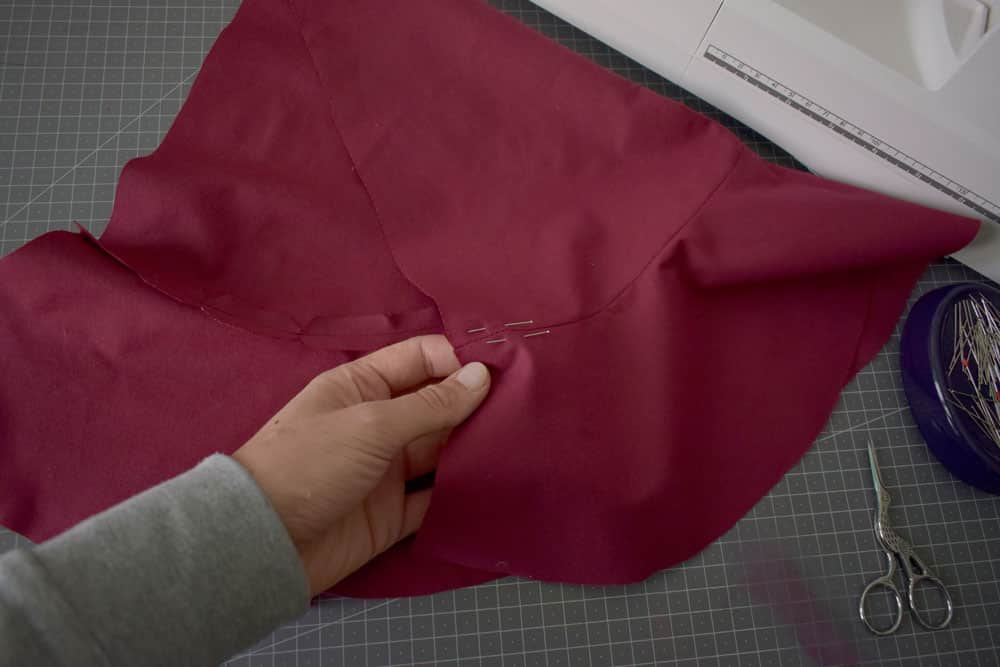
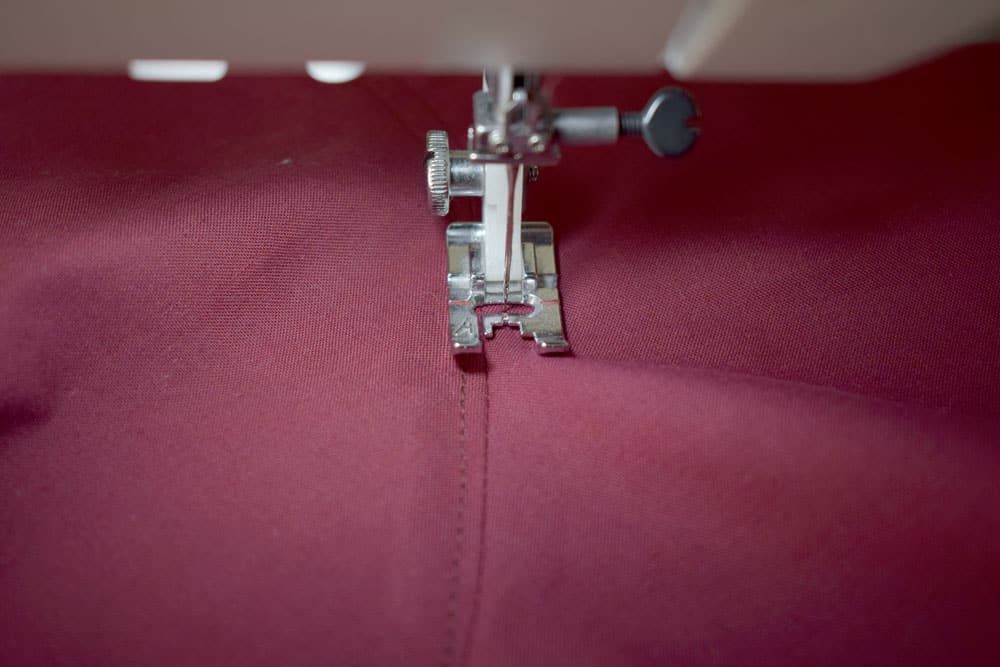
Thanks to these incisions, it will be easier to iron the edges wide open on both sides and topstitch them, on the right side, to secure them in place. In topstitching, I used a stitch length of 2.5 and kept about half an inch from the seam.
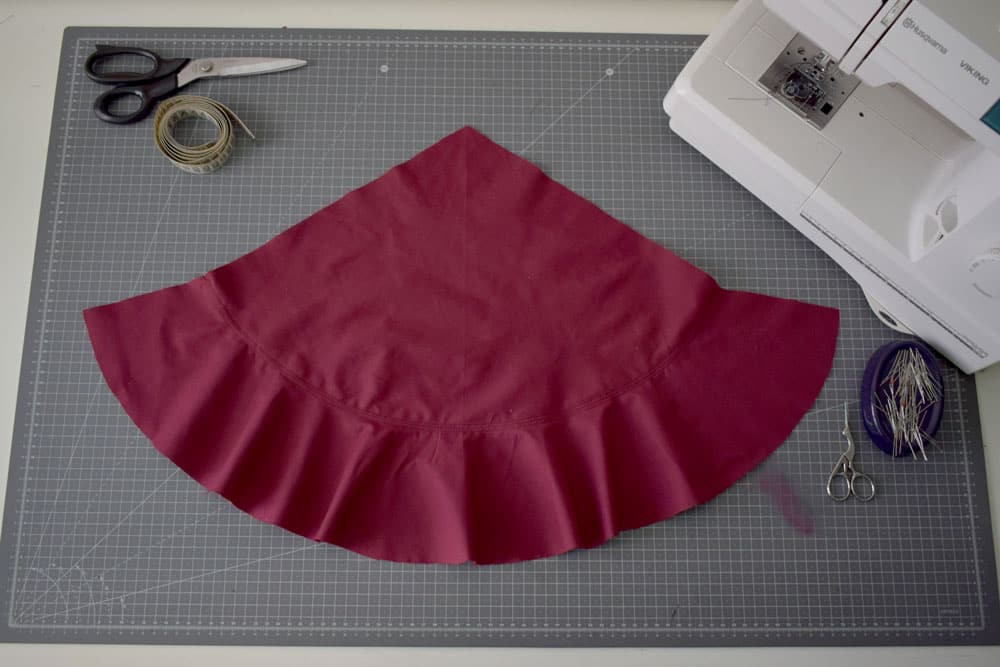
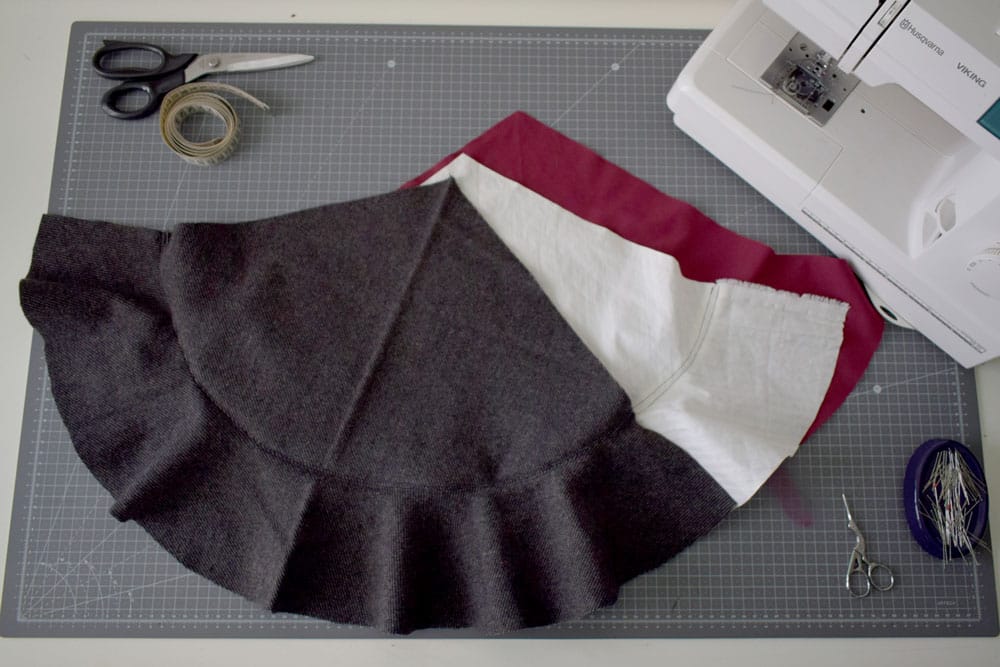
Having attached the flap to the cone, we repeat the same operation with the other two fabrics.
POINT 4: REINFORCEMENT
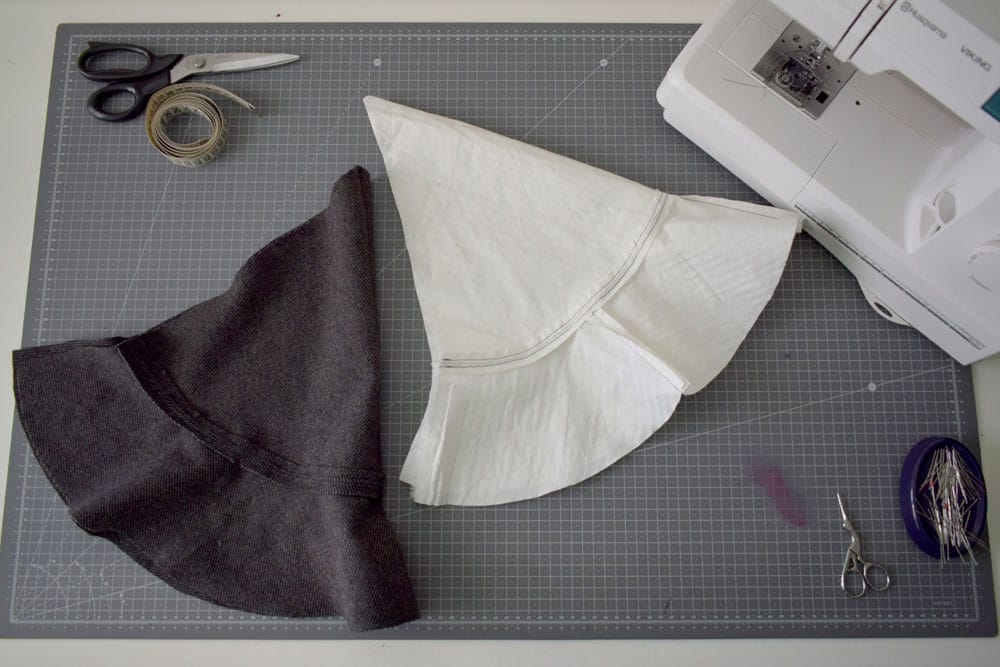
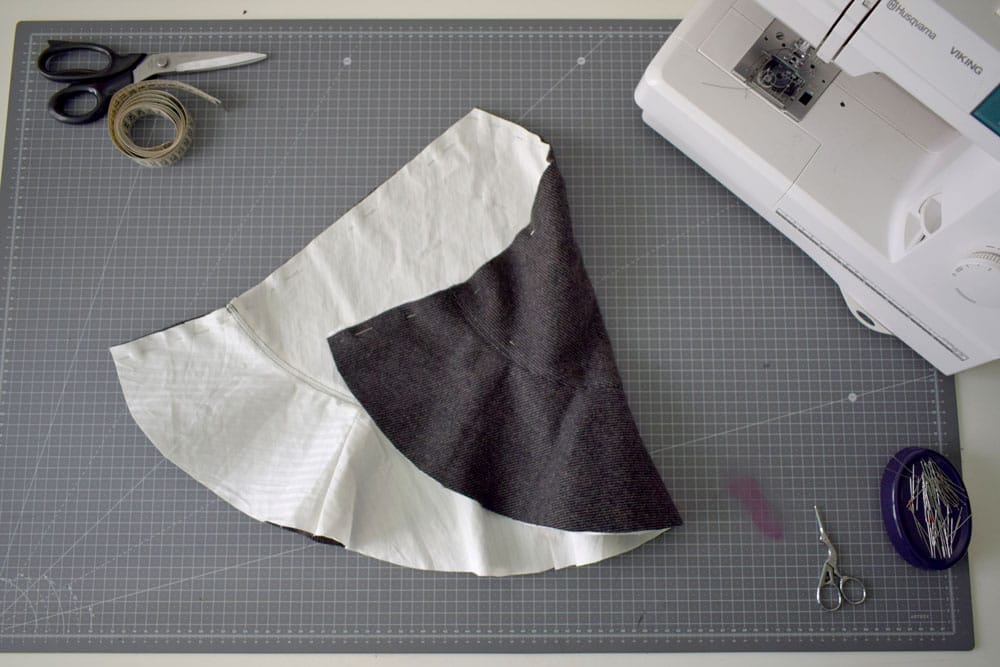
Now let's take the patterns in cloth (or what you have chosen as the outer fabric of the hat) and interlining. Let's stack them on top of each other, matching the seams and ironing them together so that they fit best.
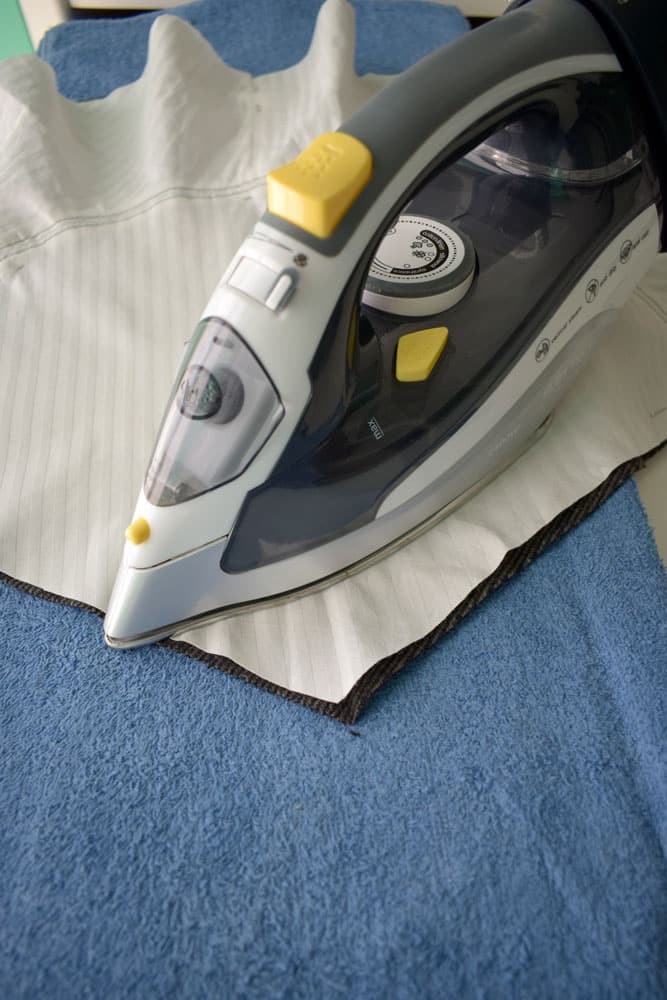
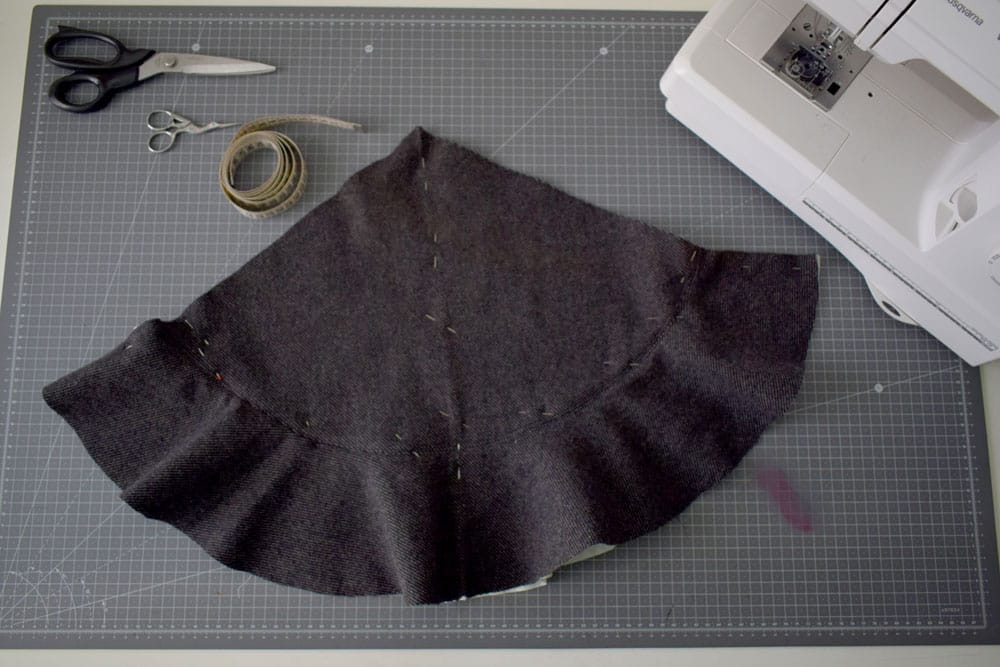
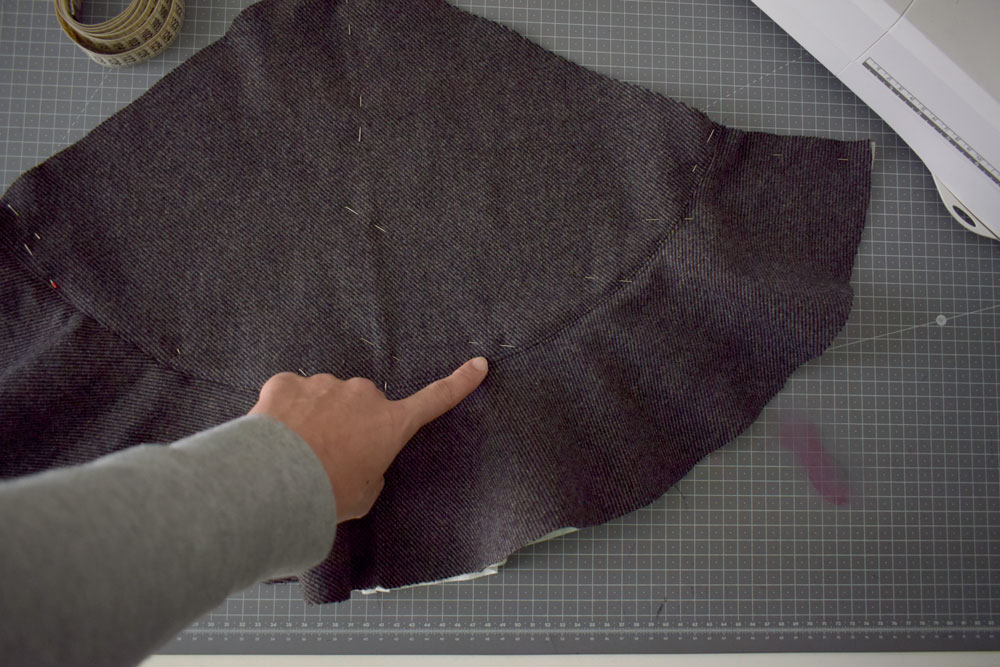
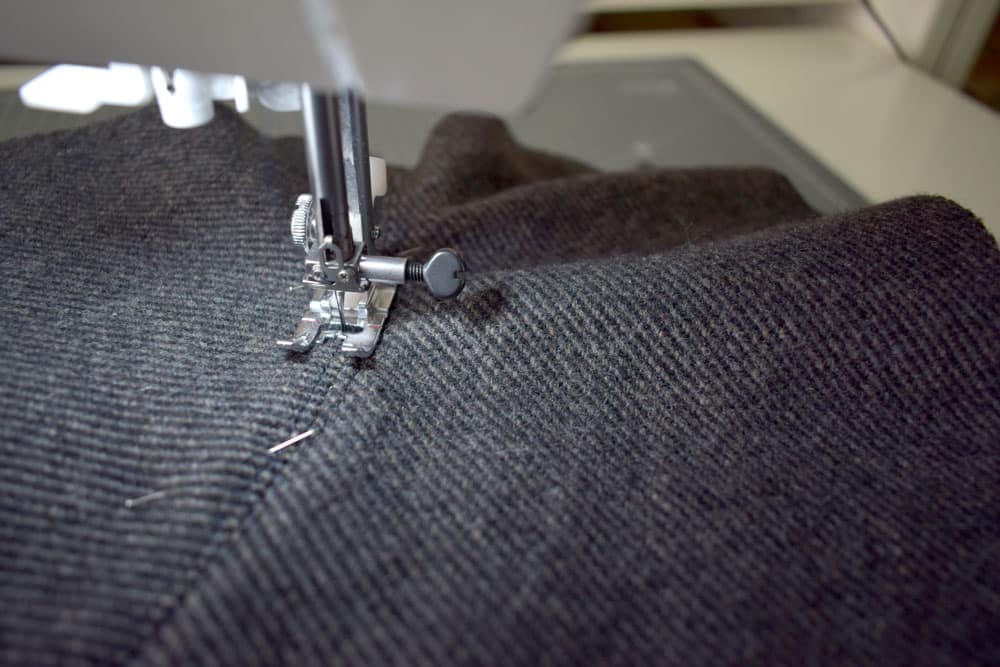
Having made the two elements fit together, let us join them together by going to make a seam along the firm hexagon between the body of the hat and the brim. The joining of these two pieces will make the cloth (and thus the hat) more stable and supported, giving shape and body to our accessory.
Variant with thermoadhesive fliselin:
In case you have this fabric, to reinforce the hat, you will simply cut out on the fliselin the elements of the pattern and iron them onto the cloth fabric. The fliselin will adhere to the fabric and once cooled will make it more rigid and stable. It will then not be necessary to cut and sew the interlining fabric, and you will be able to jump directly from step 4 to the item 5
STEP 5: FORM THE HAT
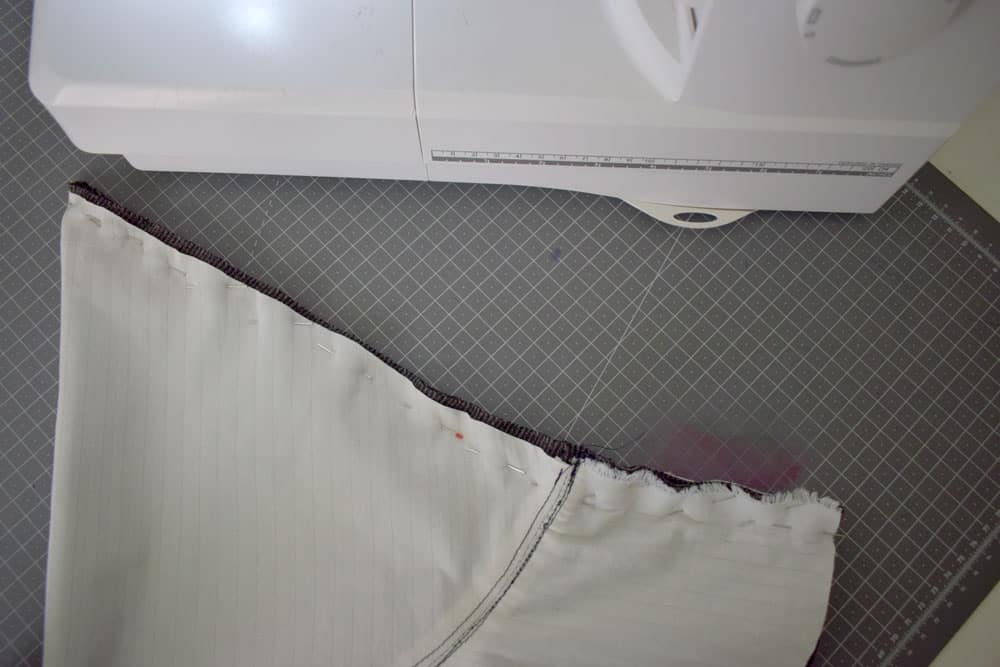
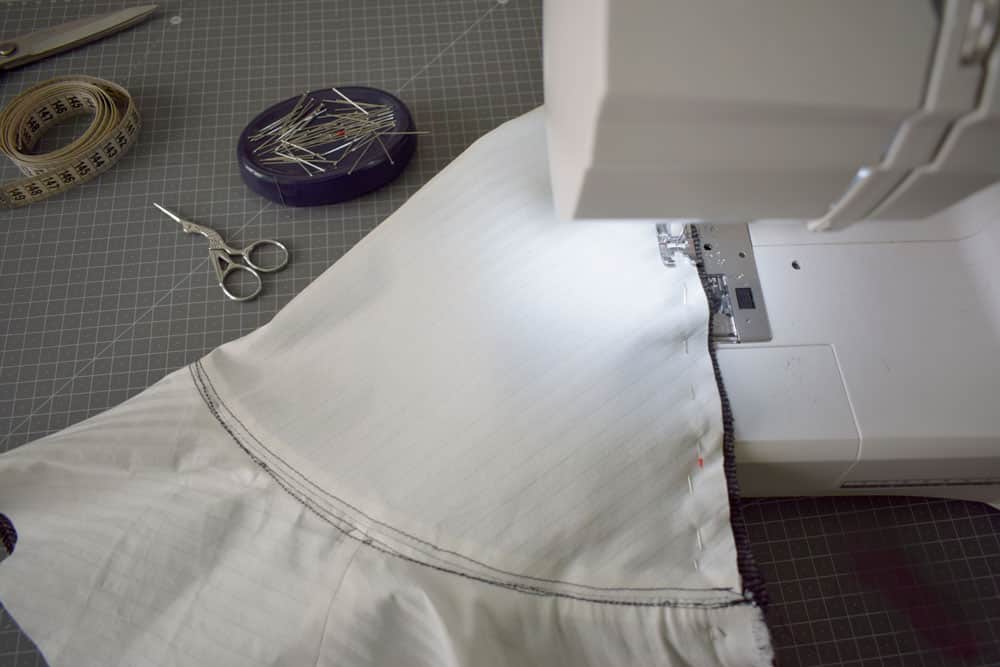
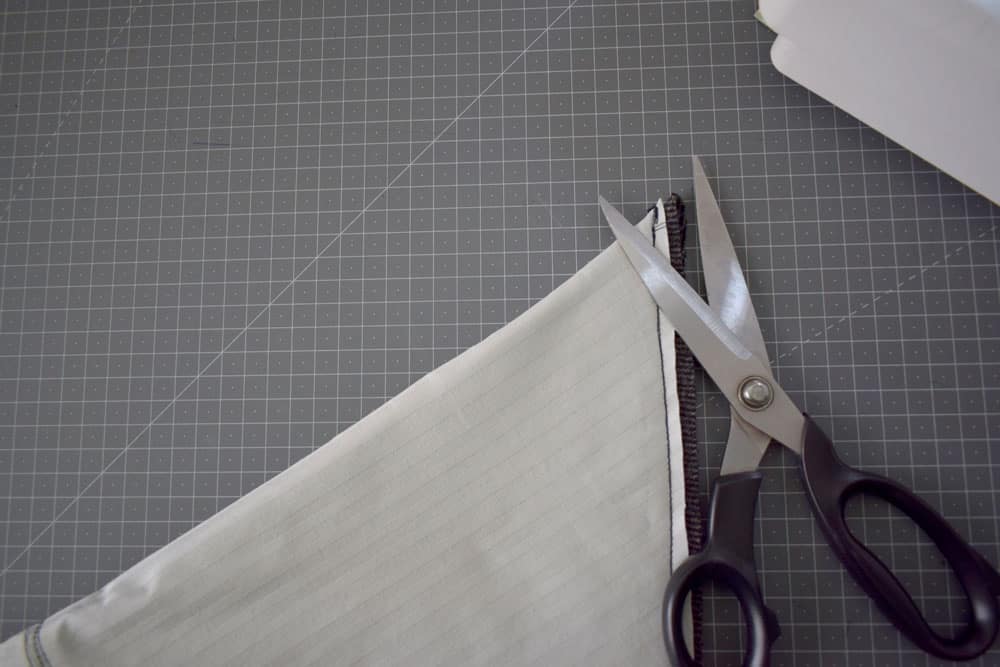
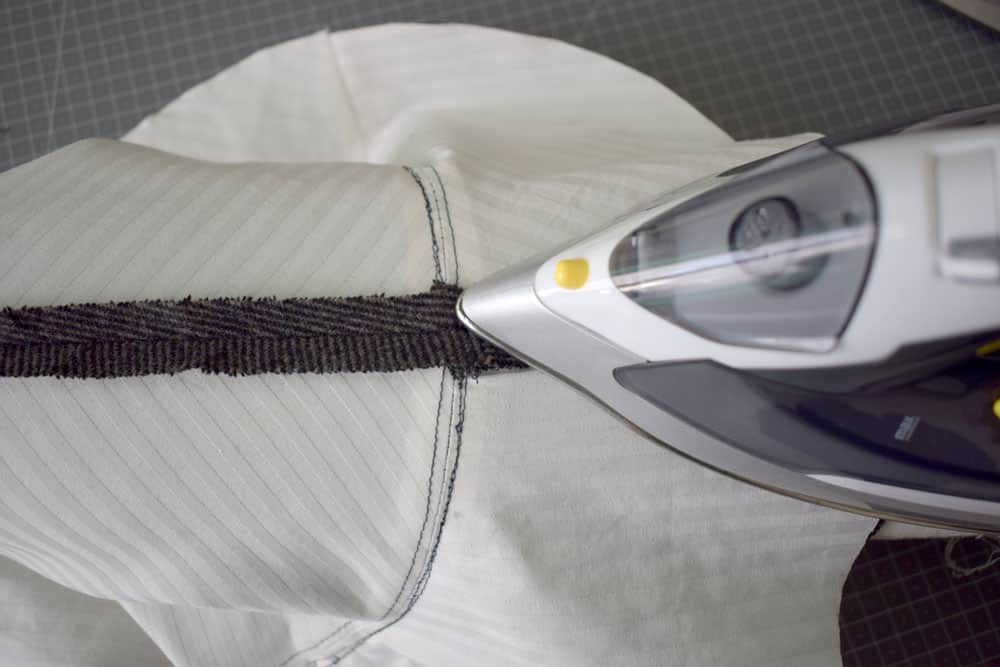
To truly shape the hat, we match the two long sides of our pattern, pin everything together, and take it to the car.
Very carefully, we slightly trim the seam allowance at the tip of the hat, so that it is easier to turn the pattern upside down.
Let's open the seam allowances and iron them well in place.
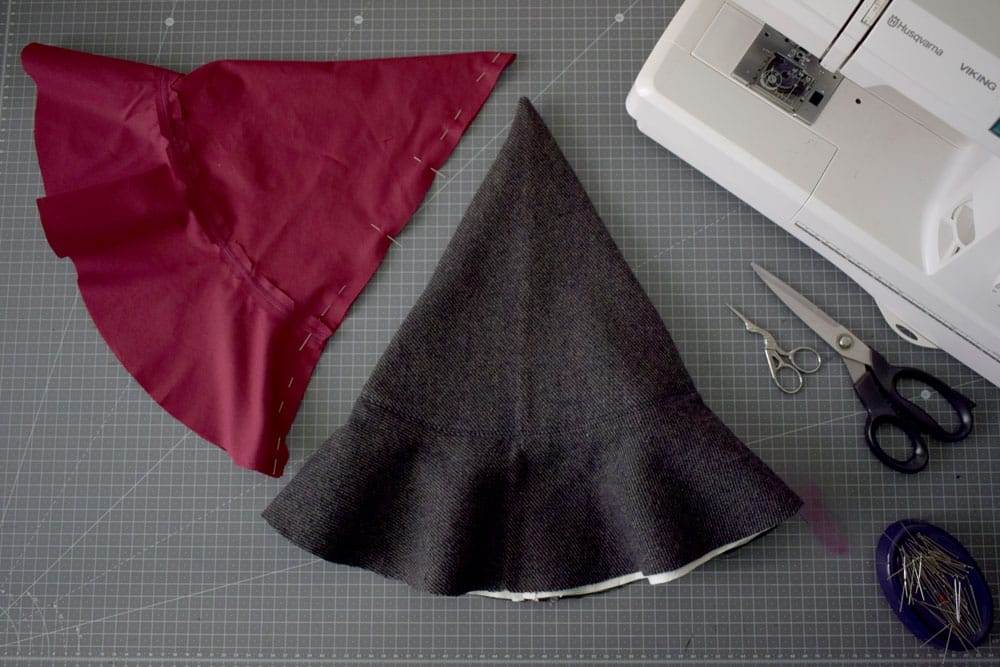
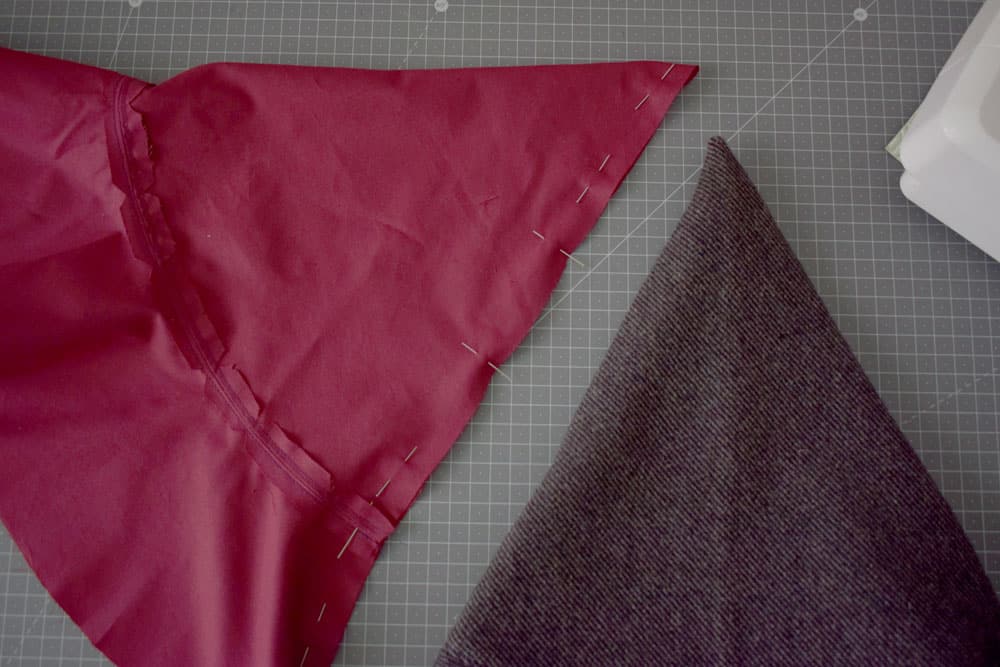
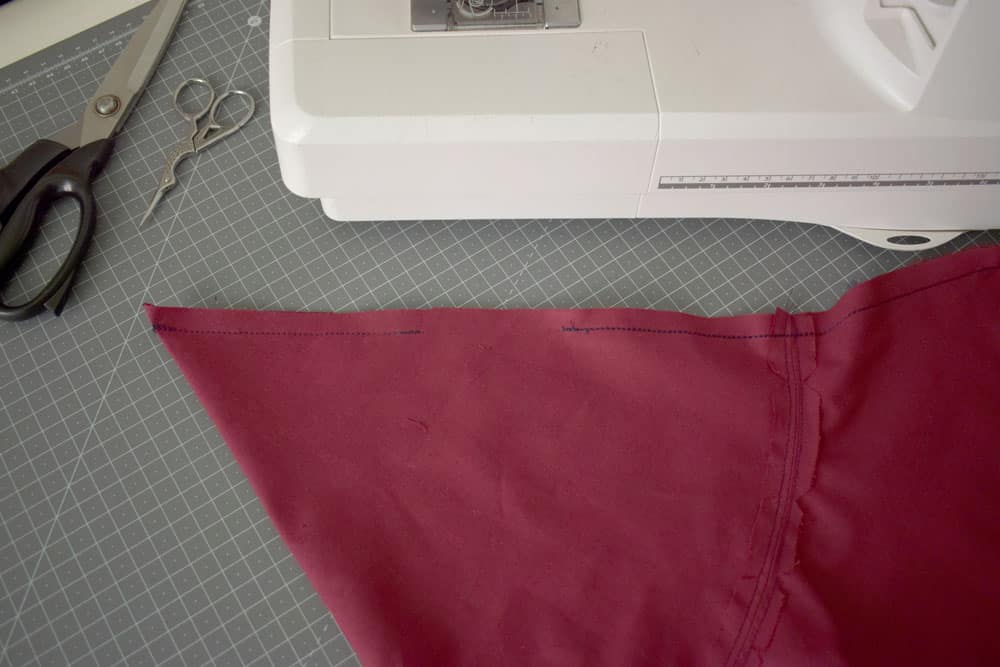
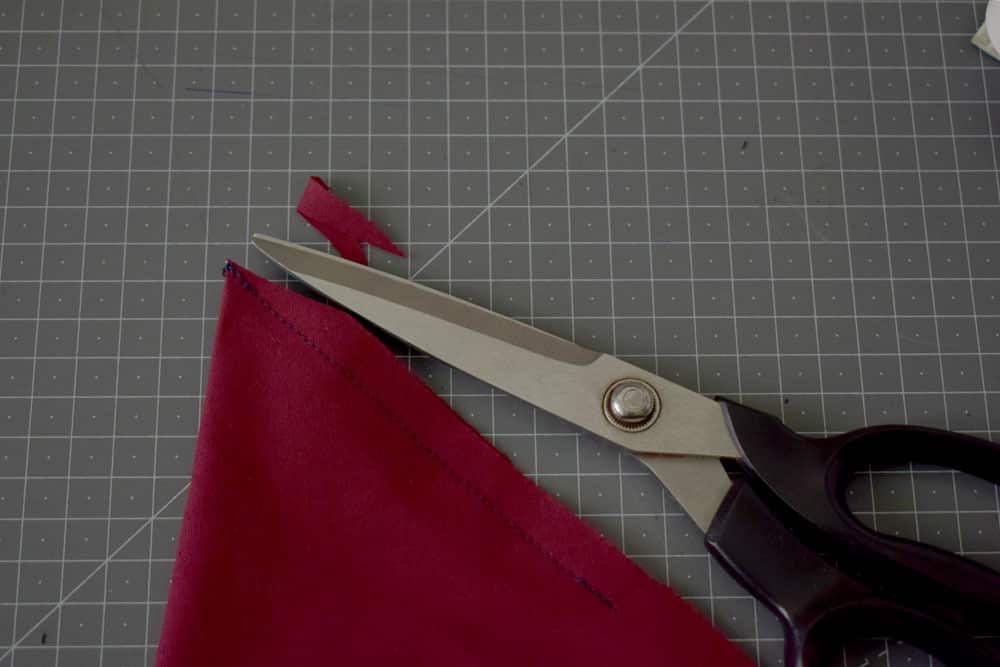
We repeat the same step with the lining fabric, applying a caution: when sewing the body of the hat, we leave an unsewn space of about 5 fingers.
STEP 6: LINING
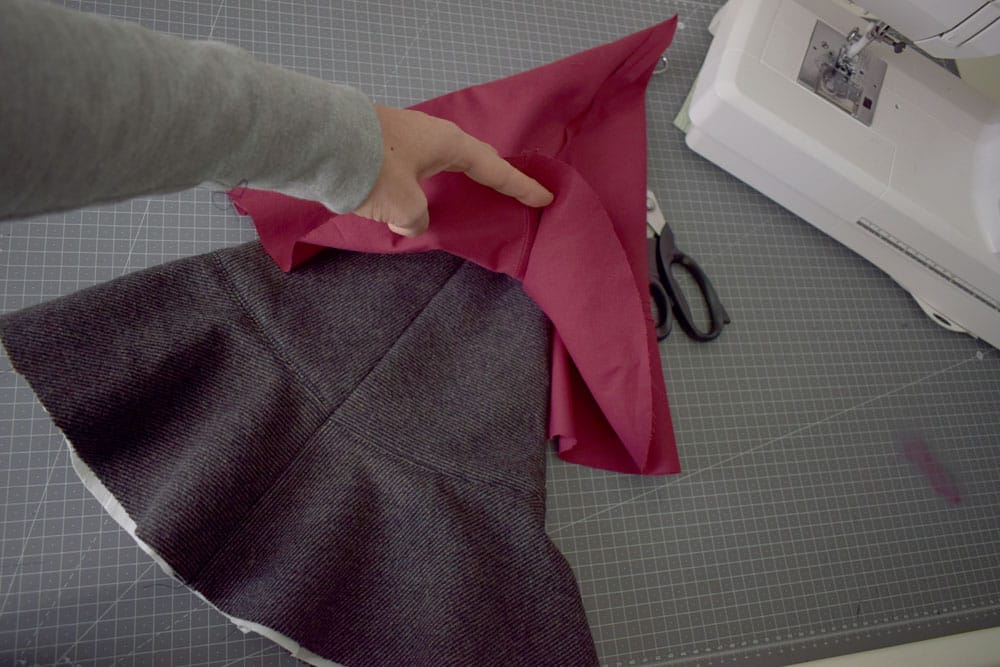
Having obtained the two hats, we turn the cloth pattern inside out on the right side and leave the lining pattern on the reverse side. We tuck the hats inside each other, as in the photo, matching the vertical seams.
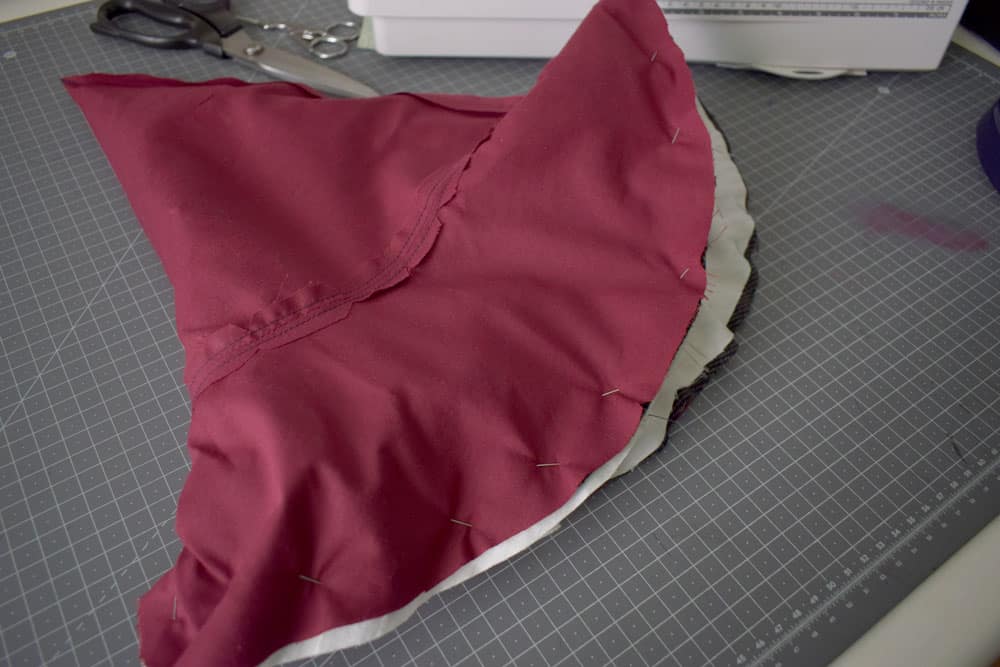
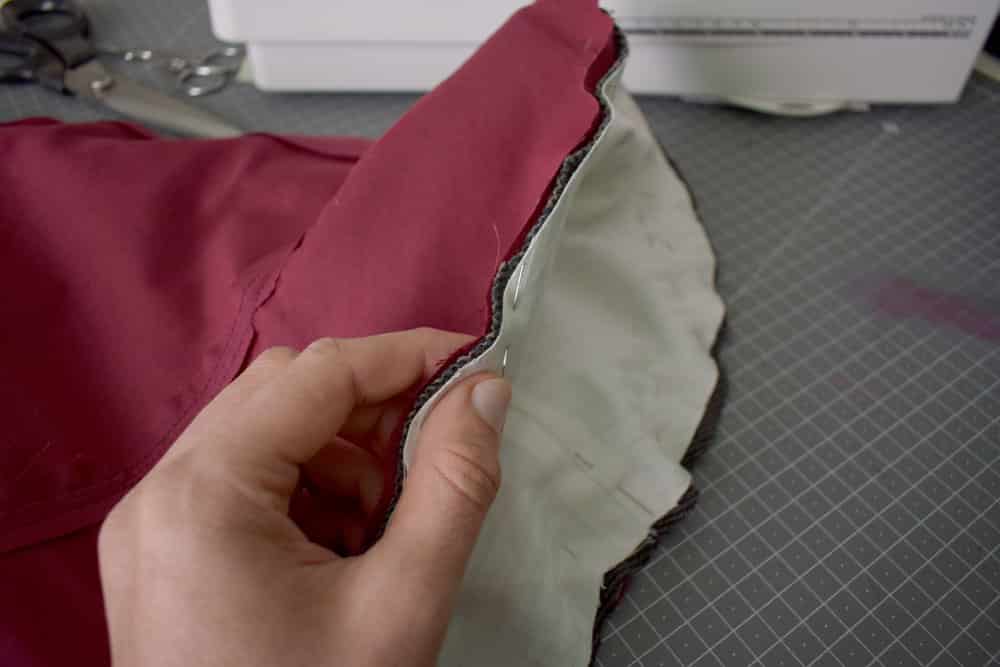
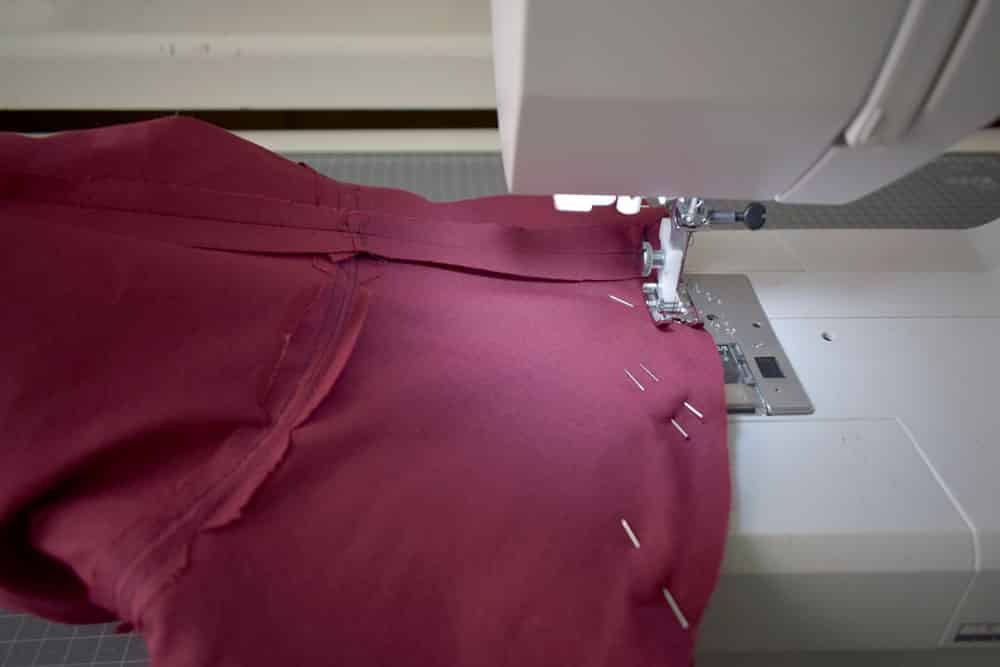
Next, let's join the three layers together along the outer edge of the flap, springing the curves where the fabric requires it and securing them with pins. We sew with a straight stitch, all the way around the circumference.
STEP 7 : TURN UP
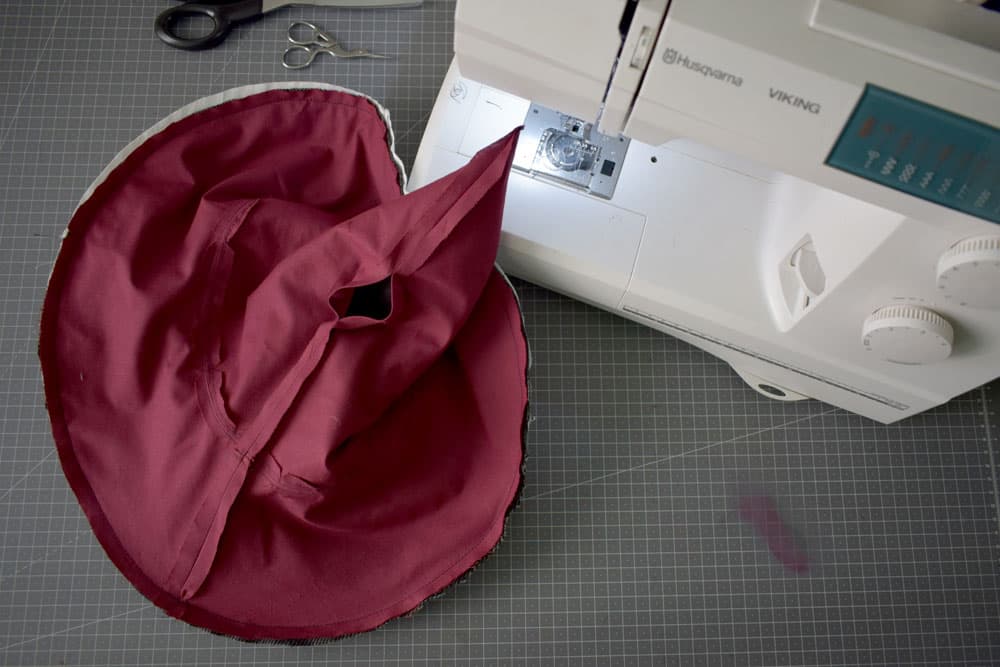
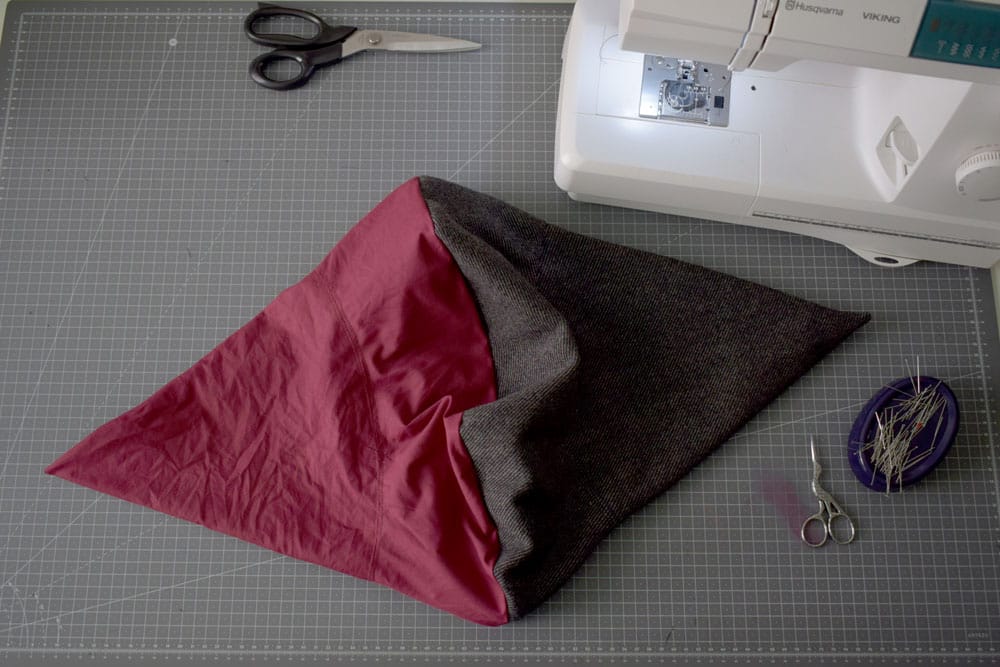
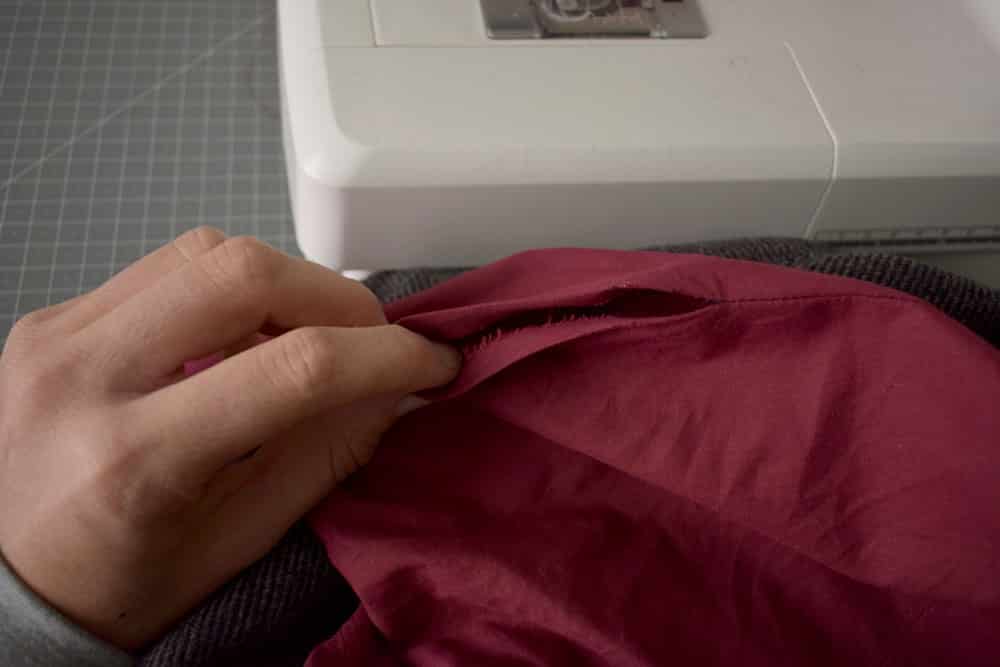
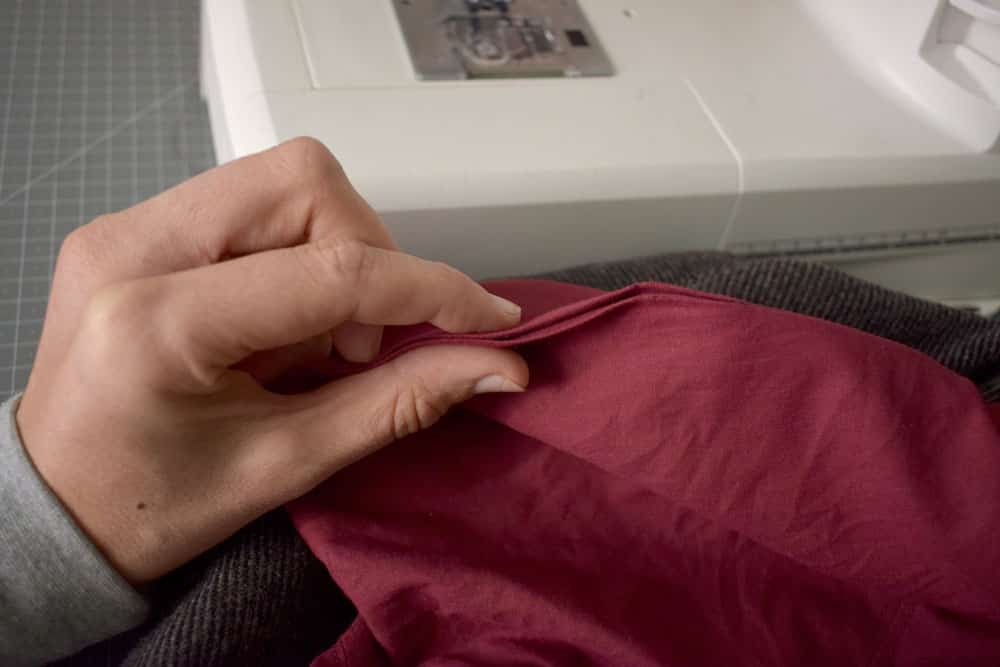
Remember the opening left in the vertical seam of the lining? Through that opening we are going to turn our pattern inside out from inside out. Before placing the lining inside the hat, we close the opening with a small machine stitch, very close to the edge (or by hand, with an invisible stitch).
STEP 8: REFINE
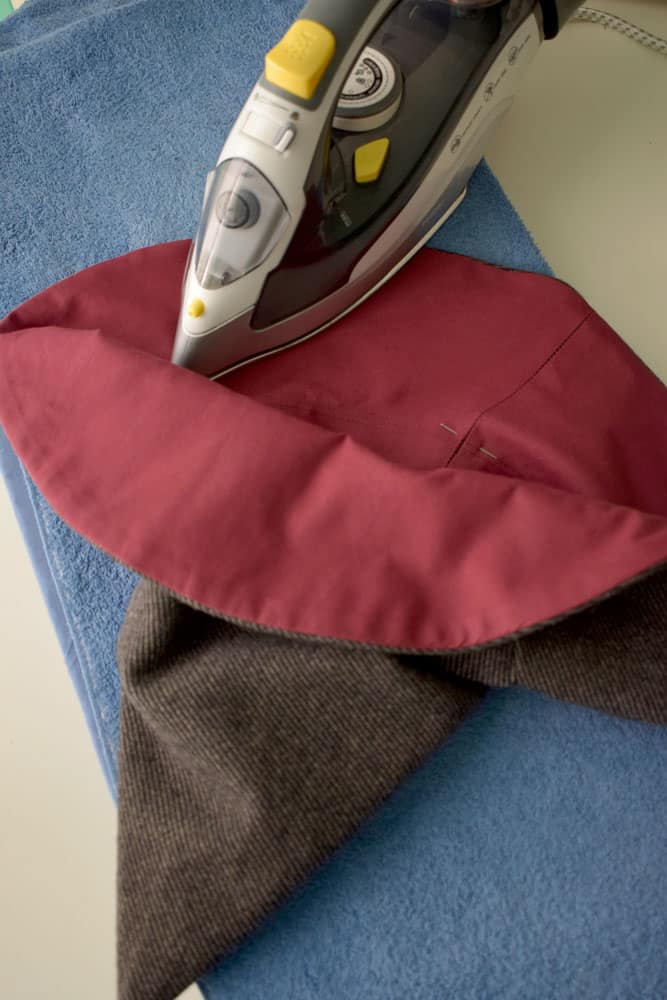
We iron our hat well, surely wrinkled from the lapel operation. We adhere the lining to the cloth and flatten the edges of the brim well, making sure everything fits together.
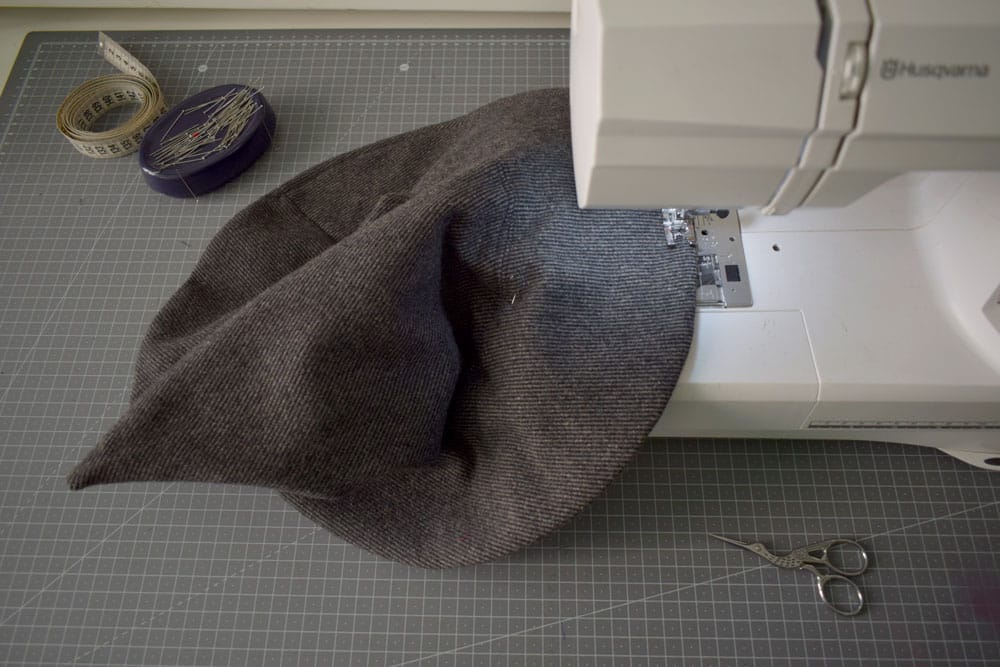
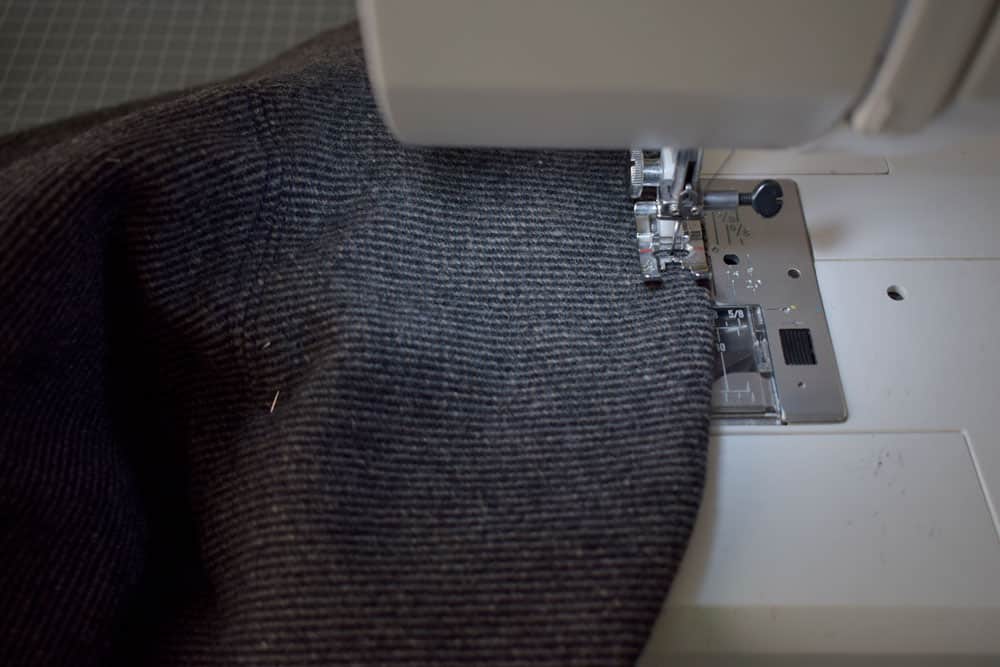
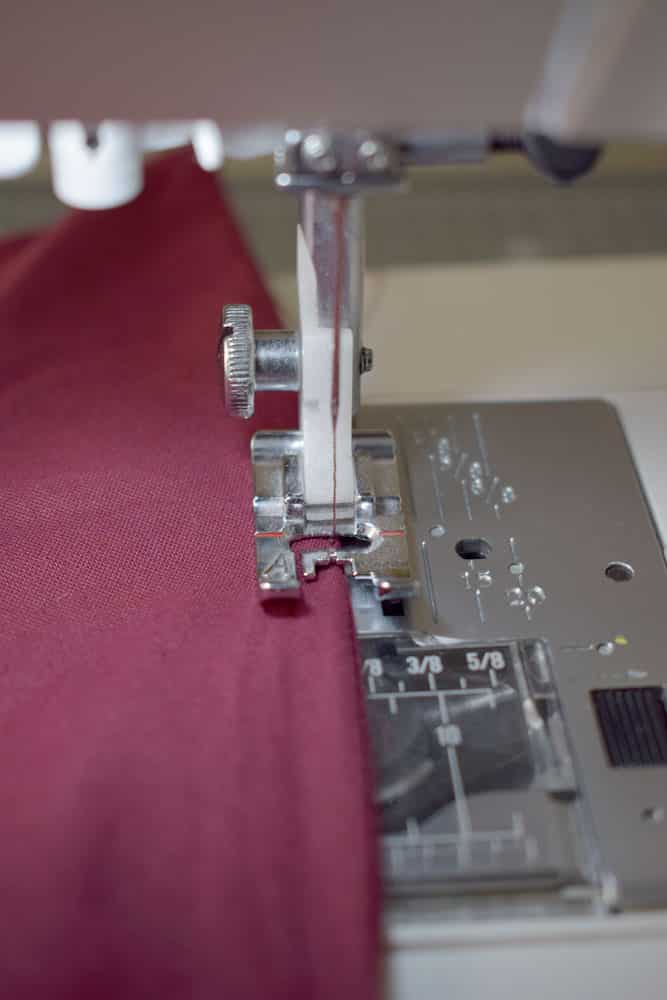
We go to the machine one last time and, an inch from the edge, perform a topstitch around the entire circumference of the brim of the hat.
And here it is ready, our witch hat!


