
No products in the cart.
The fisherman's hat, o bucket hat, for the past few years it has become a must-have, a virtually unmissable trend! It's simple, versatile and fits almost any style!
Would you believe that it only takes a couple of hours and a few, very simple steps, to make one, actually two?
Here is a tutorial for making a step-by-step double face fisherman hat.
The paper pattern consists of 3 elements:
Ready? Let's get started!
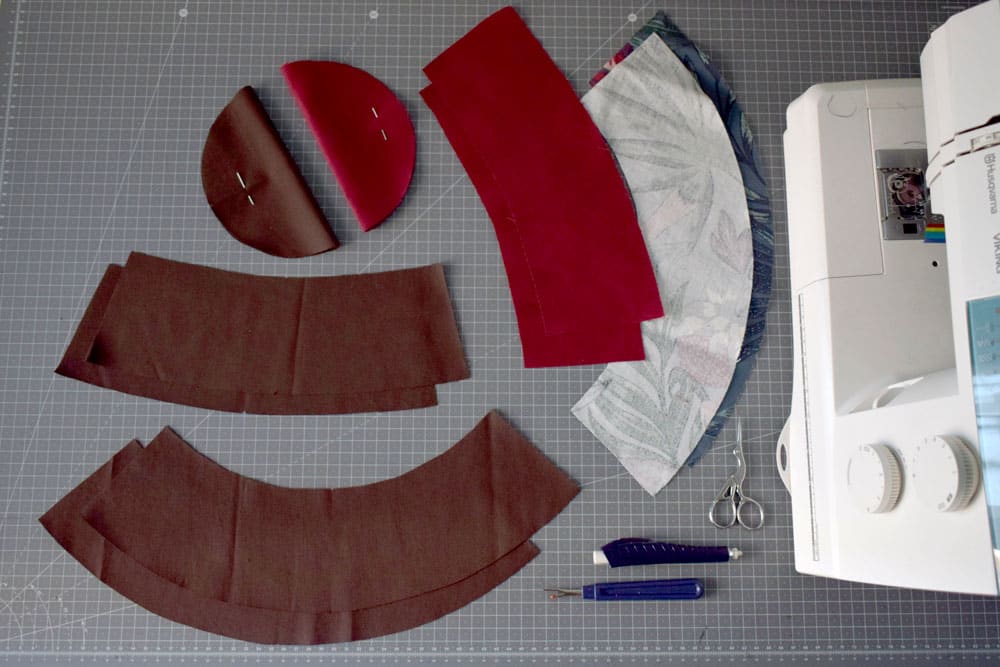
First, let's cut all the pieces from the pattern. The hat will be double-sided, so you need as many pieces from the first fabric as from the second.
It is necessary to cut into the first fabric:
From second fabric I will derive the same cuts, then:
I chose to have an entirely brown hat on one side, while for the other side I chose a red fabric for the main body of the hat and a patterned fabric for the brim.
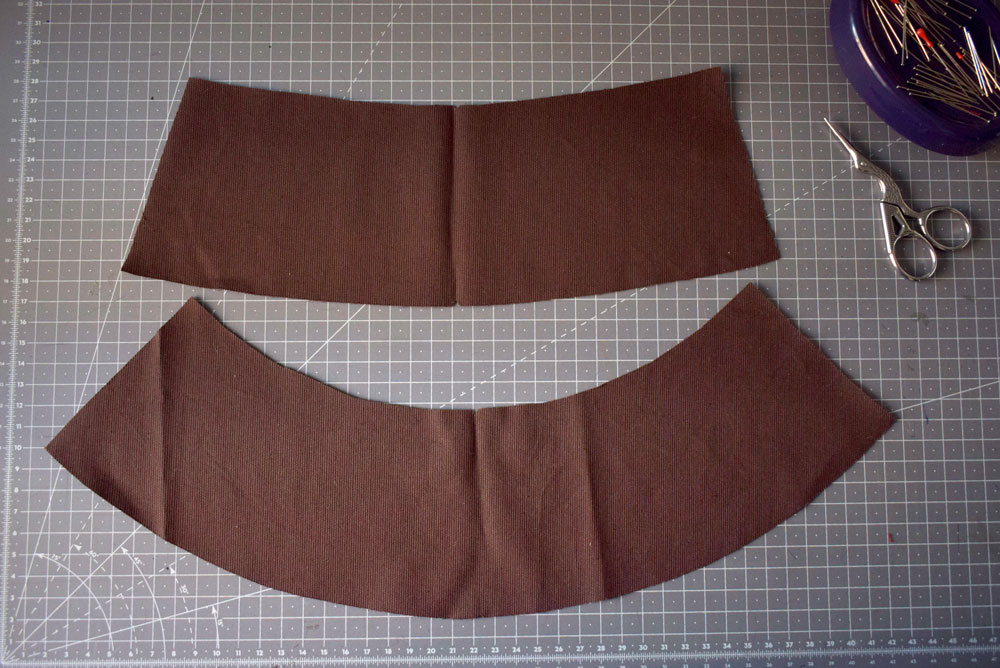
We begin by working the brim and body of the hat.
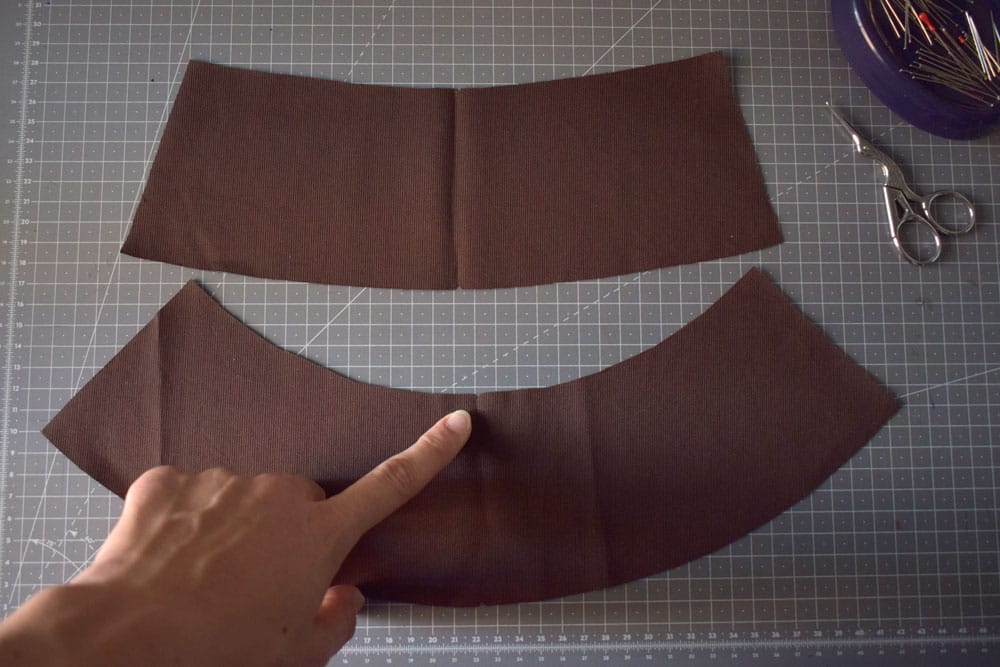
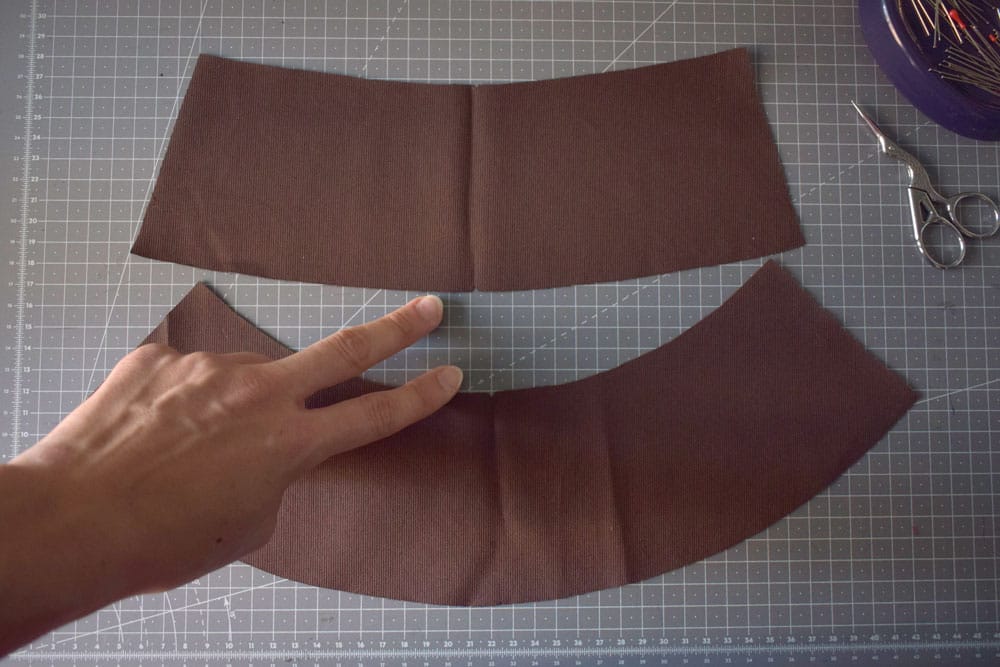
To make it easier to work, we mark the middle of both pieces with a small incision (or pin).
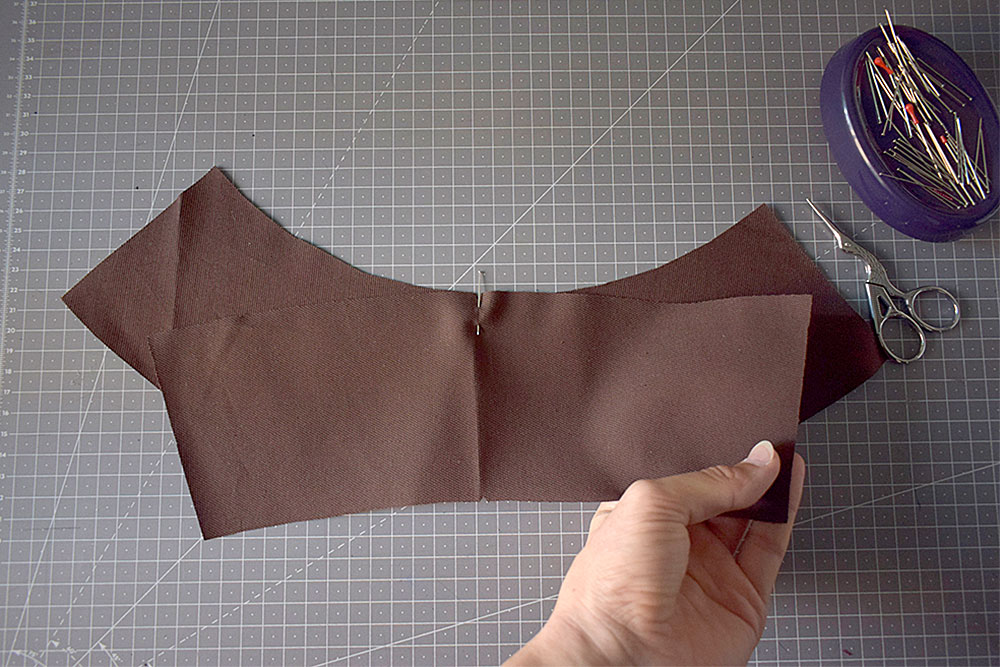
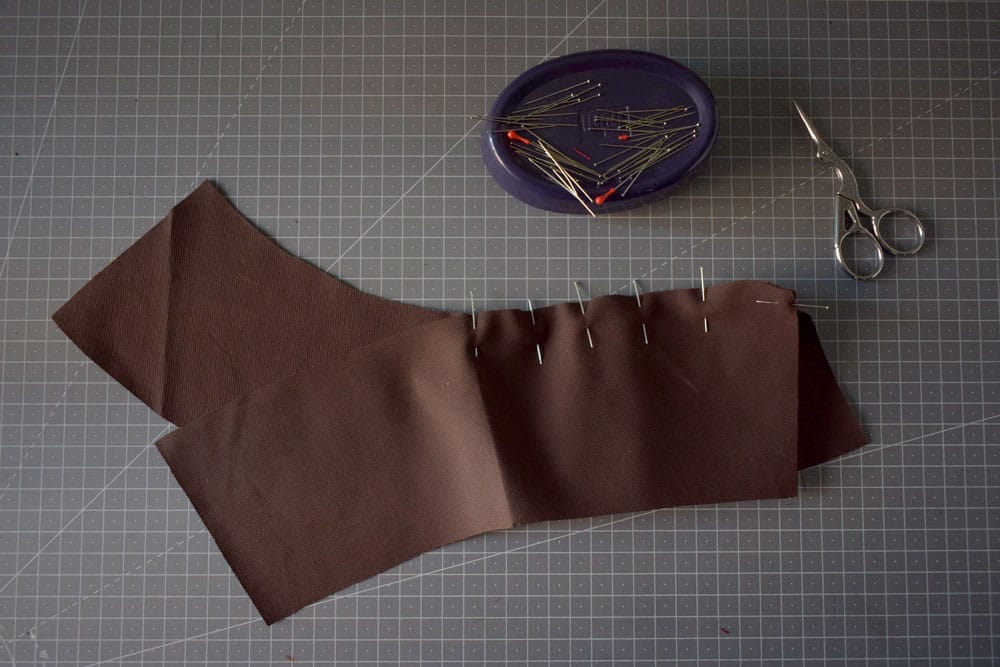
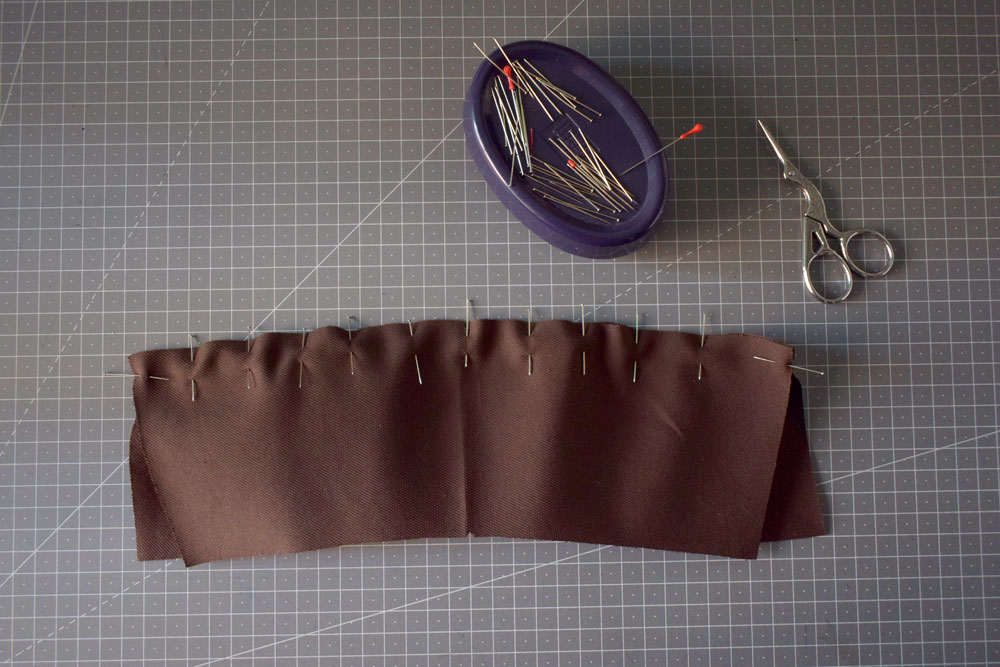
Starting from the center notch, we join the two pieces (the base of the body to the base of the flap) starboard to starboard, moving from the center toward the ends.
We set the stitch length to between 2.5 and 3, then sew at one centimeter, removing the pins as I encounter them.
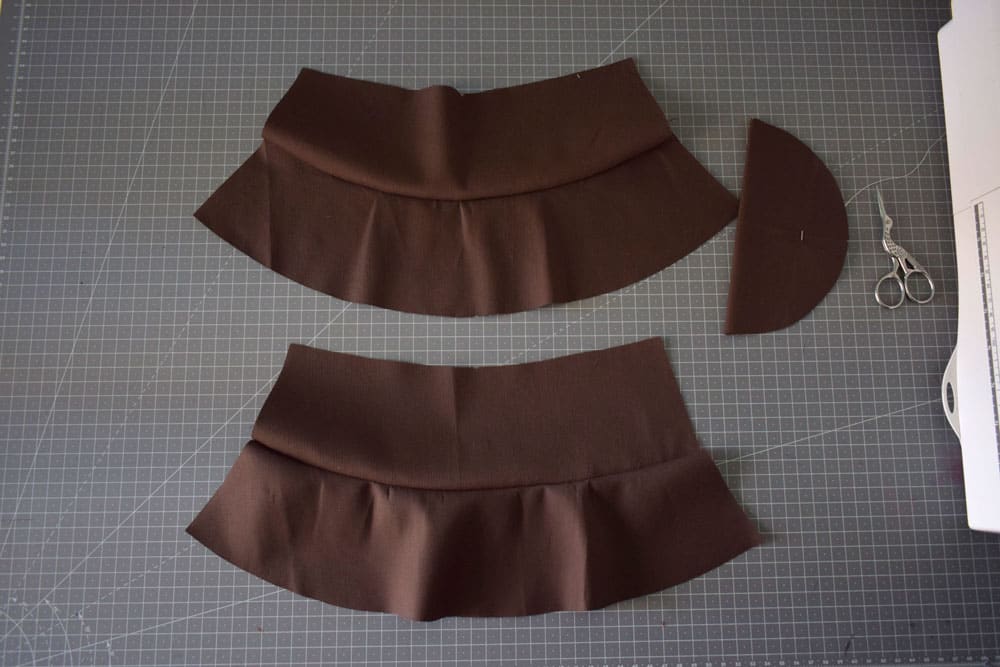
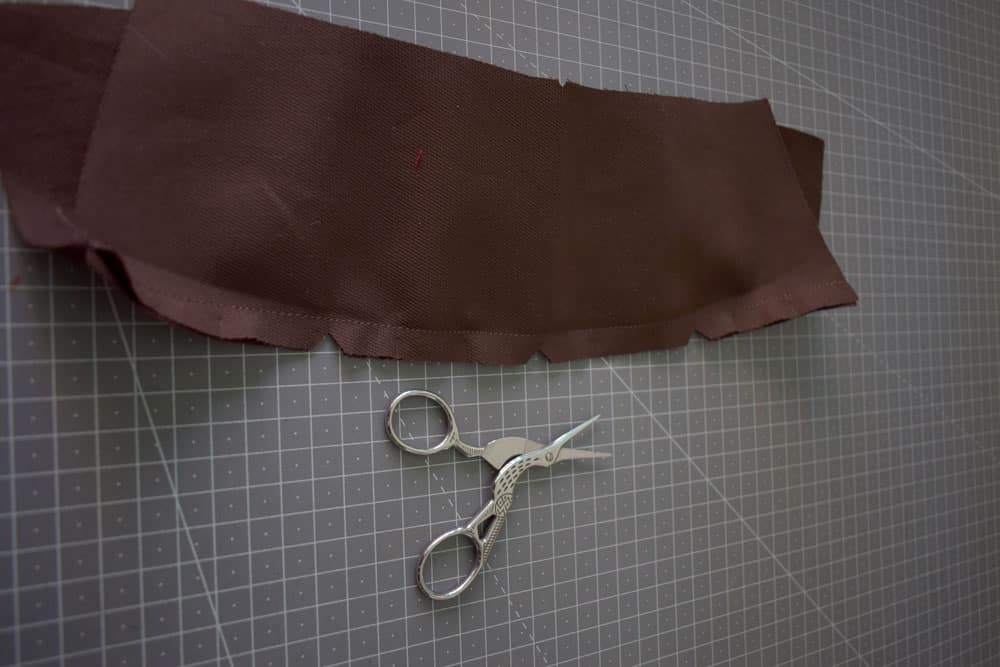
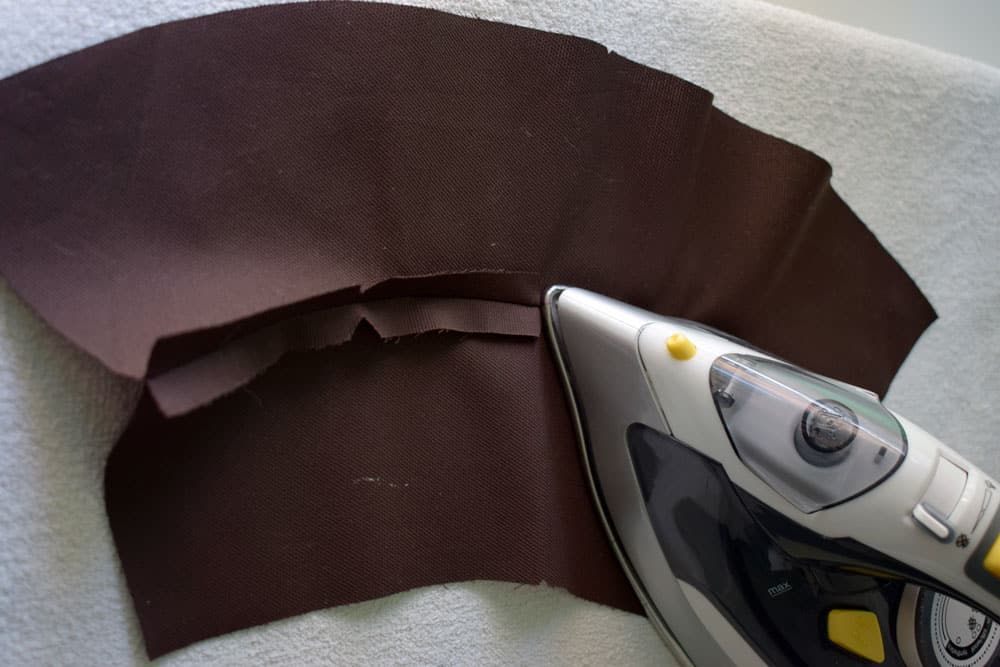
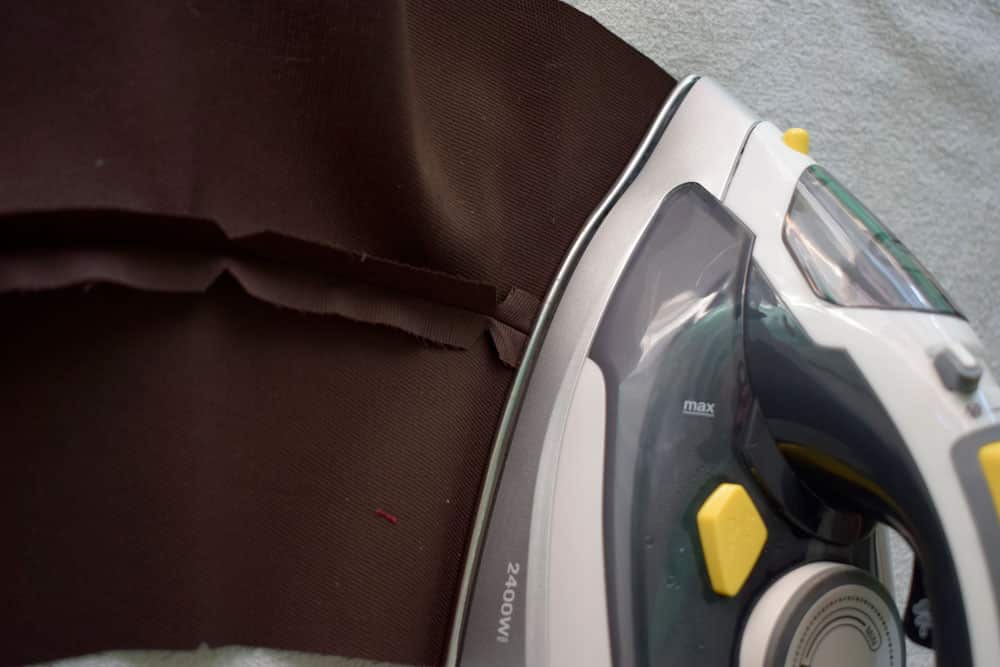
Joining the two pieces, we are going to make small triangular incisions in the seam allowances. These will help us stretch the open edges, accommodating them to the curve.
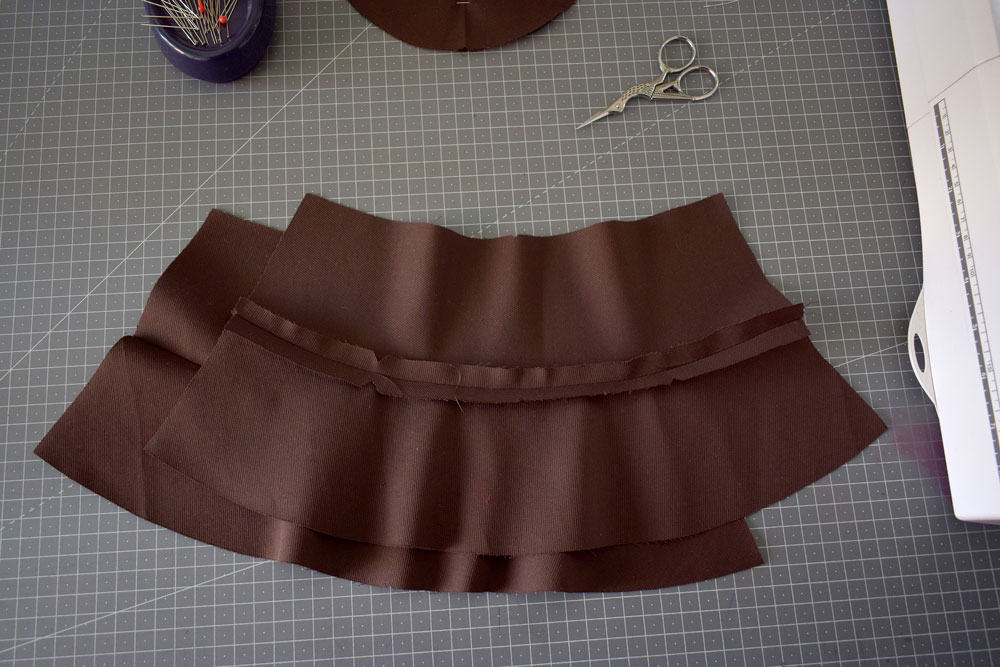
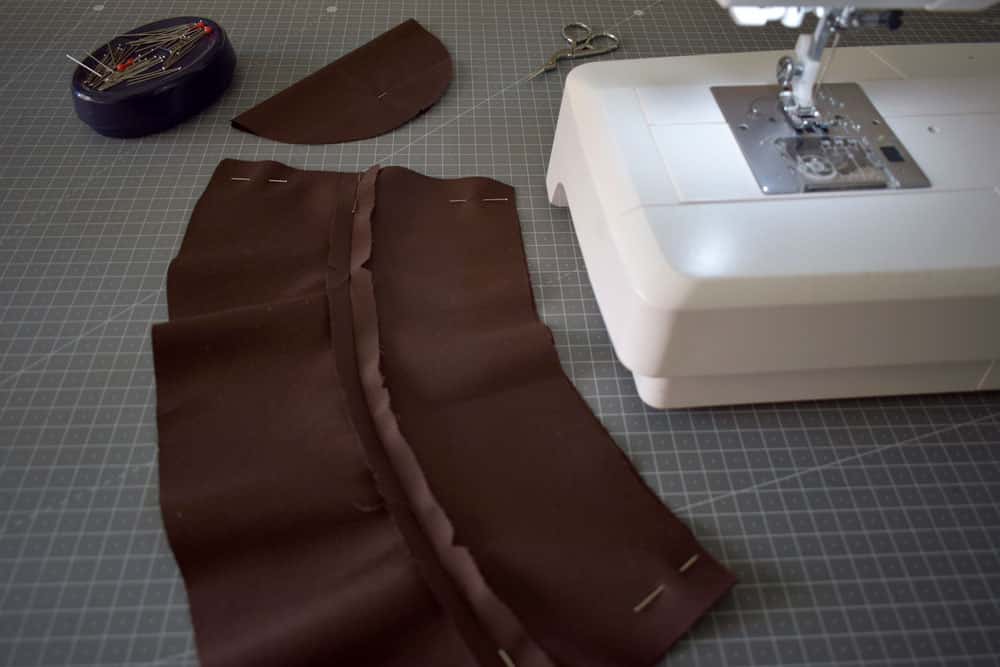
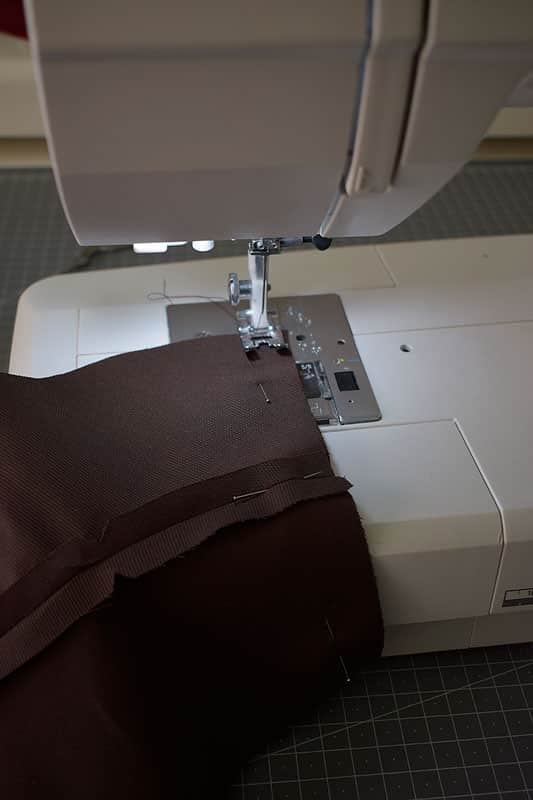
Having ironed the edges, we go to overlap the two sewn pieces, right sides together, matching them at the flap seams to the body of the hat. We pin or tack and sew to one inch.
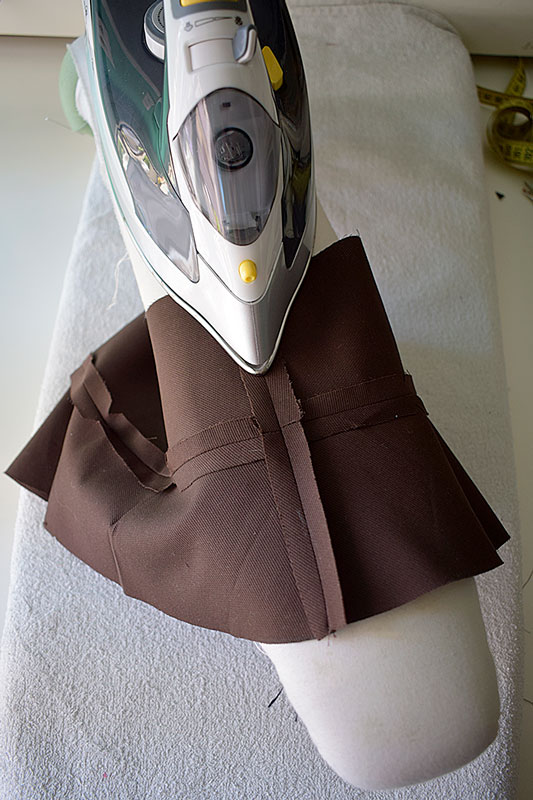
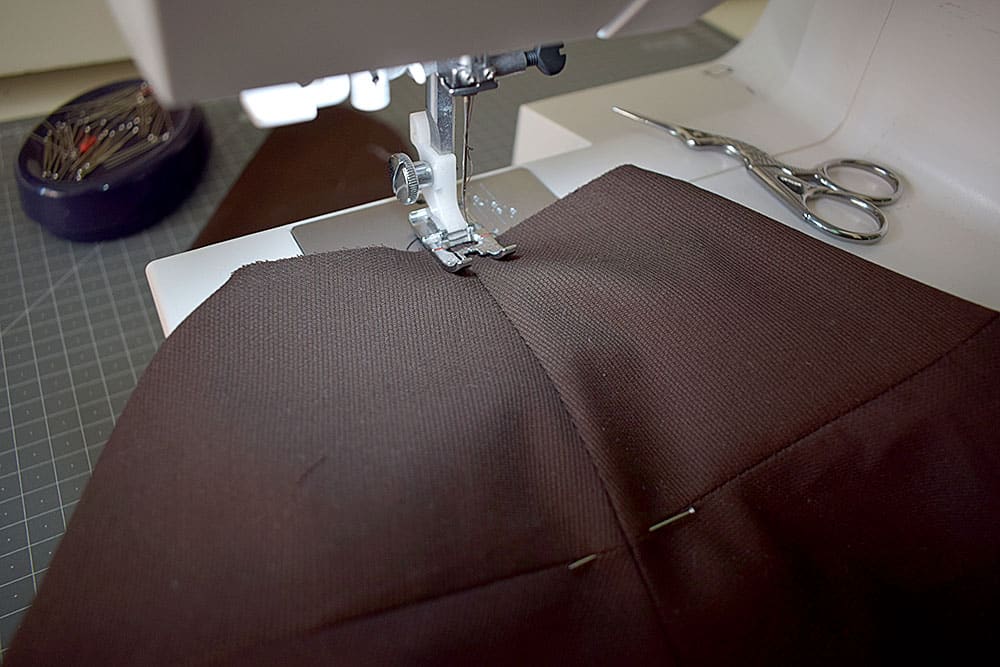
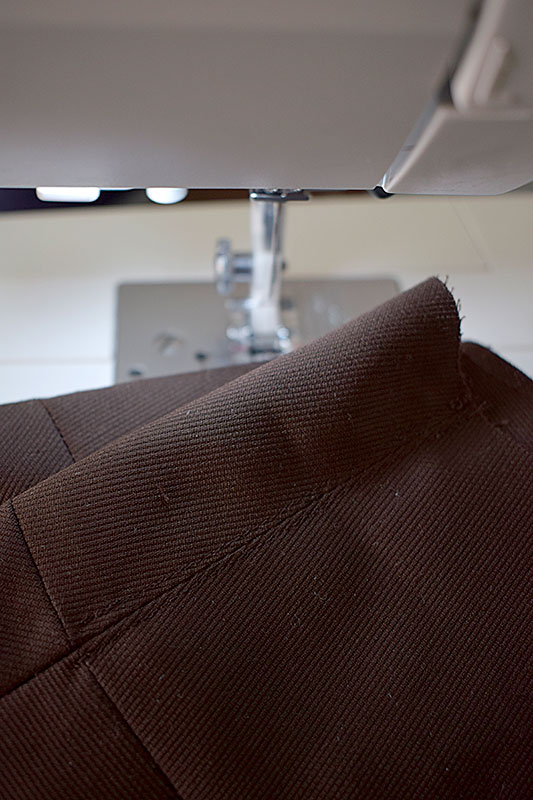
We iron these seams open and secure them on the right side with a topstitch.
[tb-dynamic-container provider=” source=” field=” removeDeadLinkTarget=”true”]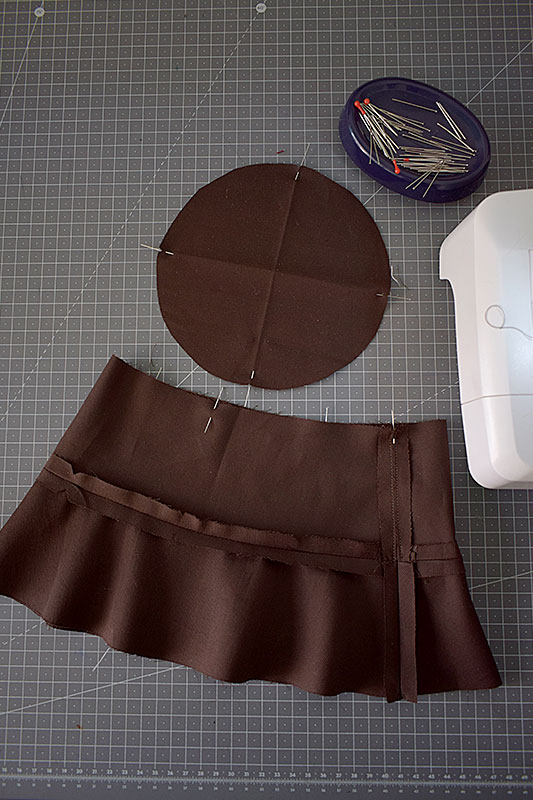
At this point our hat will look like a small skirt.
We turn the work sewn so far inside out and pick up the top, placing it on the right side.
With pins (or very small notches in the fabric) we are going to mark the quarters of the circumference of the top and the four parts of the top edge Of the body of the hat.
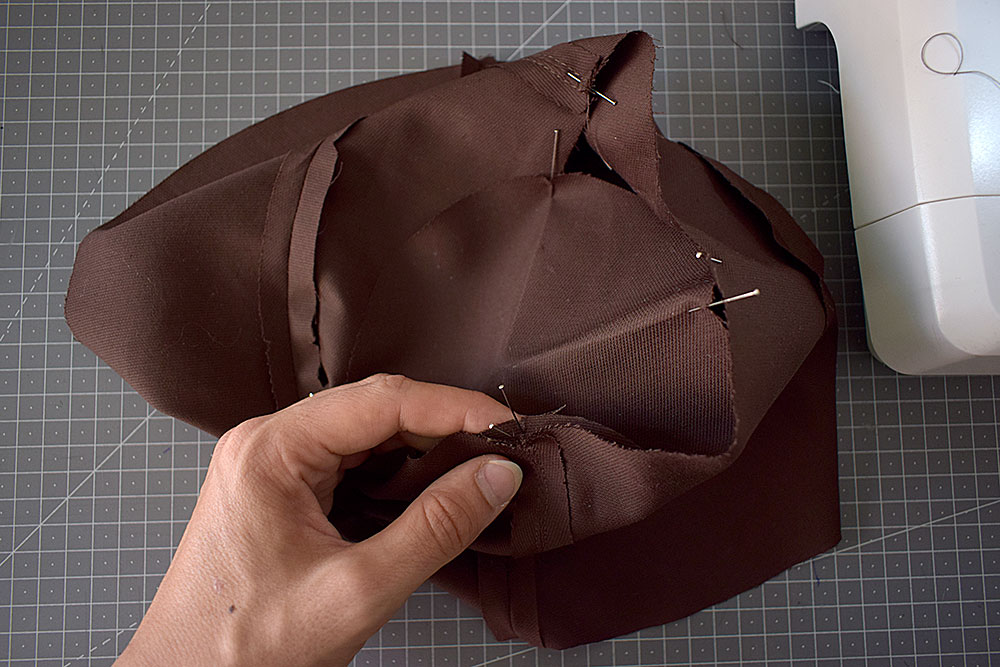
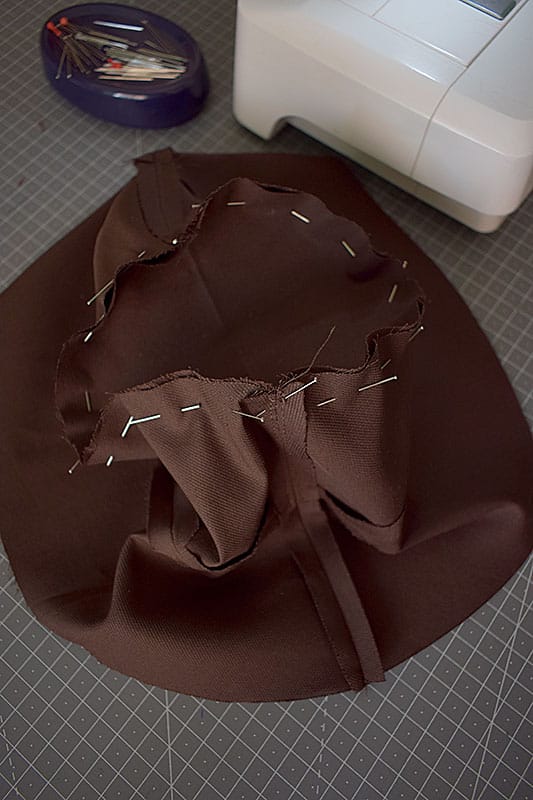
Using the pins just placed as a reference, we tuck the top into the body of the hat, right sides together. We first join the four stitches marked as a reference, after which we go on to pin the remaining parts by springing and accommodating the work.
[tb-dynamic-container provider=” source=” field=” removeDeadLinkTarget=”true”]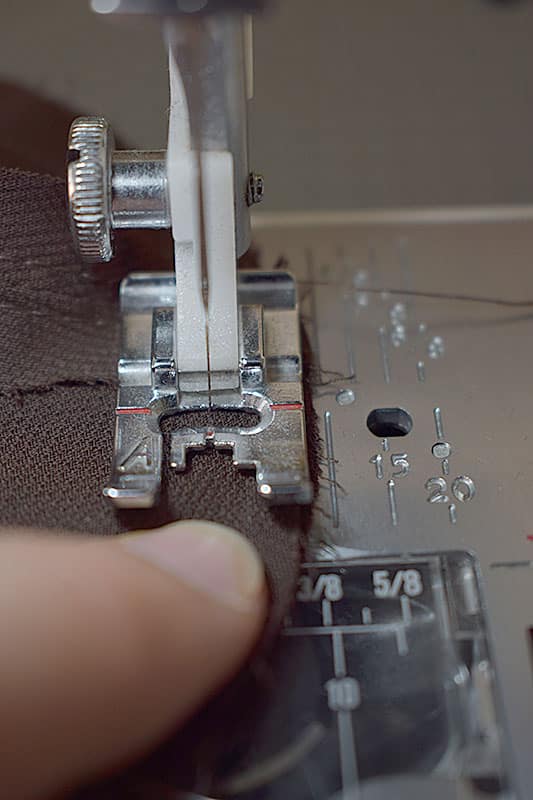
Let's take it to the machine and go sewing, not to an inch, but flush with the presser foot.
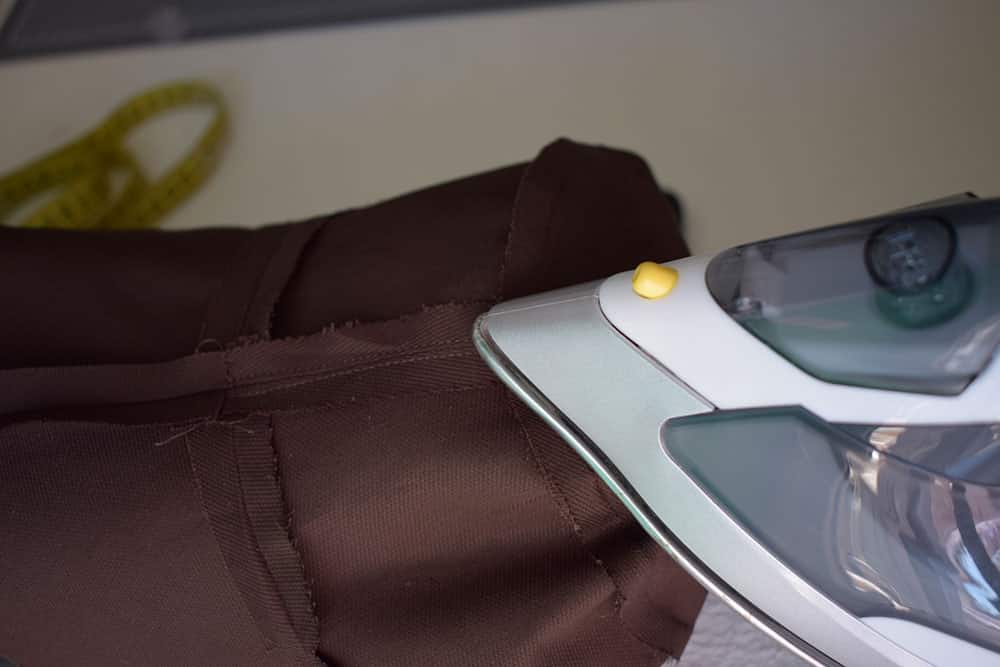
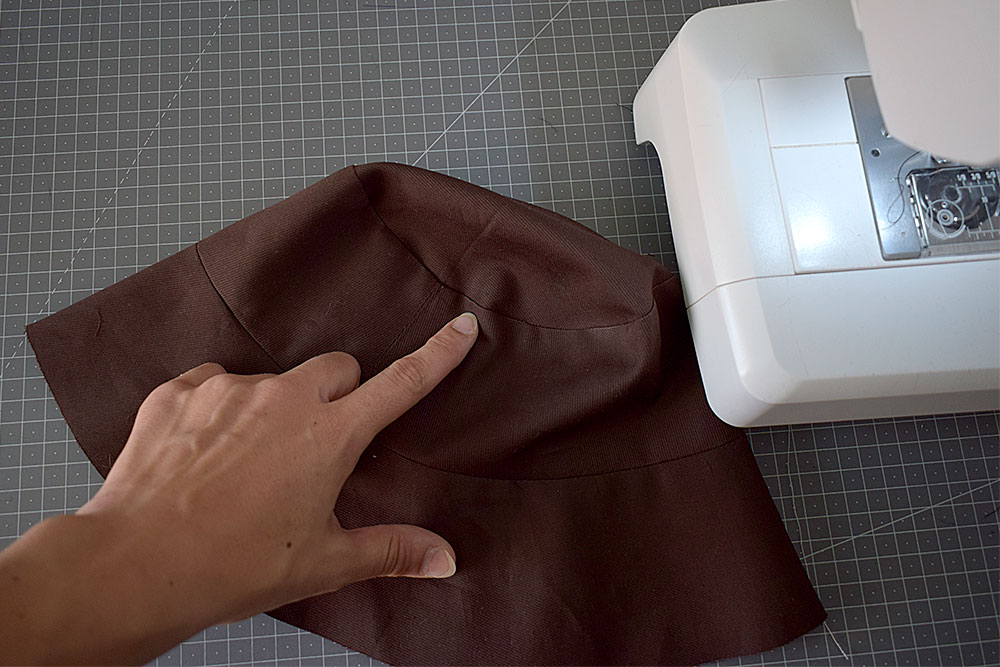
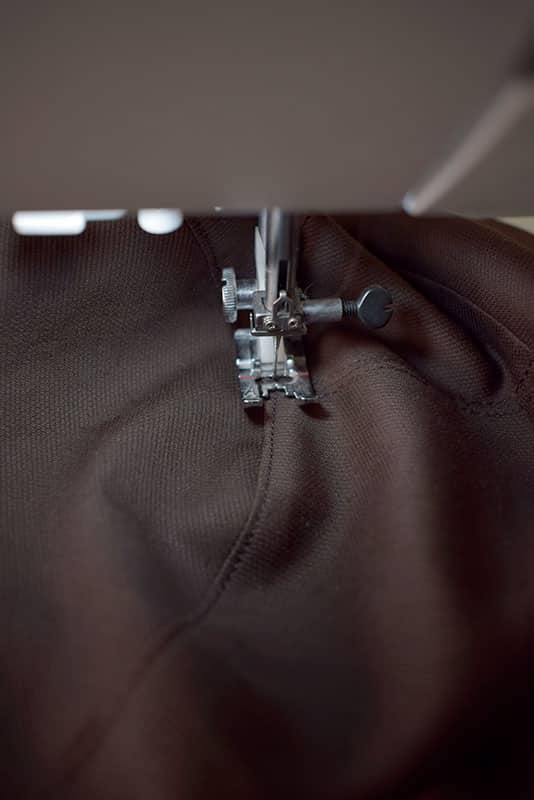
Attached The two pieces, I iron the seam allowances facing the body of the hat, and secure them in this position with a topstitch on the right side.
[tb-dynamic-container provider=” source=” field=” removeDeadLinkTarget=”true”]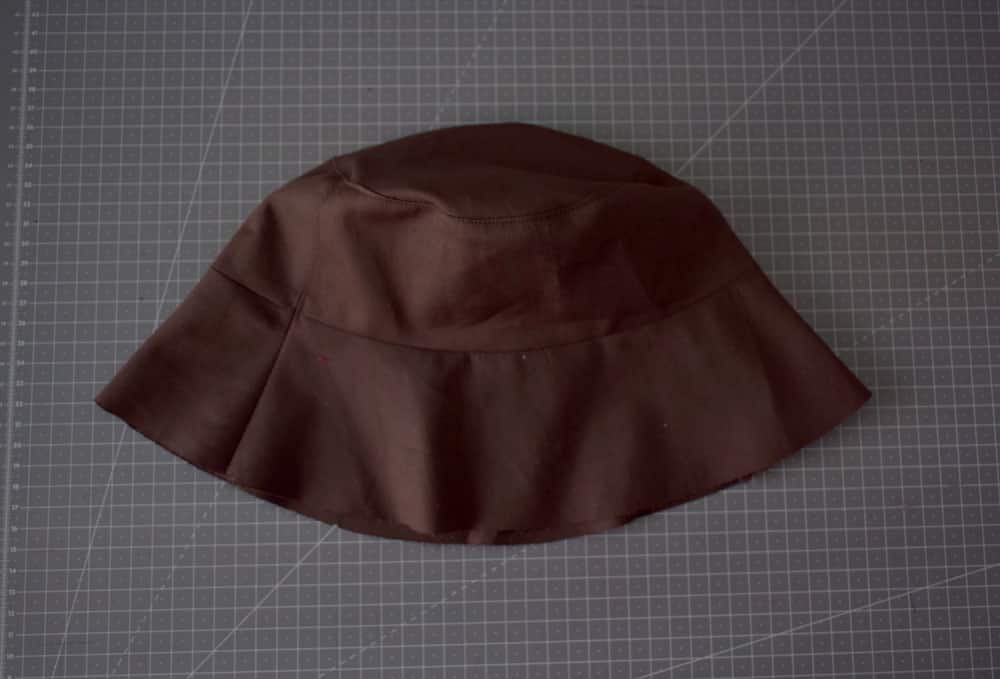
The first part of our bucket hat is accomplished!
[tb-dynamic-container provider=” source=” field=” removeDeadLinkTarget=”true”]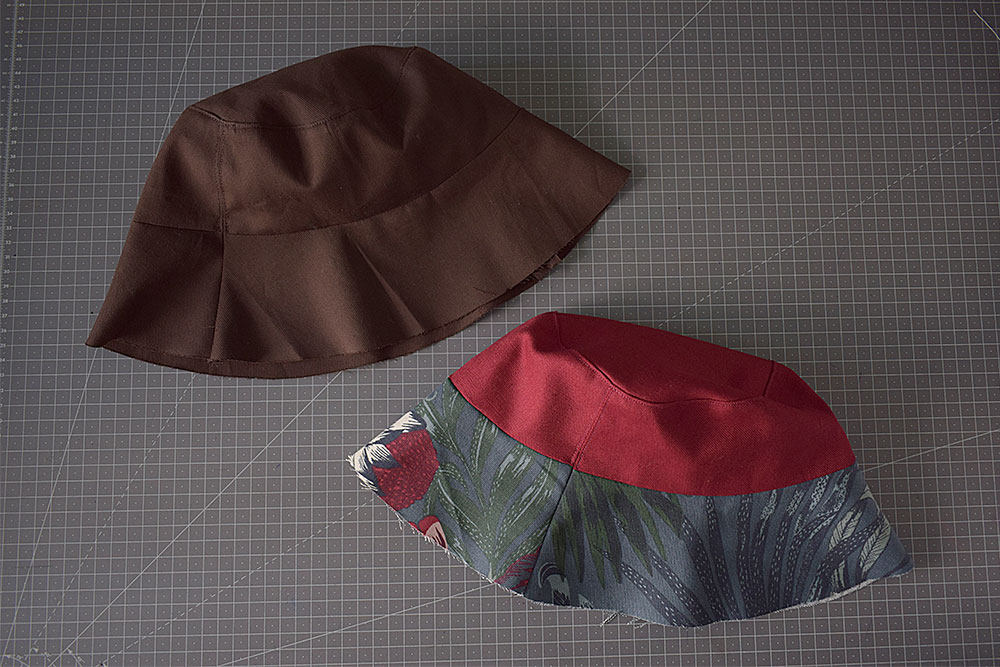
For the second face of the hat, simply repeat all the steps performed so far, without any difference, with the second fabric (or, in my case, the combination of fabrics).
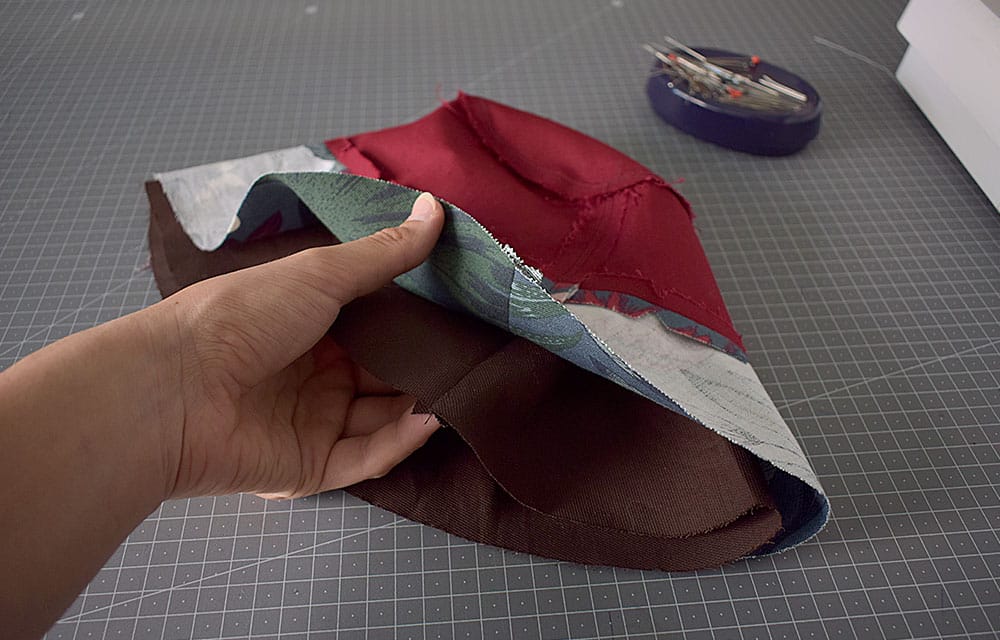
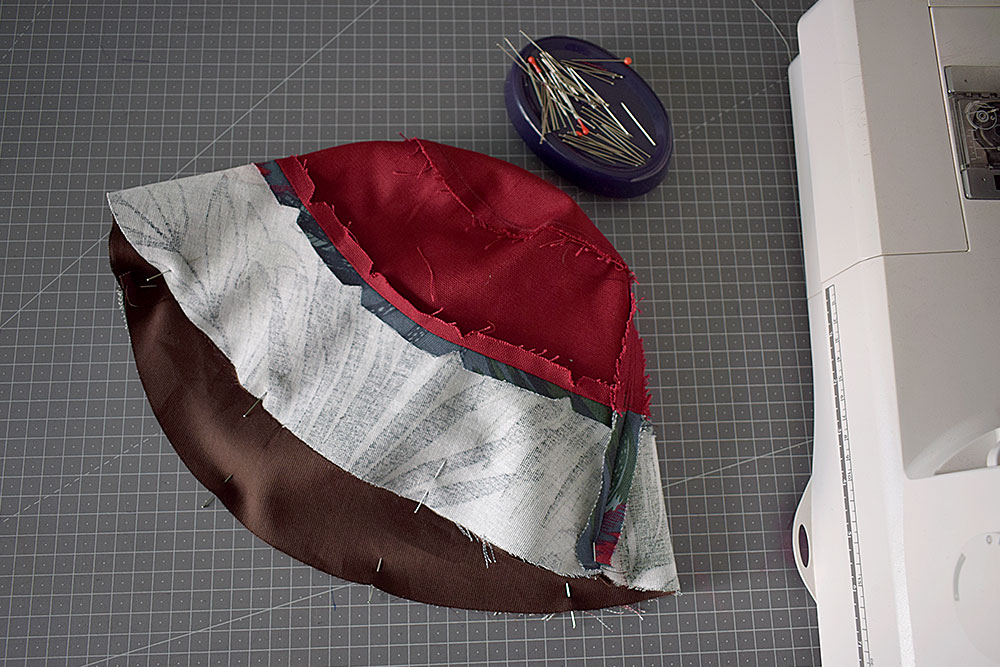
I turn one of the two hats inside out and tuck the other (right side up) inside it, matching them along the outer edge of the flap at the seams, right sides together.
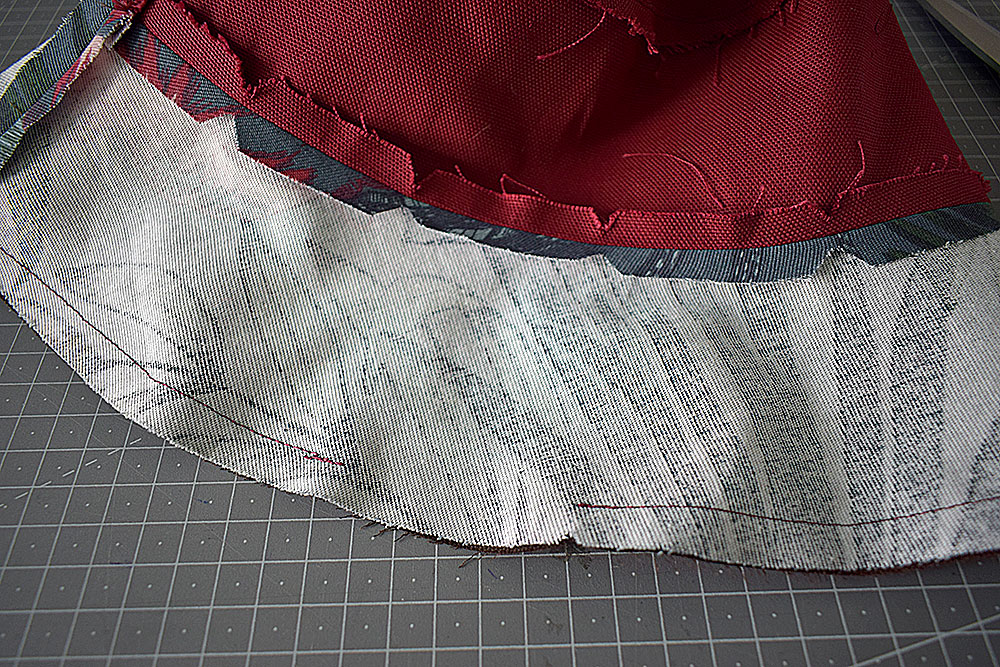
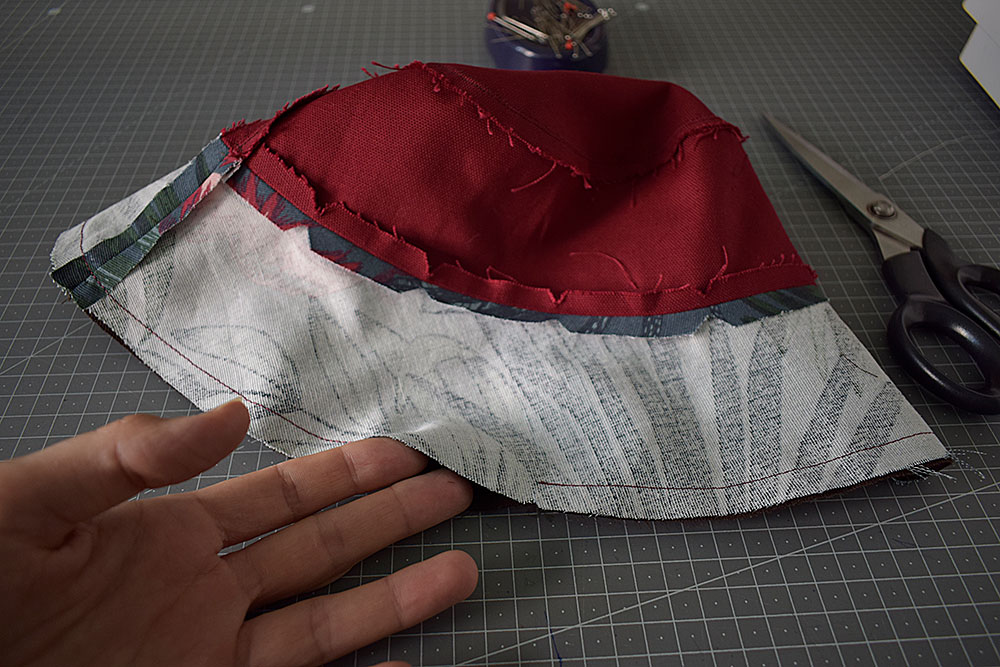
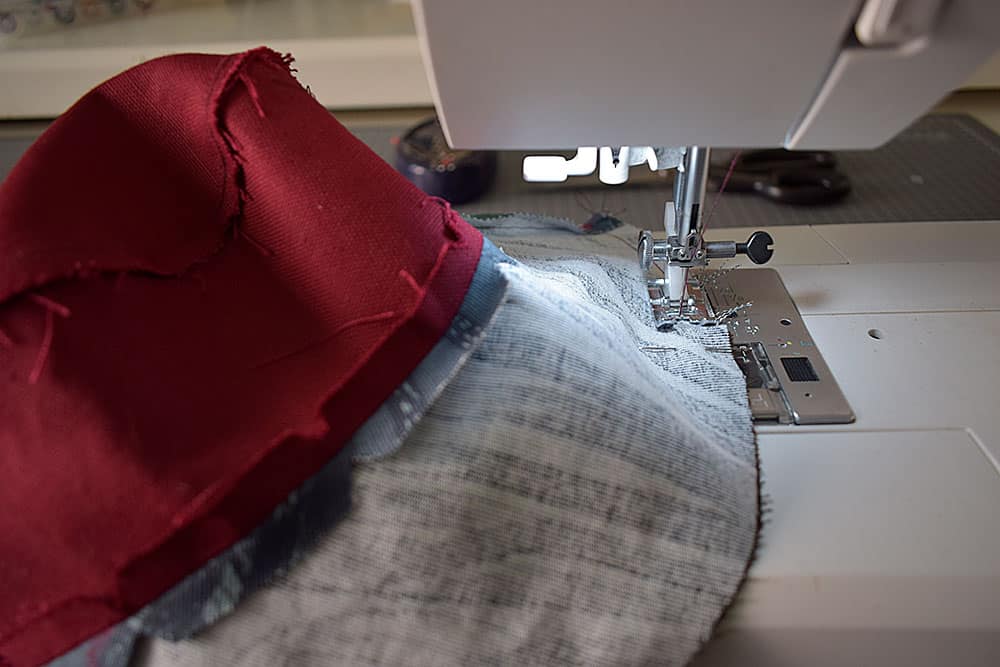
I secure the hem of the flap with pins and go for a one-inch seam, leaving a portion of about 5-7 cm unstitched.
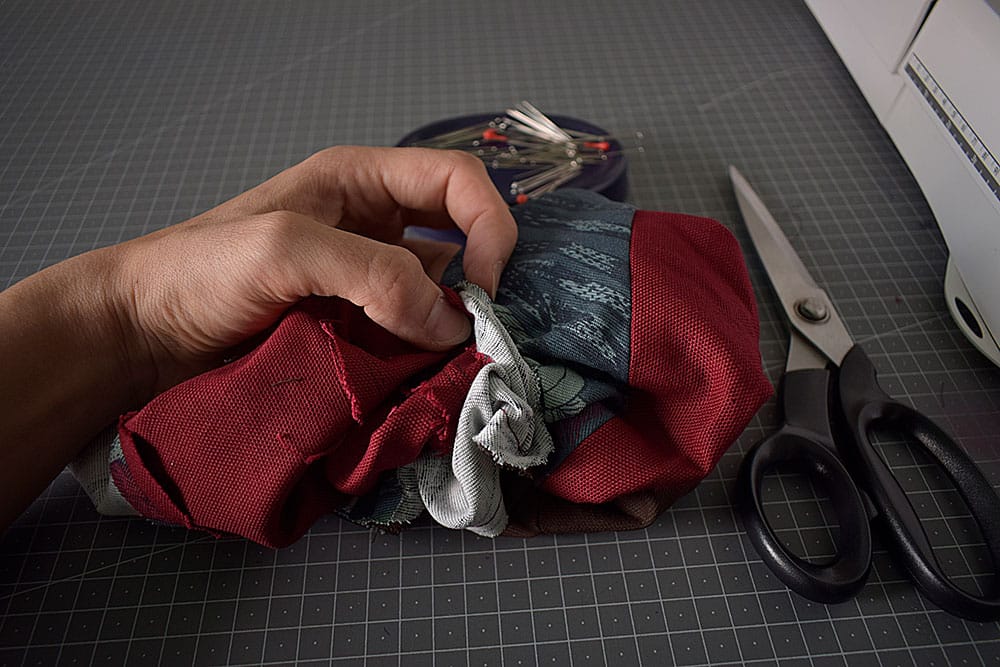
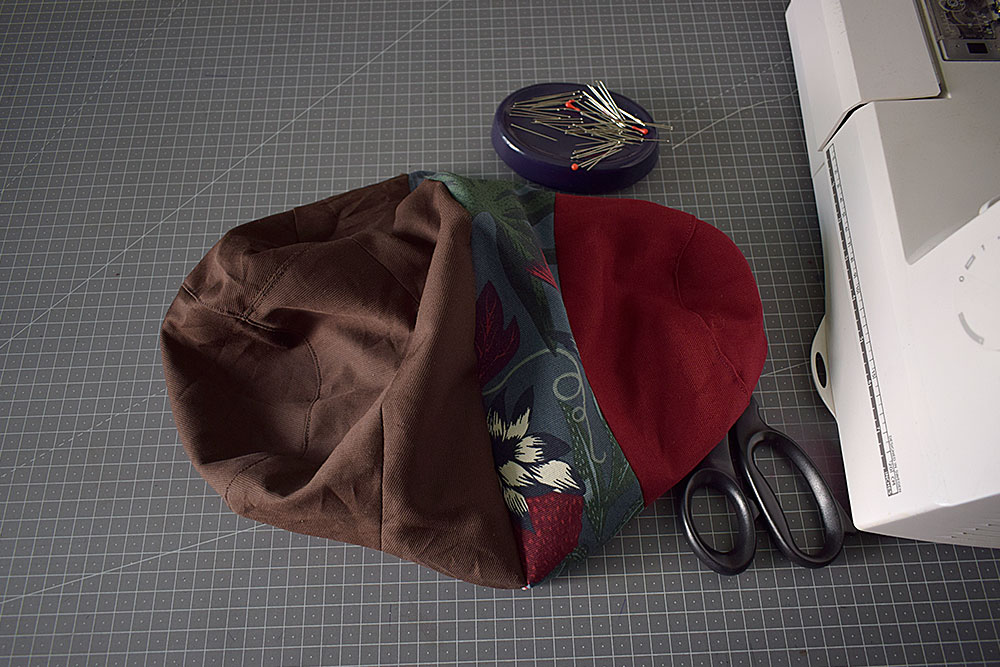
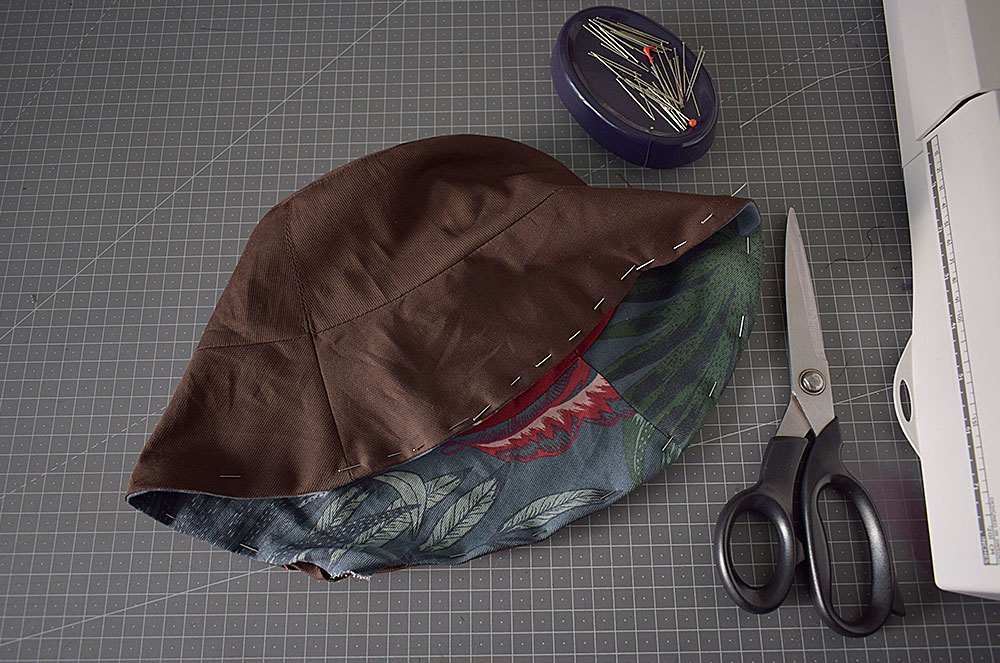
Through the opening we left, we go to turn up our hat.
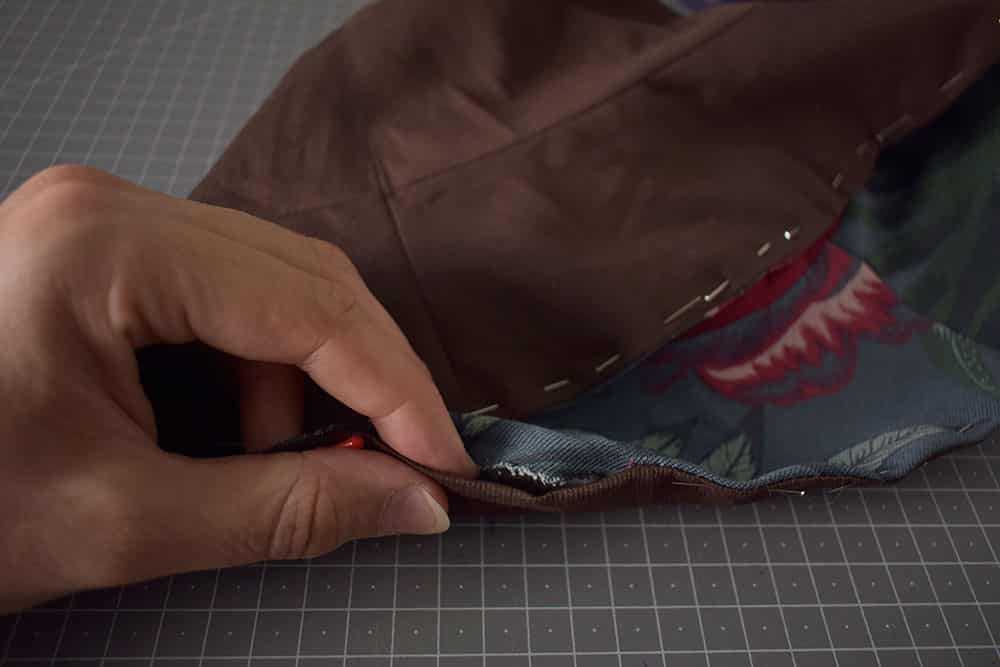
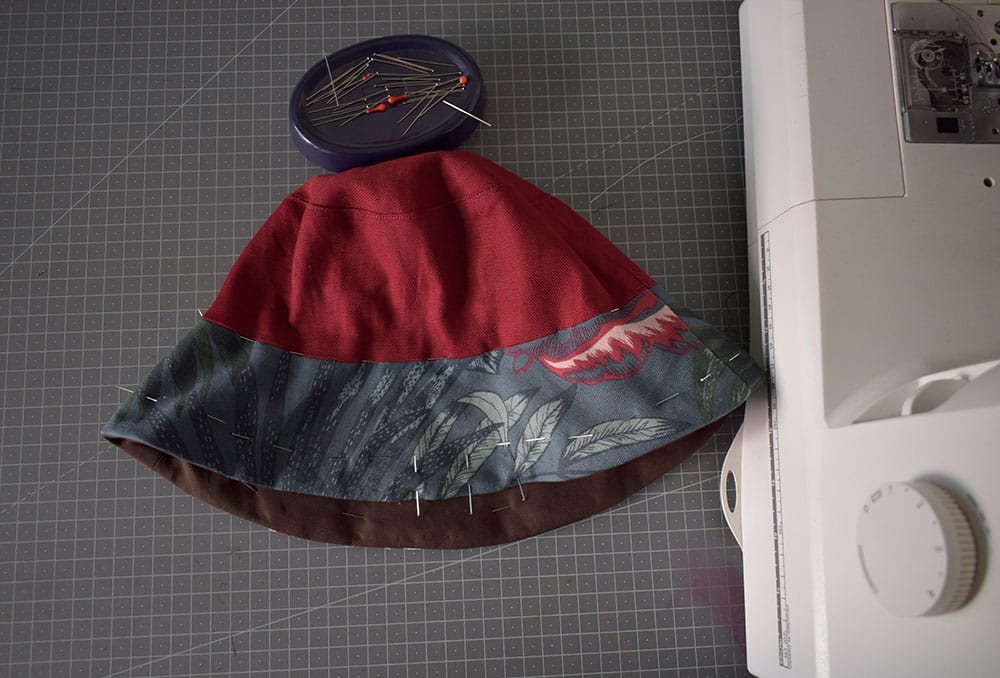
We turn the edge of the space left open on the edge inside out and pin it closed.
At this point, we are going to do the typical topstitching on the brim of the hat.
It is important to match all the edges of the two flaps (inner and outer) well, so that you have precise stitching on both sides.
[tb-dynamic-container provider=” source=” field=” removeDeadLinkTarget=”true”]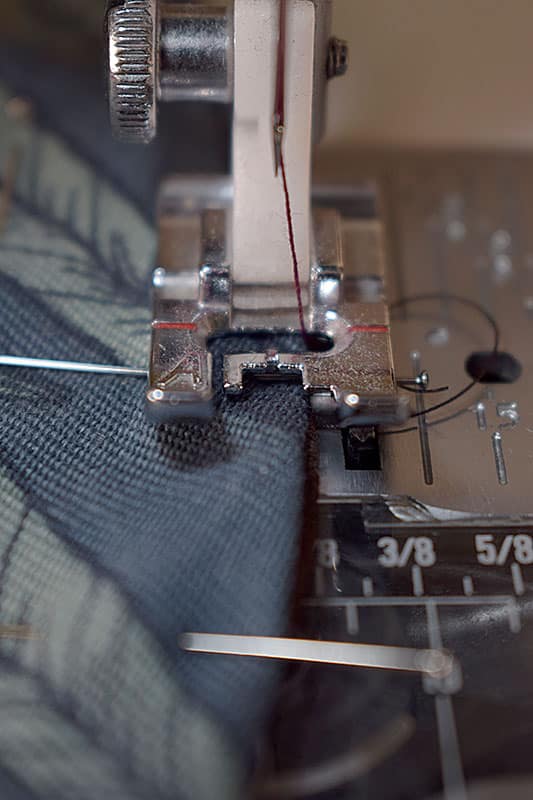
The first stitching to be done will be to close the opening left on the edge, so it should be done about half an inch from the hem.
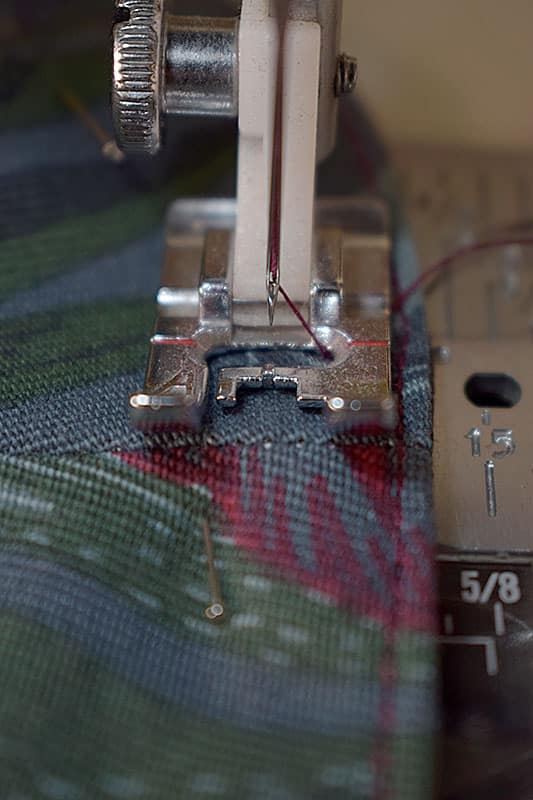
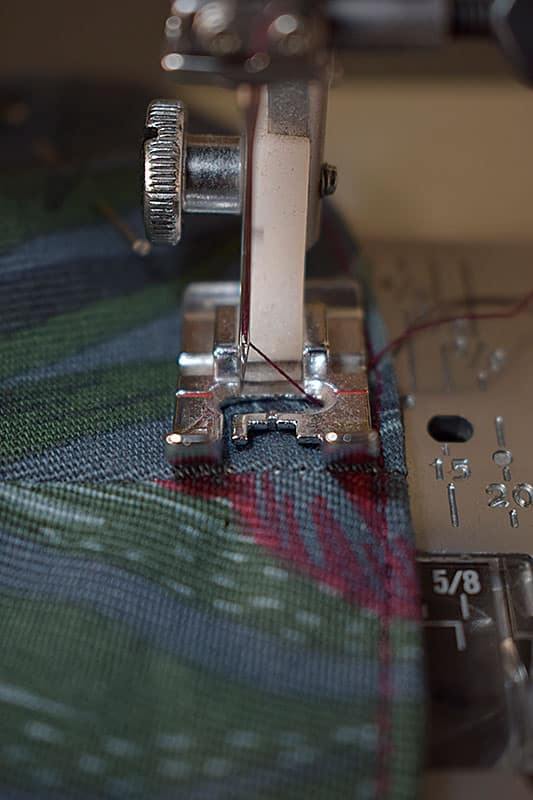
At this point we position the presser foot flush with the stitching we just did (photo 45) and move the needle to the left (photo 46). This will allow us to make perfectly parallel seams (using the previously made seam as a guide) 1 cm apart.
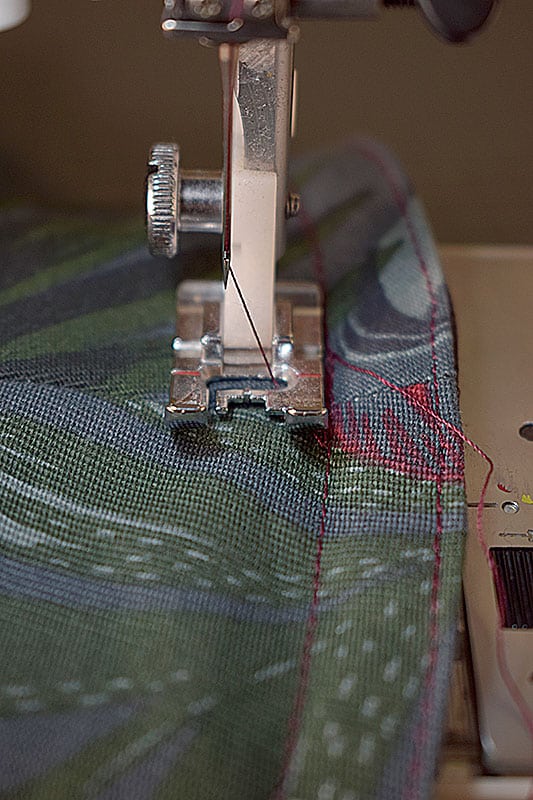
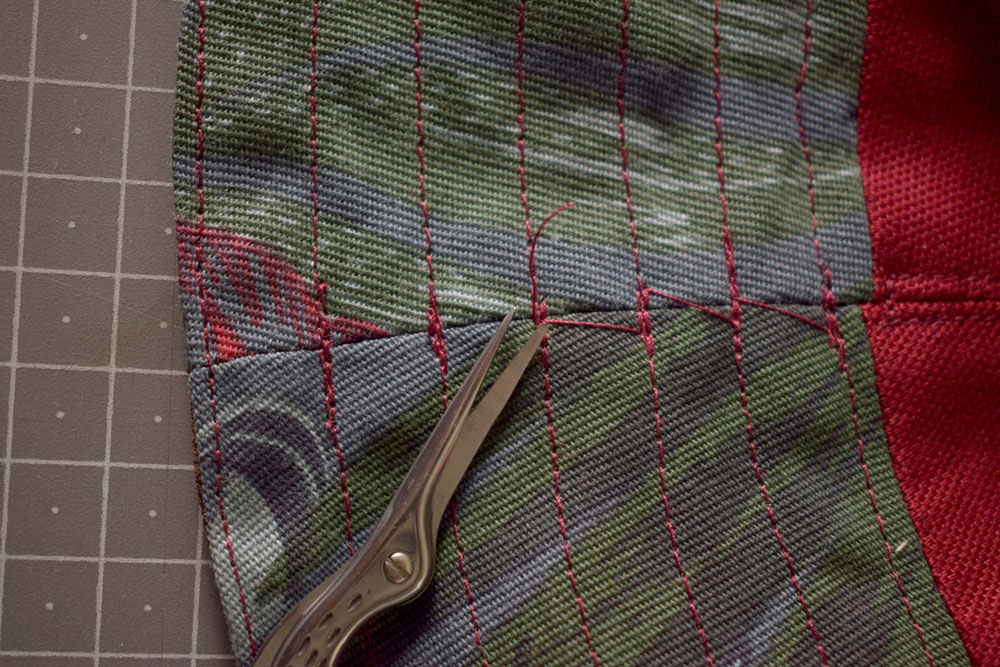
With all the topstitching seams done, the hat is ready!
All that remains is to remove all excess threads with wire cutters.
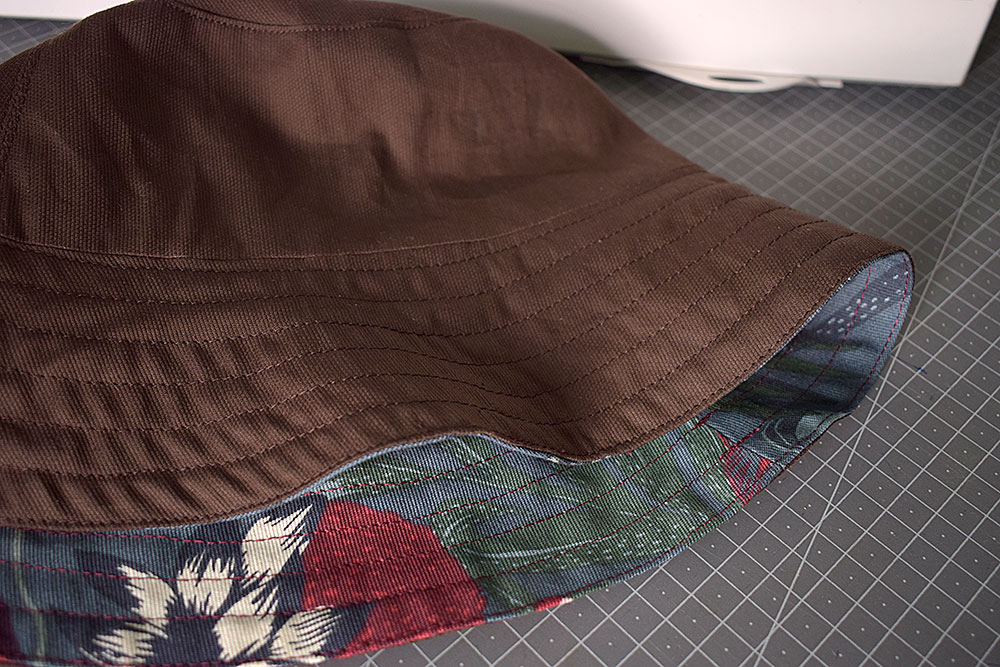
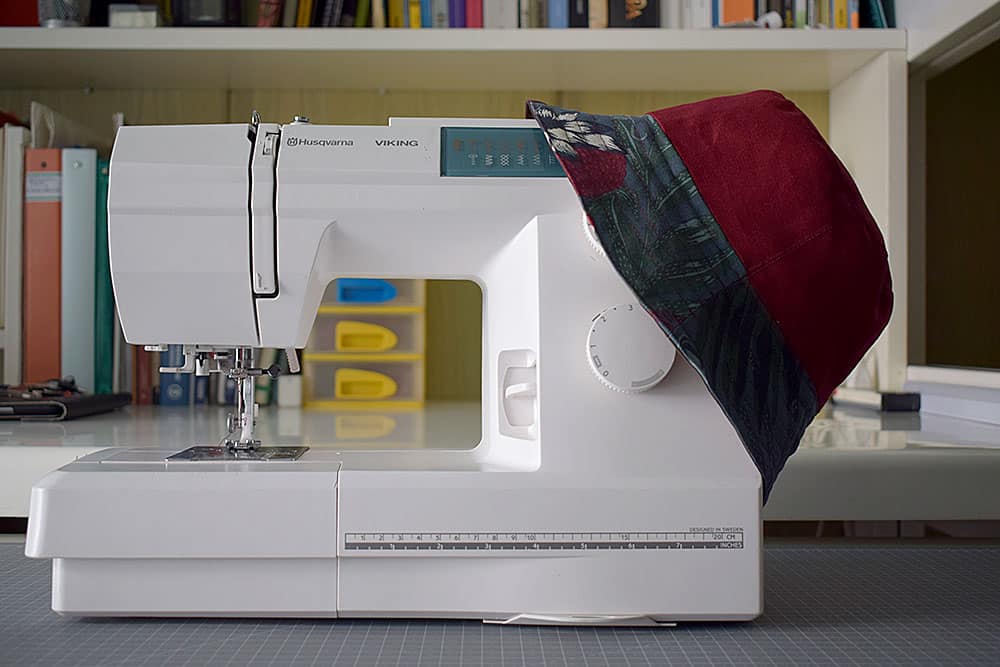
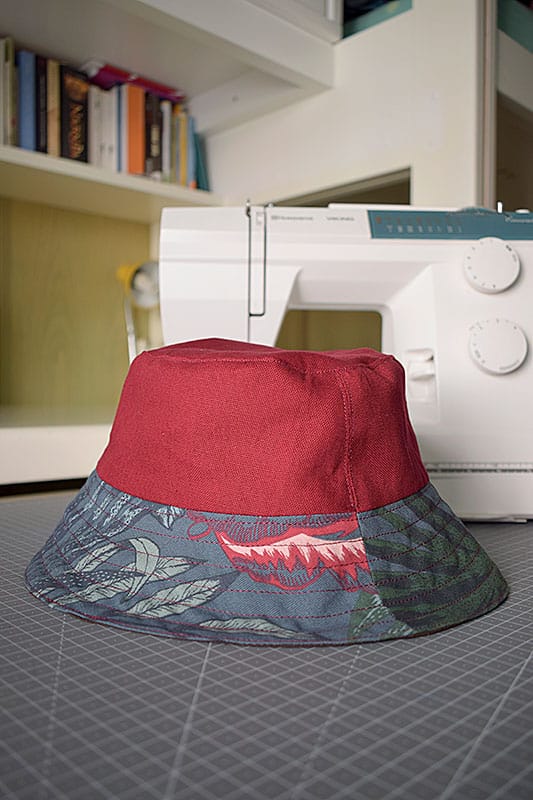
Now you can go out and proudly show off your double face fisherman hat! If you liked the tutorial don't miss the next ones!
Editor's note: The pattern shows the head circumference measurement I used to make my hat. I recommend getting your measurement right for the best result.


