
No products in the cart.
Proper **thread tension on the sewing machine** (both upper and lower) is essential for achieving precise, strong seams that are also aesthetically pleasing—avoiding loose loops on the underside or excessive tightness that causes fabric puckering.
An explanatory example of how the 2 threads work in the stitching performed by a sewing machine might be the tug-of-war.
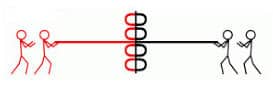
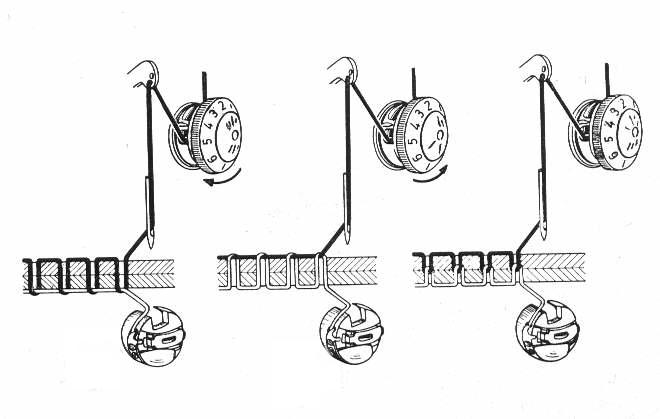
If both teams have the same strength it creates a stalemate where no one wins, and this is the result we should aim for ( 3rd case on the right in the first figure) .
In fact theoretically the perfect setting would be to get the knot formed by the 2 threads to be positioned perfectly in the center of the fabric, we say theoretically as it is difficult to achieve especially on thin materials.
An acceptable compromise is for the knot to be slightly more visible on the reverse side of the fabric since people usually prefer to have a better look on the visible side of the garment.
Our advice if you are going to register the tension of your sewing machine is to thread it with 2 contrasting color threads and the fabric on which you are going to perform the tests, for example, light blue and black threads and white fabric.
Based on the assumption that the’machine threading is done correctly, that the needle is not damaged and is suitable for the fabric, that there are no problems such as a damaged looper or spool holder or thread tangles that prevent proper thread passage in the lower part of the machine, then the only thing to do is to record the machine tensions.
We speak of tensions in that all the domestic sewing machines working with 2 strands have 2 settings, but in this post we leave out the lower tension which has a much lower incidence of cases, more difficulty and which we will cover in another article.
 So let's focus on the case that is also numerically more consistent (refer to the first figure and the 1st case from the left) : the seam forms slow stitches or loops or “spins” on the reverse side of the fabric and pulling one of the 2 threads easily unravels it.
In these cases (we will never tire of repeating this) our advice is to pull the machine completely out, repeat the threading and if the problem persists continue as follows: thread the machine but without threading the needle and with the presser foot down try to pull the top thread.
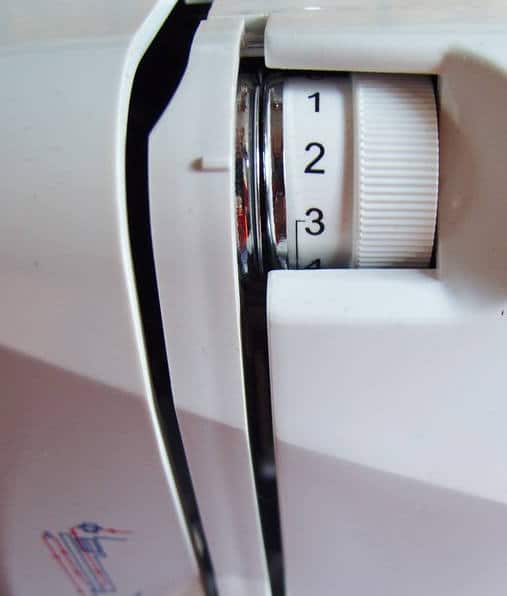
If it flows too easily then there are 2 possibilities: dirt between the tension discs that does not allow the discs to give the proper tension to the wire, which is easily verified by increasing the tension by 3-4 numbers, and if the result is not significant hardening of the wire slip then there is dirt between the discs that needs to be removed.
You can try a needle, but usually this trick that we also use in the workshop is decisive: take 50 cm of fairly double crochet thread on which to tie 4-5 knots spaced 5 cm apart and pass it several times between the tension discs, if there is dirt the knots will remove it.
Repeat the test and if you notice a substantial difference in the sliding of the wire then the little game has succeeded. If, on the other hand, the tension is set to very low numbers such as 0 or 1, or by increasing the tension you experience significant hardening in the flow of the thread then start by increasing the upper tension by ½ number and perform a test seam, if the situation has improved continue until you find the optimal setting.
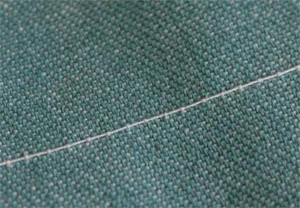
Upper tension too tight
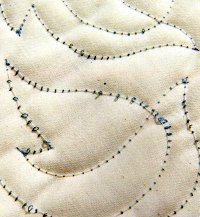
If, on the contrary, the problem (look at the 2nd case in the first figure or the photo opposite) is found on the upper part of the fabric with knots that are too prominent, fabric (especially if it is light) that tends to wrinkle, and sewing that pulls out easily then you need to proceed, always after making sure that the lower threading has been done as it should be and that the upper thread does not get caught somewhere, by decreasing the upper tension little by little until you find the right setting of your sewing machine.
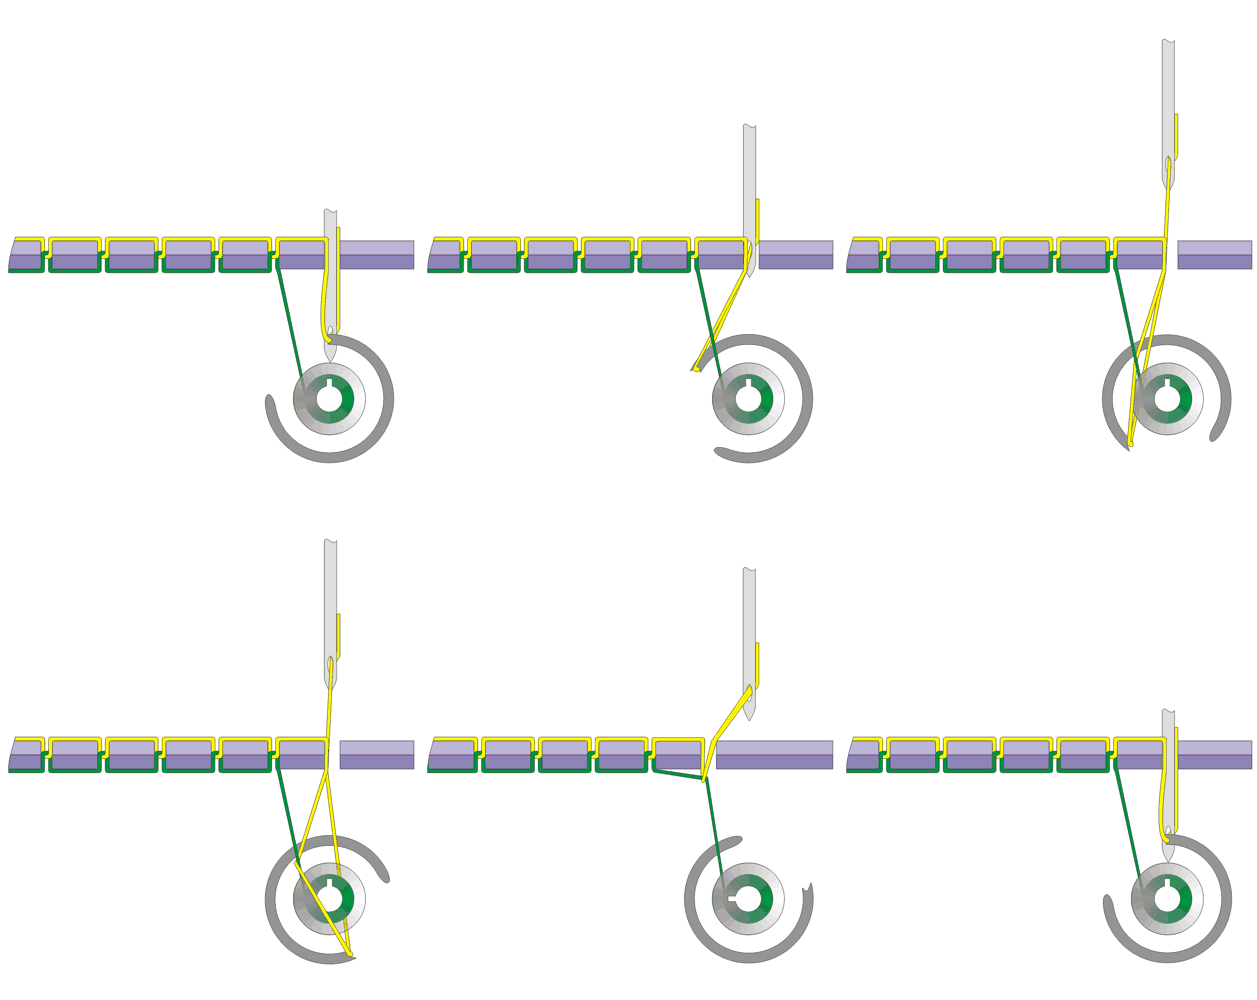
Stitch formation in a sewing machine
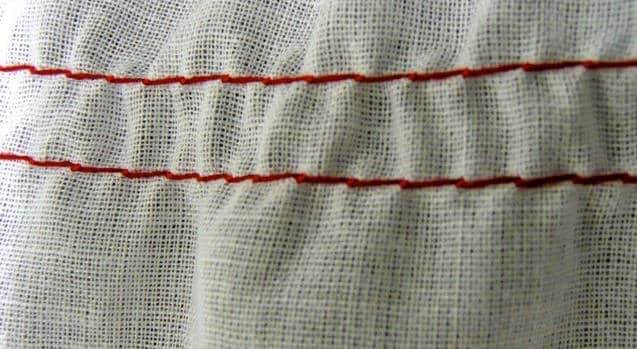
Remember that for standard topstitching—regardless of the fabric type—the tension must be perfectly balanced; however, the situation differs for embroidery or solid stitches like the satin stitch, where the lower tension should predominate. Indeed, it is precisely through this variation in tension that perfect execution of the various stitches is achieved.
This result is achieved when the ratio between the upper and lower tension allows the bobbin thread and the needle thread to interlock in the center of the fabric's thickness.
Instead, if the upper tension turns out to be preeminent over the lower tension, the needle thread will appear straight against our working surface with an unattractive curling effect. If, on the other hand, the opposite happens, the needle thread will remain slack along the lower surface of our fabric.
In an upcoming post, we will explain how to best adjust the bobbin thread tension on your sewing machine.
Comments and additions are welcome.


Maria corleto says:
Buonasera io ho una macchina femac e vorrei un zig Zag un po’ largo del solito , cosa si può fare
Marco says:
Buongiorno Maria, se l’ampieza attuale è minore di 4 mm sarebbe da controllare la macchina in officina per vedere se risolvibile. Grazie
Alessandra says:
Buonasera ho una singer Heavy Duty, sono in difficoltà con la cucitura dritta. Si aggroviglia il filo ogni due centimetri, sento un forte rumore e poi il filo sotto tutto aggrovigliato, ho provato a spostare la tensione del filo di sopra, cambiare aghi ma nulla, sembra che il portacapsula salti. Non capisco cosa devo fare
Marco says:
Buongiorno Alessandra, bisognerebbe capire se il cestello o il ferma-cestello sono danneggiati e da sostituire o solo da registrare. Può provare a rimettere il cestello portaspola nella posizione corretta, se rivà fuori posizione deve essere controllata da un tecnico. Saluti