
No products in the cart.
Machine embroidery requires a precise sequence of steps: selecting the machine, preparing the fabric with the right stabilizer, hooping, and then starting and monitoring the work. Each stage involves specific settings and accessories, and the most common issues have specific solutions.
The first step is to understand which machine does the stitching for you and which one leaves the movement up to you. The tools you need to buy, the files you need to prepare, and the type of learning involved all depend on this choice.
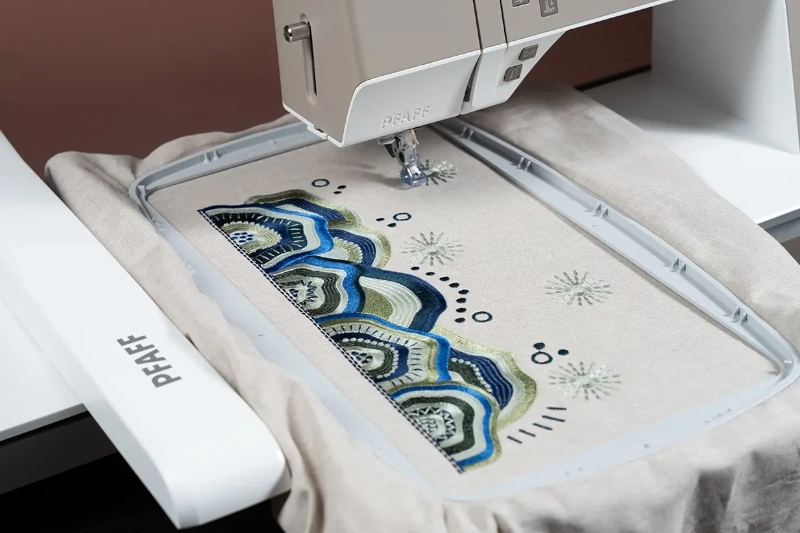
To understand how an embroidery machine works, simply look at the hoop: it is motorized and moves along the X and Y axes, following the stitch sequence defined in the file. The machine thus automatically executes designs, lettering, and patterns. There are two main categories, each with different priorities.
The difference between an embroidery machine and a sewing machine used for free-motion work lies in who guides the fabric. In free-motion sewing, you lower or disengage the feed dogs, attach the specialized foot, and move the hooped fabric yourself—with faster movement resulting in longer stitches. With an embroidery machine, by contrast, the path is already programmed into the file.
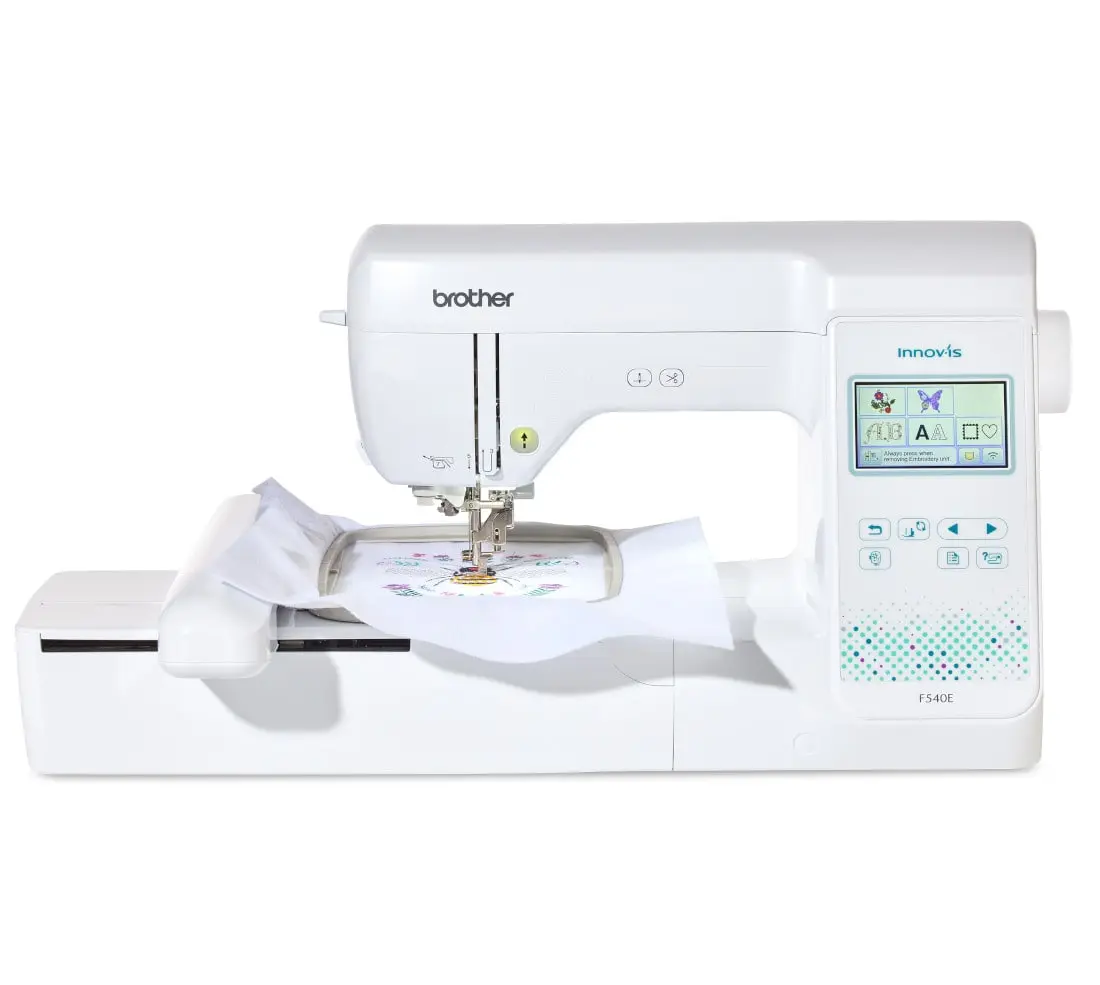
For beginners, key features include a clear interface, built-in designs, speed control, simplified threading, and the ability to read external files; entry-level embroidery machines typically operate at speeds of 500–700 stitches per minute (SPM). Among the machines designed for creative embroidery, the Pfaff Expect 350 Wifi combo machine offers wireless connectivity, 180 embroidery designs, and two hoops: a 170 × 100 mm hoop and a 100 × 100 mm hoop for monograms.
A JPG or PNG image cannot be embroidered as-is. You need a ready-to-use embroidery file or a conversion into stitch instructions using software. This conversion process is known as "digitizing" (or "punching"): it defines the stitch type, direction, density, and sequence, as well as colors, thread changes, and trims.
However, automatic conversion often requires manual corrections to achieve a clean result. Additionally, the format must be compatible with your embroidery machine: depending on the model, files are transferred via USB or Wi-Fi in formats such as .vp3, .pes, and .dst.
Creating or editing a design requires dedicated software. Ink/Stitch is a free, open-source solution for Windows, macOS, and Linux; in version 3.3.0, it exports formats including DST, EXP, JEF, PEC, PES, VP3, and XXX.
Your machine's manual remains the primary reference. It specifies threading, needles, compatible hoops, maximum fabric thickness, and safety guidelines—details that vary from one model to another.
Once these fundamentals are established, high-quality tutorials and materials accelerate the learning process. Among the available options, digitization courses are more relevant than hand-embroidery courses for creating custom files: a digitizing course teaches what the machine actually executes, whereas traditional courses focus on a different technique.
Knowing what to buy to get started with embroidery means matching fabric, stabilizer, thread, and needle. Each element affects the final result: using the wrong material is immediately apparent through puckering, stitches sinking into the fabric, or thread breakage.
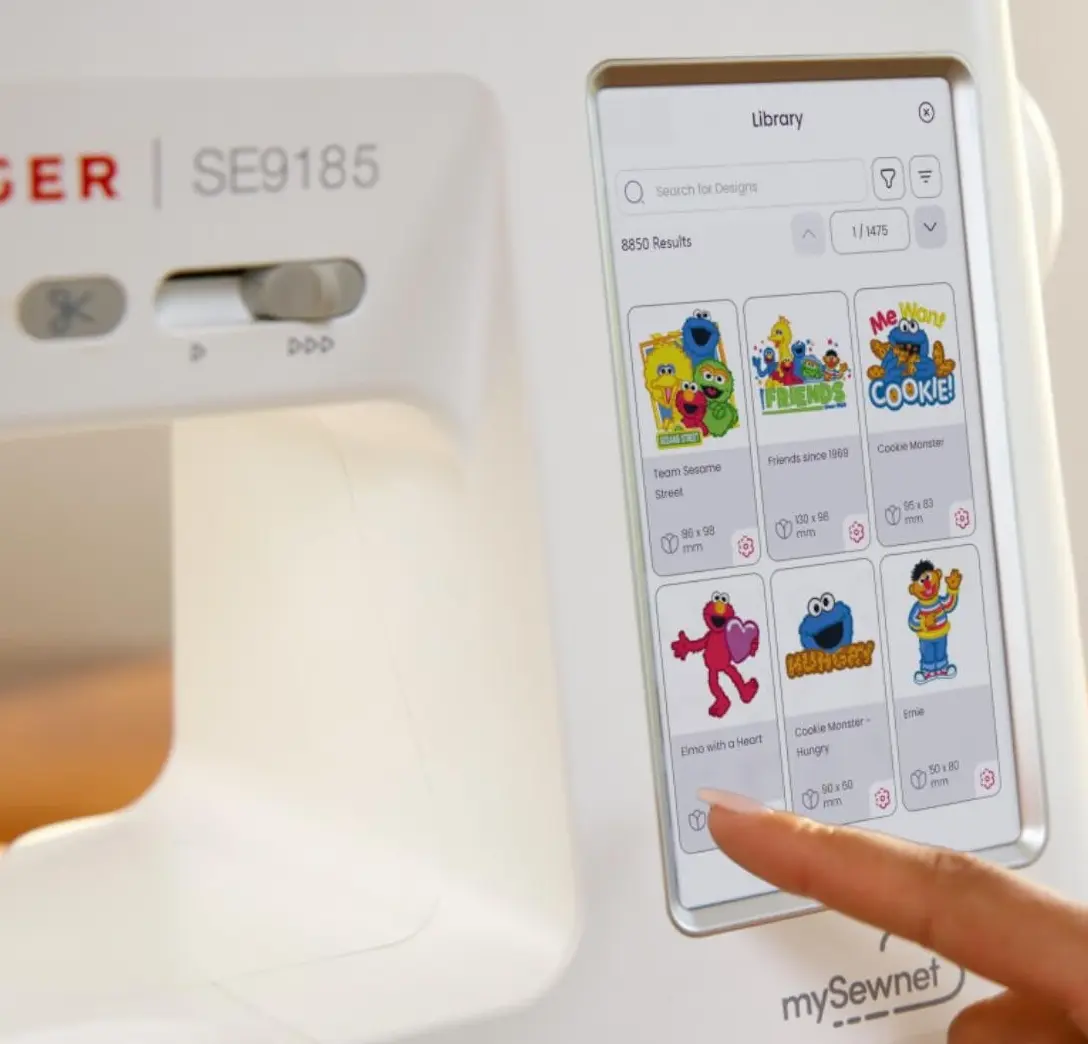
For initial attempts, it is best to choose smooth fabrics that are not prone to stretching or distortion. Stability and medium weight help the needle work without dragging the fibers.
Furthermore, the final result depends on the combination of fabric, thread, density, and the digitization of the design. A very dense pattern can distort jersey and leather, even with proper preparation.
The stabilizer supports the fabric as the needle pierces it, limiting shifting and distortion. It must always be larger than the hoop. The type used depends on the material.
There is no universal stabilizer; the choice depends on the fabric and the design. The guide on which embroidery machine to choose rounds out the picture, as the embroidery area and included accessories also influence which materials you should buy.
| Stabilizer | Suitable fabrics | After the embroidery |
| Tear-away | Cotton, linen | Tear off the excess |
| To be cut | Jersey fabric, elastics | It is trimmed and remains as a support |
| Water-soluble | Lace, transparent, sponge | It dissolves in water |
| Top layer | High-pile materials | It is removed from the right side |
For many applications, a 40 wt rayon or polyester embroidery thread is used as the top thread, paired with a finer bobbin thread. Polyester is durable and easy to handle, while rayon offers a glossy finish. Metallic thread, on the other hand, requires more care during stitching.
The needle must be suitable for the fabric and thread; a worn, bent, or incorrectly sized needle causes skipped stitches and breakage. For initial tests on cotton or canvas, size 70 or 80 embroidery needles are recommended, while always adhering to your pattern's instructions.
With materials and machine ready, the work proceeds in three stages: planning the design, hooping, and starting the execution. Each stage paves the way for the next, and an initial error carries through to the final result.
Select a built-in embroidery design or a compatible file, checking the dimensions, colors, and sequence. The design must fit within the hoop's actual usable area. Then, determine the placement and mark the reference points on the fabric using suitable markers; knowing various centering techniques helps when dealing with different shapes and sizes.
The design process moves from the background to the foreground, layering stitches to create depth. The main stitch types—also described in the encyclopedia entry on embroidery—include the running stitch for lines, the satin stitch for letters and borders, the Tatami stitch for large areas, and the underlay stitch as a supporting base.
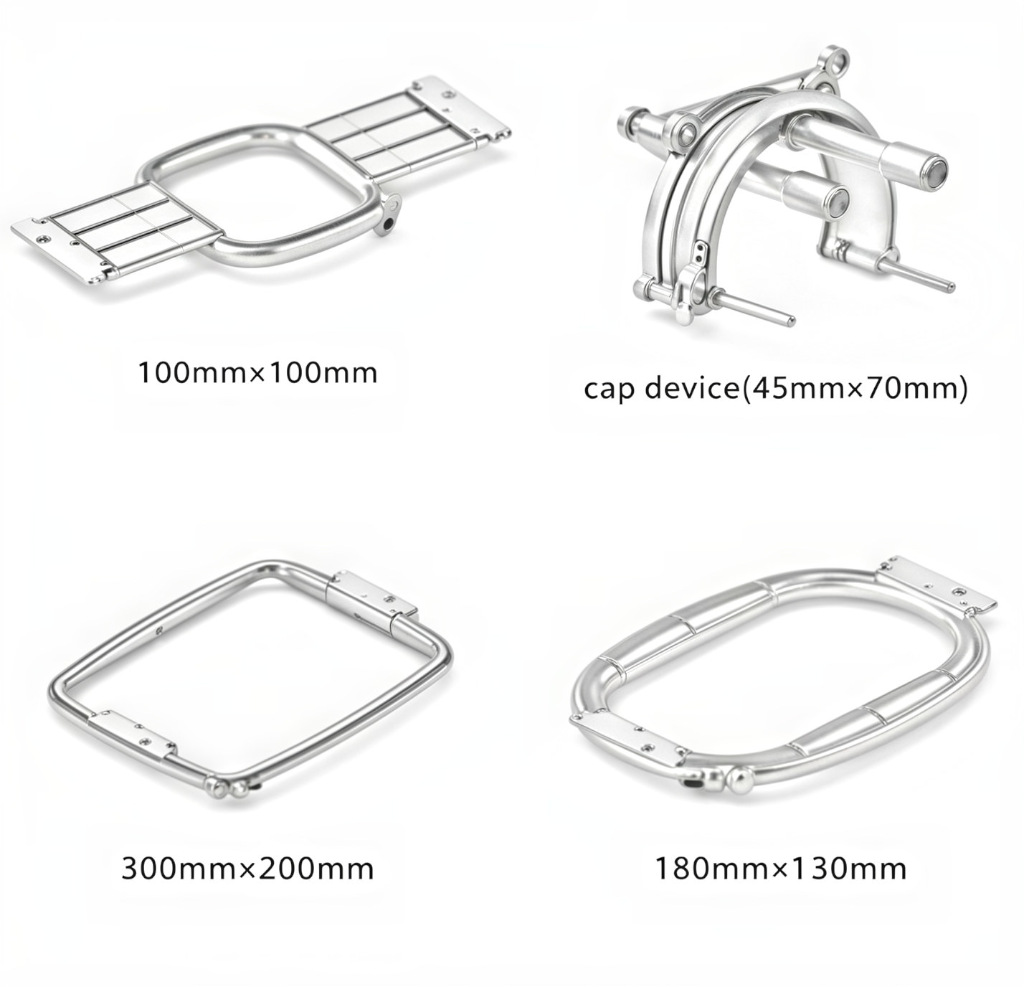
The smallest hoop that accommodates the entire design holds the fabric more securely and reduces puckering. The various types of embroidery hoops all serve to keep the material taut. The fabric and stabilizer must extend at least 5 cm on each side, even when using a magnetic hoop.
Secure the two layers without creases or artificial tension; if jersey is stretched too much, the embroidery will ripple once released. For fabrics that are difficult to hoop, there is the "floating" method: place the garment over the stabilizer that has already been hooped and secure it with temporary adhesive.
Understanding how to use an embroidery machine begins with threading: the upper thread passes through the needle, while the bobbin operates underneath. The process involves programming the design, selecting the "Fix" basting function if useful, inserting the hoop, positioning the fabric, setting the speed to the minimum, and starting the machine.
The Fix function secures the fabric to the stabilizer, which is useful for small or bulky items. To use the embroidery machine correctly, first embroider a sample using the same fabric, stabilizer, needle, and threads, while checking the tension, density, and positioning.
Most defects have a specific cause: thread, needle, tension, hooping, or the design file itself. Identifying the cause before taking action prevents making the work worse through haphazard adjustments.
If something jams, stop the machine before performing any checks. Each symptom has its own specific checks.
Once you have found the optimal tension setting using the I-test, make a note of it for that material. The next project using the same fabric will start off already calibrated.
If the fabric puckers, check the stabilizer, hooping, tension, design density, and the compatibility between the pattern and the material. Other defects, conversely, originate in the file.
Many of these issues stem from the digitizing of the design that is, its conversion into stitches. Correcting the file addresses the root cause of problems that no machine adjustment can compensate for.
To remove embroidery, work from the back, cutting a few bobbin threads at a time using a seam ripper or small, sharp thread cutter. Then, pull the top threads out from the front using precision tweezers.
Conversely, using a thread trimmer on the right side without proper control increases the risk of damaging the fibers. Work on small areas at a time, especially with knitwear and stretch fabrics.
Embroidery machines tested before shipment, backed by a warranty and the SewShop technical workshop. For precise embroidery right from the very first project.
It depends on the stitch count, actual speed, color changes, trims, movements, size, and material. At 800 stitches per minute, 10,000 stitches take about 12.5 minutes of actual stitching time alone. Preparation, thread changes, and finishing add to this. Even a rated speed of 1,000 stitches per minute does not translate into a simple calculation; acceleration and trimming extend the time required.
Clean the bobbin and hook area, remove lint, replace the needle periodically, and check the threading path. Lubricate only if the manual specifies it. The daily maintenance intervals for Brother PR/VR professional series machines should not be applied to a home machine.
No. Magnetic hoops are suitable for embroidering garments, but they are not suitable for caps or beanies.


