
No products in the cart.
Sewing machine stitches are chosen based on two criteria: the fabric and the purpose of the seam. Straight stitches, zigzag stitches, overcasting stitches, as well as stretch, decorative, and hemming stitches, each serve different needs. The initial settings should always be tested before starting the actual work.
The straight stitch is the foundation of almost every project: it joins non-stretch fabrics, creates hems, and is used to attach patches and zippers. The result depends primarily on the stitch length, which should be adjusted according to the thickness of the fabric.
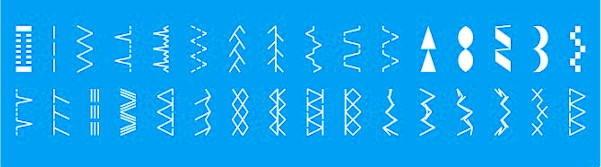
Stitch length increases with fabric thickness. Seams on lightweight materials require short stitches, while those on heavy materials require longer ones. A guide suggests the following starting values:
Length also affects durability: a study on the strength of lockstitch seams shows that, on polyester and wool fabrics, a higher number of stitches per centimeter makes the seam stronger.
These are indicative values. Once you have checked the result on a scrap piece, you can shorten or lengthen the stitch as you wish.
Topstitching is a line of stitching visible on the right side of a garment, often running parallel to another seam. Topstitching stands out more when a longer stitch length is used. The thread also affects its appearance: using a contrasting or thicker thread makes it more prominent.
To sew close to an edge, you can adjust the needle position while keeping the stitch straight. Additionally, backstitching secures the threads at the beginning and end of the seam—just 2 or 3 stitches at each end are sufficient.
A long straight stitch is used for temporary basting. SewShop suggests a length of 6 mm for quick basting.
If your machine doesn't have a 6 mm stitch length, you can use this trick: decrease the upper tension by 2 settings.
Per togliere i punti con facilità, usa la lunghezza massima disponibile e non fermare le estremità con il punto indietro.
The same long stitch can also be used for gathering. Sew a first line 0.5 cm from the edge and a second line another 0.5 cm away, leaving the thread ends long. Then, pull the top threads until the fabric reaches the desired size.
The zigzag stitch and the overedge stitch are primarily used on edges. The former is versatile and can be adjusted in two ways. The latter is designed to prevent edges from fraying and can also be used to join fabrics together.
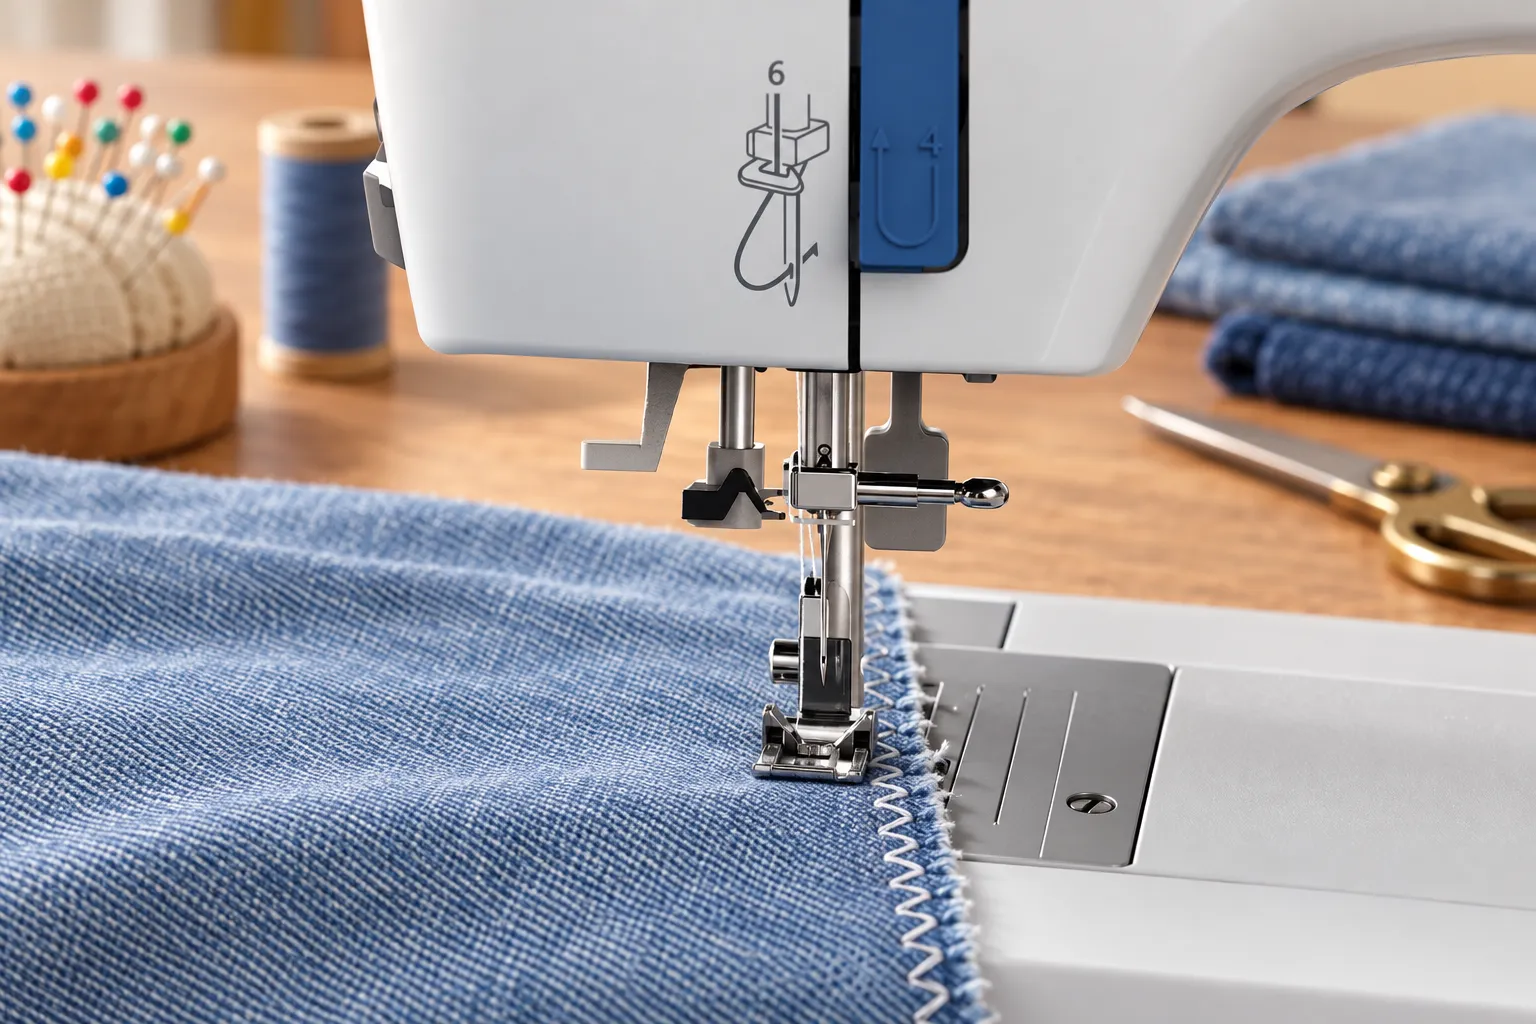
On most machines, the length and width of the zig-zag stitch are adjusted separately. The width refers to the lateral movement of the needle. By combining these two settings, you can achieve different uses:
In practice, for finishing a medium-weight cotton fabric, we suggest starting with a stitch width of 3–4 mm. The recommended stitch length is 2–2.5 mm.
The overedge stitch wraps around the edge of the fabric, preventing it from fraying. Some settings on home sewing machines join two layers of fabric and finish the edge in a single pass. A specialized presser foot guides the edge and helps prevent it from puckering.
In contrast, the overlock stitch produced by a serger has a different construction. A serger sews and trims the edge simultaneously—something a standard domestic overedge stitch does not do.
On thin fabric, a zigzag stitch that is too wide will cause the edge to pucker. Reduce the width until the edge remains flat. A very short, wide zigzag stitch, on the other hand, creates a decorative satin stitch. A presser foot with a groove on its underside allows it to glide along without getting stuck.
The zigzag stitch can also be used to attach a button. Disengage the feed dogs using the appropriate lever, or attach the feed cover plate. Set the stitch width to 4: the fabric will remain stationary, and the needle will pass only through the holes of the button.
Stretch stitches are used for seams that need to stretch without breaking. The name does not refer to a single specific pattern; depending on the machine, it could indicate a triple straight stitch, a stretch zigzag, or a three-step zigzag, each serving a specific purpose.
A standard straight stitch on elastic fabrics can break when the material is stretched. The triple straight stitch solves this problem by alternating two forward stitches with one backward stitch. The result is a durable seam, suitable for areas subject to stress.
The same stitch reinforces the crotch area of trousers, even when using non-stretch fabric. The stretch straight stitch can also be used for topstitching on heavy denim.
A simple zigzag stitch offers a certain degree of elasticity. However, it does not replace all specialized stretch stitches, as each one is designed for a different type of sewing task.
The triple zigzag stitch is designed for elastic seams. The difference lies in the number of passes: having more stitches along a given length makes the seam stronger.
Lo zig-zag a tre passi o cucito (nella diagonale), fissa gli elastici e sorfila i bordi. Sui tessuti a maglia lascia alla cucitura la sua elasticità.
I manuali indicano i programmi elastici per maglina, jersey, lycra e tricot. Durante la cucitura non tirare il tessuto: la guida su come cucire un tessuto elasticizzato spiega gli altri accorgimenti utili. Il punto a nido d’ape serve per lo smock, per gli elastici sottili e per alcuni orli. Il doppio overlock fissa gli elastici piatti nella biancheria intima.
Gli orli, le asole e le finiture a vista richiedono punti specifici. Spesso serve anche un piedino dedicato. Sono le lavorazioni in cui il risultato si vede di più, e conviene provarle prima sul capo.
L’orlo invisibile rende la cucitura poco visibile sul diritto. Un filo di colore simile al tessuto la nasconde ancora meglio.
Alcune macchine offrono due varianti di questo punto per orlo. Quella per tessuti stabili alterna tratti dritti ai punti che agganciano la piega. Quella per tessuti elastici usa invece piccoli zig-zag. Il piedino dedicato tiene la piega in posizione mentre cuci.
Il punto di copertura si usa soprattutto per orli e cuciture elastiche della maglieria. Ha una costruzione diversa dal sopraggitto.
Secondo la macchina, l’asola si esegue in automatico in unico passagio oppure in 4 fasi. E’ sempre consigliata di esecuzione una velocità bassa e costante.
Prima di lavorare sul capo, prova l’asola su un ritaglio con lo stesso tessuto e la stessa interfodera. Il piedino per asole è l’accessorio pensato per questa lavorazione.
I punti decorativi rifiniscono orli a vista, nastri e bordi di trapunte. Per le lavorazioni decorative fitte SewShop indica una lunghezza di circa 0,5 mm.
Il punto fagotto unisce 2 stoffe senza sovrapporle e lascia un piccolo spazio fra i bordi. Indicato nella camiceria.
Il punto coperta eseguito a macchina rifinisce i bordi tagliati a vivo di lana cotta o pile. Fissa inoltre le applicazioni.
La scelta dei punti di cucitura parte dal tessuto, poi passa alle regolazioni e alla prova su un campione. Anche l’ago conta quanto il punto: insieme decidono la tenuta della cucitura.
Ogni famiglia di tessuti ha i suoi principali punti base e un ago adatto. Per gli aghi, la guida 2026 di un produttore indica questi intervalli:
Questi intervalli non sono universali. Sul denim contano anche lo spessore degli strati e il filo.
| Fabri | Punto di base | Ago indicato |
| Cotone piano | Punto dritto, zig-zag o sopraggitto sul margine | Secondo tessuto e filo |
| Jersey e maglina | Punto che accompagna l’allungamento | Jersey 70–80 |
| Materiali molto elastici con elastan | Punto elastico | Stretch o Super Stretch 65–75 |
| Denim | Punto dritto | Jeans 90–110 |
La lunghezza regola l’avanzamento del tessuto fra due punti; la larghezza ne regola lo spostamento laterale. La larghezza massima cambia da una macchina all’altra: alcuni modelli arrivano a 5 o 6 mm, altri a 7 mm. In una cucitura equilibrata i fili si incontrano circa al centro del tessuto. Alcuni manuali indicano 4 come tensione standard per i propri modelli, non come valore universale.
Anche la pressione del piedino incide sulla regolarità del trasporto. Prova il punto su uno scarto dello stesso tessuto, con l’ago e il filo previsti. Per una cucitura elastica controlla anche il tessuto in tensione. Se serve, cambia una sola regolazione alla volta.
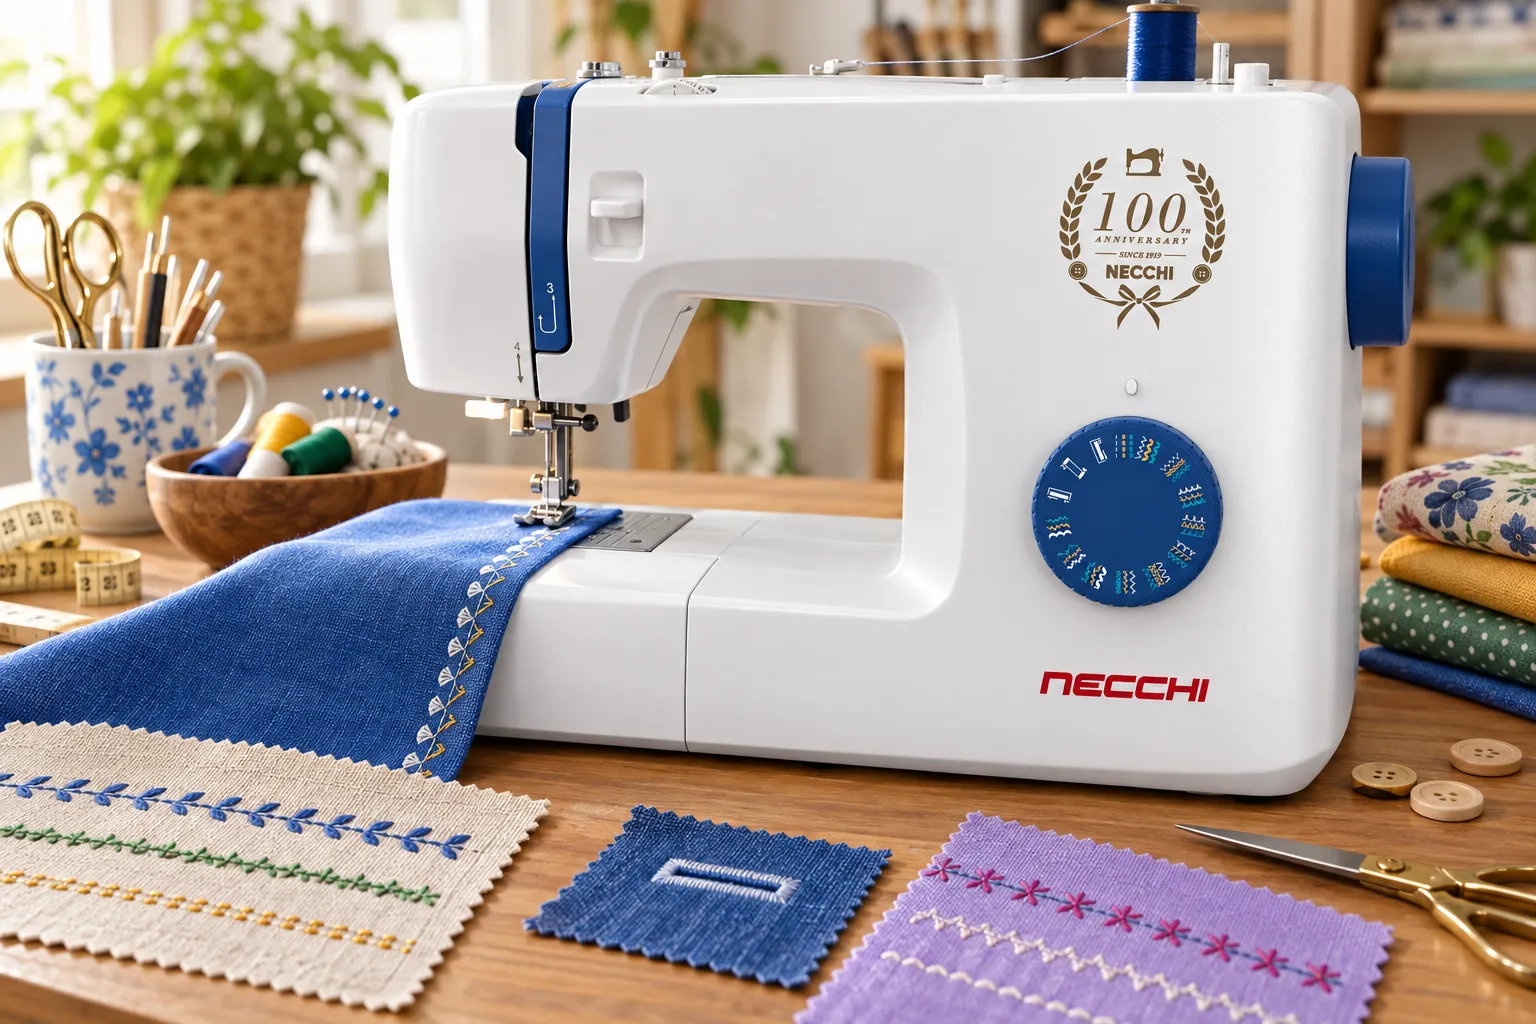
Non esiste una tabella dei simboli, una numerazione o un numero di punti valido per tutte le macchine. Per capire come usare i diversi punti del tuo modello il riferimento resta il manuale: Singer, per esempio, permette di trovare il manuale del prodotto partendo dal modello della macchina. Sulle mechanical sewing machines i punti nascono da camme interne. Li scegli con una manopola e regoli a mano lunghezza e larghezza.
Le macchine da cucire elettroniche offrono punti automatici preimpostati, compresi programmi elastici e decorativi, e richiedono meno regolazioni manuali. Per chi inizia, SewShop consiglia funzioni intuitive. Per quilting, patchwork e decorazioni consiglia invece più punti e regolazioni fini.
Dipende dal modello: non esiste un numero valido per tutte le macchine. Anche i modelli meccanici entry-level Singer e Necchi proposti da SewShop hanno almeno 6–10 punti. Il numero dei punti non coincide con quello delle applicazioni, cioè le tecniche realizzate con un punto.
A frequent cause is excessive tension. According to a thread manufacturer, the thread stretches when pulled and then returns to its original length, causing the seam to pucker. Reduce the tension gradually and check the result on a scrap piece of fabric.
For very lightweight fabrics, place a stabilizer or some tissue paper on the wrong side, with the rough side facing the work surface; this helps the fabric feed through more smoothly and prevents the stitching from becoming distorted. When working with thick fabrics or dealing with uneven layers under the presser foot, use a support of the same thickness to compensate for the difference in height.


