
No products in the cart.
When your Singer sewing machine isn't working, the cause is almost always something you can check at home. For each symptom, you will find the checks to perform in order, as well as the signs indicating a need for replacement parts or a visit to the SewShop technical service center.
A jammed sewing machine does not necessarily indicate an internal fault. Often, the issue stems from a connection, a lever left in the wrong position, or a tangled thread. Troubleshooting begins with external checks, moving on to the mechanism only after ruling those out.
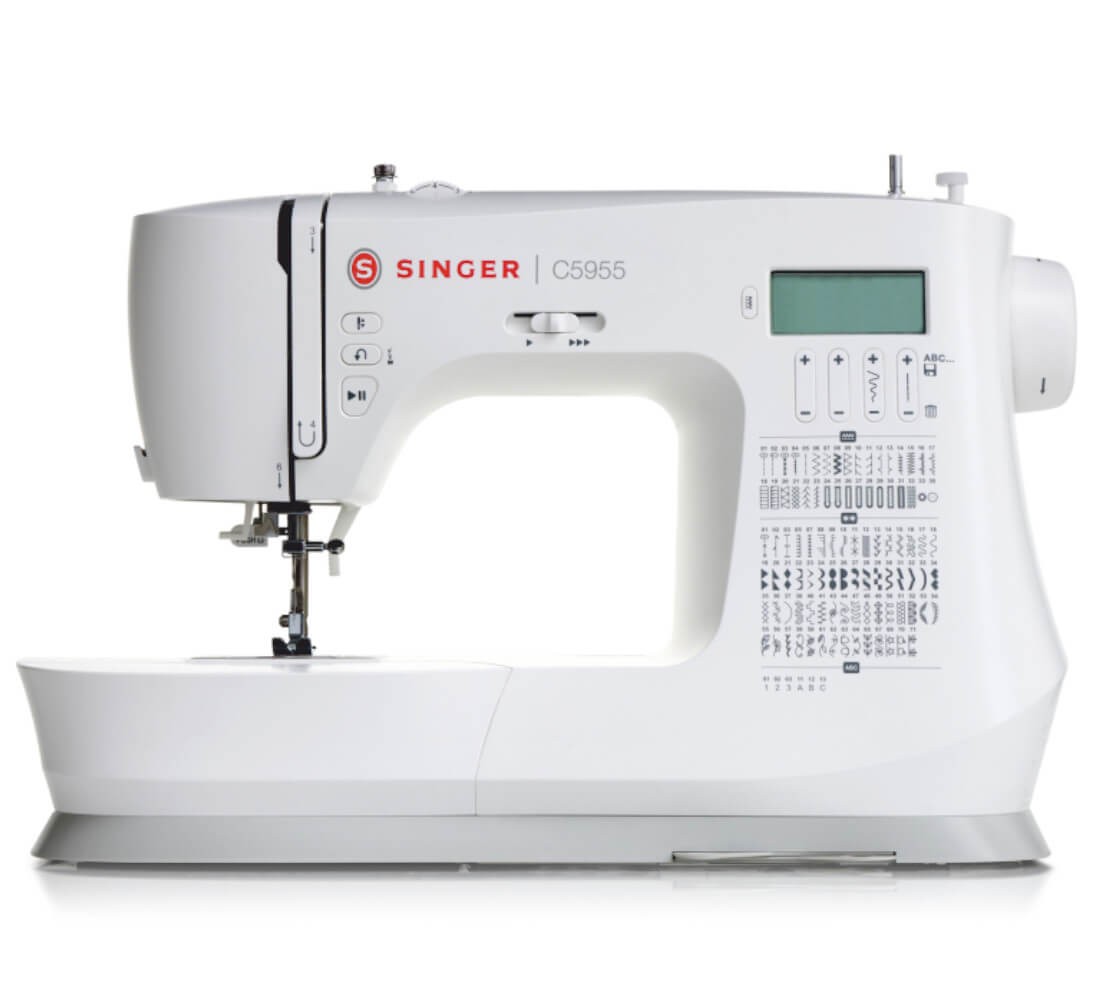
Each model has its own bobbin position, threading path, and maintenance instructions. That is why the first resource to consult is your Singer manual. Basic checks should be performed in the following order:
Once these checks are complete, any work in the needle area requires a precaution: before changing the needle or cleaning, turn off the machine and unplug it.
The motor runs but the needle remains stationary: the first thing to check is the bobbin winder. On models with a movable spindle, the right-hand position is for winding the bobbin; to sew, the spindle must be moved back to the left.
On almost all models, the spindle in the winding position locks the rotation of the handwheel used for sewing. On some electronic models, a buttonhole lever left in the lowered position may trigger an audible signal; in this case, the machine may fail to start or stop while sewing.
If neither solution works, the problem might be with the motor belt.
During normal use, the handwheel turns towards you, in a counter-clockwise direction. Rotating it in the opposite direction can tangle the thread and damage the needle or fabric.
You should never force a Singer sewing machine that has seized up or has a stiff handwheel. The solution depends on checking two things: the position of the bobbin winder and whether any threads are tangled in the hook—the rotating mechanism beneath the needle plate that catches the thread.
To remove a thread caught in the hook, unplug the machine. Remove the upper thread, the needle plate, and the bobbin case. Turn the handwheel back and forth by hand and remove the thread using tweezers.
When the machine skips stitches or breaks the thread, the needle is the primary suspect. A bent, blunt, damaged, or unsuitable needle can cause skipped stitches, uneven seams, and thread breakage.
For the models described in the Singer instructions, the needle must be pushed all the way into the needle clamp. The flat side of the shank must face the back of the machine.
A needle that is not inserted correctly—positioned too low—may fail to catch the bobbin thread. Additionally, it can strike the bobbin case, damaging it or even breaking.
If the needle strikes a metal part, check the installation of the needle and presser foot. If the needle bends or breaks, stop sewing immediately; carefully remove the damaged needle and install a new one according to the manual.
The size depends on the type of fabric. Singer manuals specify these needles:
| Fabri | Needle size |
| Lightweight | 9–11 (70–80) |
| Medium-weight | 11–14 (80–90) |
| Heavyweight | 16 (100) |
| Thick wool, upholstery | 18 (110) |
For knits and stretch fabrics, a ballpoint or stretch-specific needle can help prevent skipped stitches; it is best to test this on the fabric. Regarding lifespan, the official Singer FAQ recommends replacement after 6–8 hours of use—roughly after completing each garment. You should replace it sooner if the needle is damaged or causes thread breakage.
An upper thread that snaps may be due to incorrect threading, obstructions along the path, excessive tension, or a damaged needle. The thread must flow freely through the eye and not snag behind the spool or its holder. A rough eye causes wear; essentially, the remedy is to replace the needle.
If the problem persists, however, check that the needle plate hole or the bobbin case are not damaged and in need of replacement.
If the bottom thread is the one breaking, check how it is inserted and routed within the bobbin case. The type of thread matters, too: a thread that is too thick for the bobbin prevents it from feeding correctly.
Loops and tangles on the underside often indicate an error in the upper threading, not necessarily a defect in the bobbin case.
The upper thread must catch the thread take-up spring (not visible; located where the thread travels back up toward the take-up mechanism) and must pass through the take-up lever—the arm that moves up and down, pulling the thread to close the stitch.
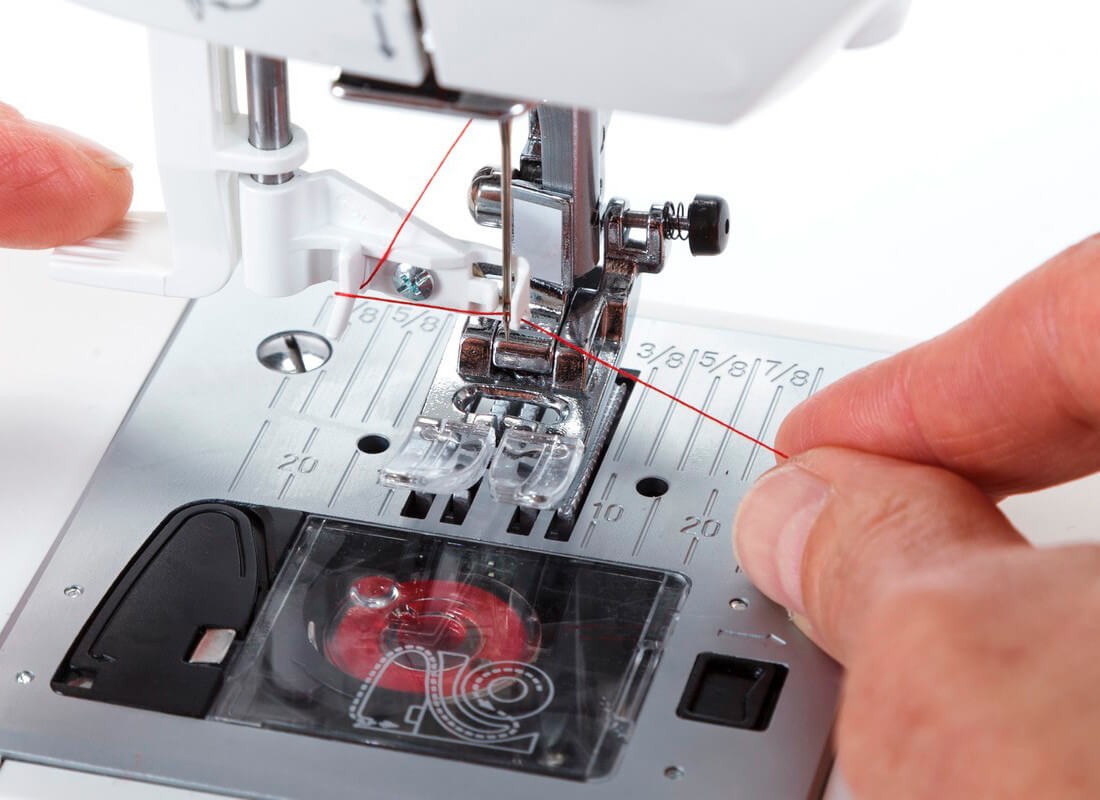
Completely re-threading the machine often resolves tangles. Follow the steps in order:
Before threading the needle, pull the thread: it slides easily when the presser foot is raised, but offers more resistance when the foot is lowered. Once you have verified this, place both threads under the presser foot and towards the back before sewing.
Singer bobbins are not automatically interchangeable, even when they look similar. You can find the required class and the correct insertion direction in the manual.
To verify that your Singer machine is working correctly, you need to bring up the bobbin thread. Hold the needle thread towards the back or left (without pulling) and turn the handwheel towards you until the needle goes down and comes back up. The loop of bobbin thread will emerge from the needle plate; pull it up and position both threads as described above.
Bobbin winding can also affect performance when the machine isn't sewing. A bobbin wound beyond its rim won't fit properly into the bobbin case. Additionally, winding at a moderate speed prevents stretching certain threads, which can cause skipped stitches.
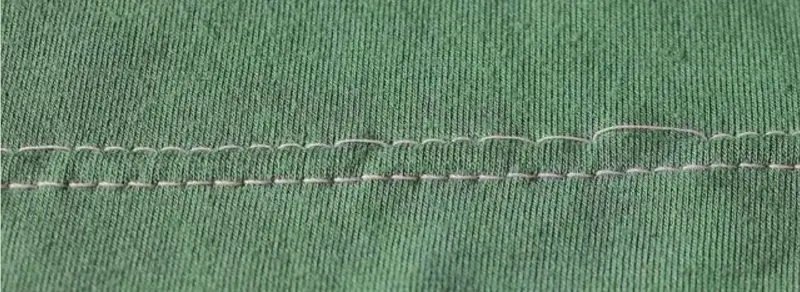
If the upper thread tension is too low, it results in loose stitches. If it is too high, it can cause the seam to pucker, pull the bobbin thread to the right side of the fabric, or snap the thread. On lightweight fabrics, puckering can also be caused by using a needle that is too thick or an unsuitable stitch length; always test any adjustments on a scrap of the same fabric. For full instructions, consult the SewShop guide on adjusting sewing machine thread tension.
Bobbin tension, on the other hand, is generally preset. The Singer guide suggests making minor adjustments to the bobbin case screw only after checking the threading and confirming that looping persists. The function of the screw is explained in the detailed article on understanding lower tension in sewing machines.
Fabric transport relies on the feed dogs, the small metal teeth beneath the presser foot that push the fabric along with each stitch. When the fabric fails to move, troubleshooting begins with the simplest adjustments and extends to the internal mechanism.
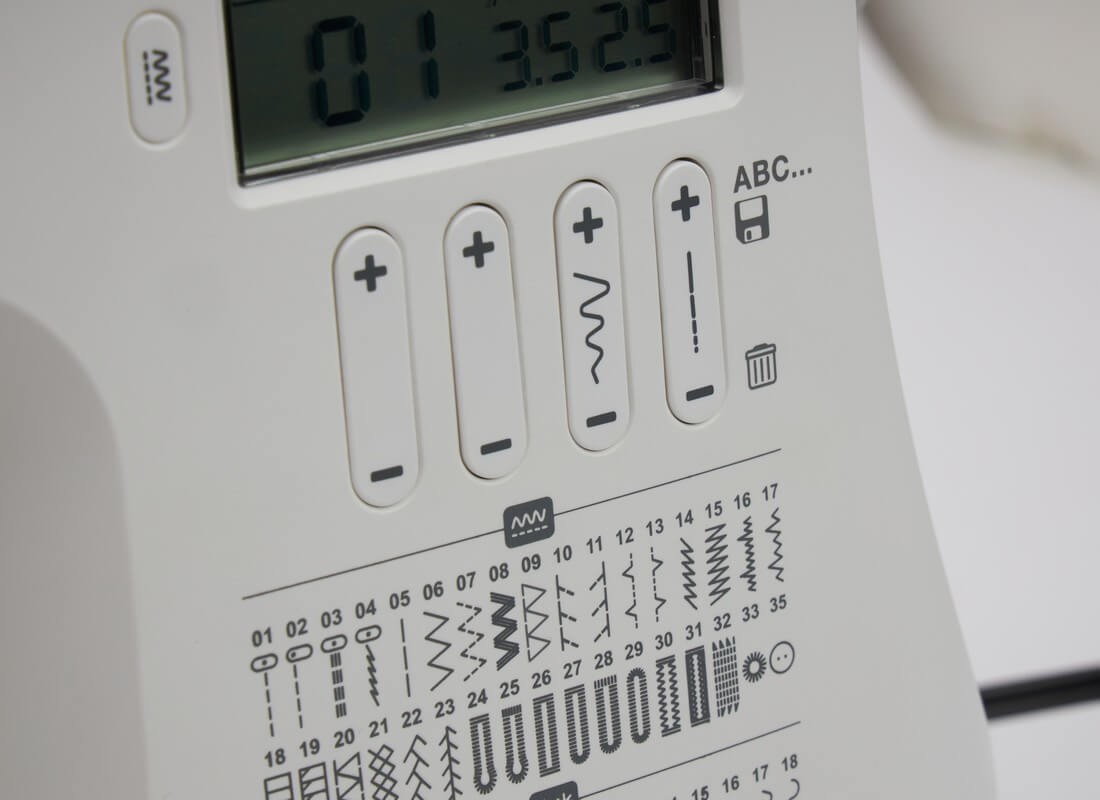
The first check concerns the presser foot: it must be lowered onto the fabric. A stitch length set to 0—or one that is too short relative to the thread thickness—will also prevent the fabric from feeding; try increasing it. If the fabric feed is uneven, adjust the presser foot pressure to suit the fabric, following the machine's settings.
For standard sewing, the feed dogs must be engaged. If you lowered them for free-motion sewing, return the lever to the sewing position. Once re-engaged, you may need to turn the handwheel one full rotation towards you to make them rise again. An embroidery or darning plate covering them can prevent them from feeding the fabric.
If your Singer sewing machine fails to feed the fabric forward despite these checks, the issue may lie with the feed dog gear. SewShop offers the feed dog gear for specific Singer models; please verify compatibility based on your machine's exact model number.
Pushing or pulling the fabric can distort the stitches, bend the needle, and cause it to break. The feed dogs move the fabric; simply guide it while sewing. For very dense stitching, Singer recommends using a satin stitch or open-toe presser foot, which allows the stitching to glide through without obstruction.
If the fabric does not feed smoothly during dense stitching or appliqué work, a stabilizer placed underneath provides support. Tear-away stabilizer is preferable for standard fabrics, whereas a cut-away type is needed for stretch fabrics.
Many breakdowns stem from dirt and a lack of lubrication. Others require a replacement part or mechanical intervention. Distinguishing between the two avoids a trial-and-error approach to machine repair.
Unusual knocking or noise requires stopping the sewing process. Common causes include a damaged needle and lint accumulation in the hook area or near the needle bar. Periodic maintenance involves the following steps:
Once cleaned, the machine should be lubricated with 1–2 drops of specialized oil at the designated point near the hook. For models requiring oil, Singer’s FAQ recommends lubricating weekly for daily use and monthly for weekly use; for monthly use, once every three months is sufficient.
Worn needles, deformed or incompatible bobbins, damaged cases, impact-marked needle plates, and broken presser feet must be precisely identified. Only then can you select a replacement part compatible with the model.
To address motor failure in home sewing machines, SewShop offers a 90W replacement motor with a speed of 7,000 rpm. Compatibility is determined by the pulley, belt, and bracket. The motor measures 53 mm in height, 123 mm in length, and 69 mm in depth. An internal safety mechanism shuts it down at 150°C.
Skipped stitches or a failure to pick up the bobbin thread—even after changing the needle and threading the machine correctly—indicate a possible loss of timing. Adjusting the positioning of the needle relative to the hook is a mechanical procedure, not a matter of trial and error.
Collisions between the needle and the hook, repeated needle breakage, persistent mechanical noise, and a jammed handwheel require a technical inspection. In any case, the Singer FAQ recommends a tune-up every 3–4 years.
SewShop advises against disassembling sealed components—such as the motor, wiring, pedal, or electronics. These cases require a specialized technician; SewShop’s in-house technical workshop can assess the repair.


